Make sure you haven't got the discount earlier.
Parts That Fix Whirlpool Range WFC150M0EW3 Oven is too hot
Oven is too hot is a commonly reported symptom for the WFC150M0EW3 Whirlpool Range, and we have put together a full guide on how to fix this. This advice is based on feedback from people who own this exact appliance. We have listed the most common parts for your WFC150M0EW3 Whirlpool Range that will fix Oven is too hot. We have included repair instructions, and helpful step-by-step video tutorials. If you are experiencing this issue, not to worry, DIYers just like you have fixed this, and shared their experience to help you!
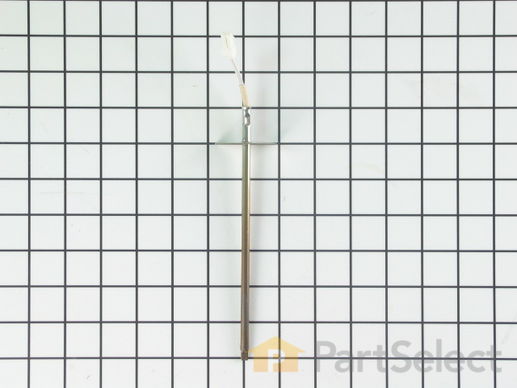
This oven temperature sensor, for ranges, works together with the oven control board to measure and regulate the oven temperature. The sensor detects the temperature in the oven cavity. If the following symptoms occur, replacing the temperature sensor could be the solution: Little or no heat when baking, oven not heating evenly, oven will not start, and/or oven is overheating. Often, if the sensor is defective, the oven temperature will fluctuate and be inaccurate by more than 50 degrees. The tool needed for this replacement is a #2 square head screwdriver or a #2 Philips screwdriver. Remember to unplug the range before installing the part.
Replacing your Whirlpool Range Oven Sensor

Customer Repair Stories
Oven stuck in cleaning mode
-
Hal from Santa Rosa, CA
-
Difficulty Level:Really Easy
-
Total Repair Time:Less than 15 mins
-
Tools:Screw drivers
temperature not accurate after 3 1/2 years of happy usage
The sensor that has been replaced is not what is expected. After reading all of the instructions for adjusting the temperatures, the only temp that stays steady is when we first turn on the oven to 350 degrees. That stays s ... Read more teady but when I turn it to 400 it slowly goes up to 425 degrees.
-
Ruth from Oregon, IL
-
Difficulty Level:Really Easy
-
Total Repair Time:15 - 30 mins
-
Tools:Screw drivers
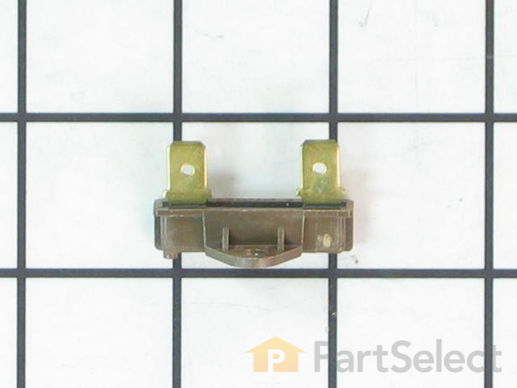
This part is used as a safety feature. If your range overheats this part will shut the range down.
Replacing your Whirlpool Range Safety Thermostat

Customer Repair Stories
The Range took forever to achieve the proper heating temperature with an inability to maintain a steady heat
-
Robert from Mifflinburg, PA
-
Difficulty Level:Really Easy
-
Total Repair Time:15 - 30 mins
-
Tools:Nutdriver
The oven light shorted out causing the safety thermostat to blow.
Works great again...without the light
-
Joseph K from PAHRUMP, NV
-
Difficulty Level:Very Easy
-
Total Repair Time:15 - 30 mins
-
Tools:Pliers, Screw drivers


