Enter the code USA15 at checkout to apply your discount. Discount will be applied at checkout when the code is entered & applies to all parts. Cannot be combined with any other coupon or special offer & cannot be applied to a previously placed order. Not valid toward tax or shipping & handling. Discount has no cash value. Discount expires on July 4 at 11:59pm EST.
You've Got 10% Off Your First Order!Save 10% with code at checkout *click to copy coupon code
This OEM gray Dishwasher Lower Dishrack Wheel Assembly is a plastic kit that allows the rack to slide in and out of the dishwasher easily. If it breaks or becomes damaged. sliding will feel difficult....
This authentic Dishwasher Upper Rack Adjuster Kit with white wheels is a kit made up of primarily plastic and metal components, which will require a screwdriver to install. This kit comes with all the...
The rack track stop on your dishwasher is designed to stop the dish rack at the appropriate place when opening and closing the rack. If your dishwasher is not cleaning your dishes properly, the rack s...
This part is a door balance link kit, also sometimes known as door cable or door spring cable kit, that helps support the door as it opens and closes by connecting to the dishwasher door hinges. The k...
The mounting bracket is sold individually, without screws. This part secures the upper side of the dishwasher to the underside of the counter or cabinet to prevent the dishwasher from moving, shaking,...
Also known as rack adjuster. Sold individually.
This is an original part from KitchenAid, Kenmore, Whirlpool, Jenn-Air, and Maytag for use with Dishwashers. The dishrack adjuster arm positioner clip...
This drain pump is used in dishwashers to remove water from the dishwasher tub. If the impeller in the dishwasher is damaged or the motor has been shorted out and will not drain, it is possible the bo...
Sold individually.
This dishrack adjuster is for dishwashers.
Dishrack adjuster lets you change the height of the dishwasher's upper rack.
Wear work gloves to protect your hands when installing this part.
The rubber washer is a part which is specific to dishwashers and should not be substituted by a similar part. It works with the heating element to seal the receptacle opening where the heating element...
This hose clamp is used in a wide variety of household appliances. Most often it is found in washers, dishwashers, refrigerators, freezers, dehumidifiers, garbage disposals, or air conditioners. This ...
$11.77
In Stock
Questions And Answers for WDT910SAYE2
We're sorry, but our Q&A experts are temporarily unavailable.
Please check back later if you still haven't found the answer you need.
2 questions answered by our experts.
Sort by:
< Prev
1
Next >
Search filter:
Clear Filter
Your search term must have 3 or more characters.
Keep searches simple. Use keywords, e.g. "leaking", "pump", "broken" or "fit".
Sorry, we couldn't find any existing answers that matched.Try using some different or simpler keywords, or submit your new question by using the "Ask a Question" button above!
Ronnie
December 11, 2021
The dishwasher cut back off after a few seconds of starting. Do you know what might cause this problem?
For model number WDT910SAYE2
Hello Ronnie, Thank you for the question. if the appliance has power but will not run the cycle and stops the cycles, we suggest checking the Door Switches. If the switches are defective or not engaging, the cycle will not run. We hope this helps!
Dishes arent drying like they were in the past. Ive changed the thermostat, element , and turbidity monitor. Does the changing of these parts require any kind of reset?
For model number WDT910SAYE2
Hello James, thank you for reaching out. You can reset your appliance by unplugging it for a few minutes and then restarting it. The rinse aid is very important to your appliance being able to dry your dishes properly. If you are using rinse aid then the problem might lie in your control board, part number PS8260219. If you need help placing an order for it, please feel free to give us a call. We look forward to hearing from you!
Pulled dishwasher from under counter, attached link to spring, hooked spring back into frame/chassis, threaded link through pulleys, attached other end of link onto door, reinstalled dishwasher under counter. All's well. Note-I purchased an extra link anticipating that the other one will fail. They're cheap enough.
Caviat: The actual repair is less than 15 minutes, but I spent a lot of time playing with it before I figured out it was that easy and fast. You don't need to remove the dishwasher from the counter to do this. And it will probably help to look at the new part closely so you can understand where the retainer clip is to press it and release
... Read more the old pump.
First remove the water from the dishwasher pan that would not drain with a wet/dry vac. Otherwise the water will all drain on the floor when you remove the pump. Then remove the two screws on the kickplate on the front of the unit below the door. Remove the kickplate/maintainence access cover. The drain pump is on the right about 8 inches in. Using two hands you grasp the drain pump with your right hand and use the left hand to push the retaining clip down. Then the drain pump will rotate 1/4 turn counterclockwise and can be removed without pulling the dishwasher out. There is likely to be some water leak out that was traped in the pump housing that you can not reach with the vac. Disconnect the wire. Connect the wire to the new pump, put it in place and 1/4 turn clockwise to install it. Replace the kickplate and you're done.
1. Open the dishwasher and remove the two plastic grommets about halfway down on either side of the opening. Then remove the two screws under the grommets.
2. Remove the kick plate under the door. May have to lower unit by turning the feet using the adjustable wrench.
3. Make sure you have enough slack in the water i
... Read morenput line and electrical wiring that you can pull the dishwasher out about 12 inches or more.
4. There is a spring and nylon rope link on both sides of the unit. Probably just one link is broken, but the replacement comes with two, so you can replace both or save one as a spare. Look at the good side and it should be pretty self explanatory how it attaches. I found it easiest to first thread the link around the lower pulley, then attach the link to the spring, then spring to the rear support, then the link to the door.


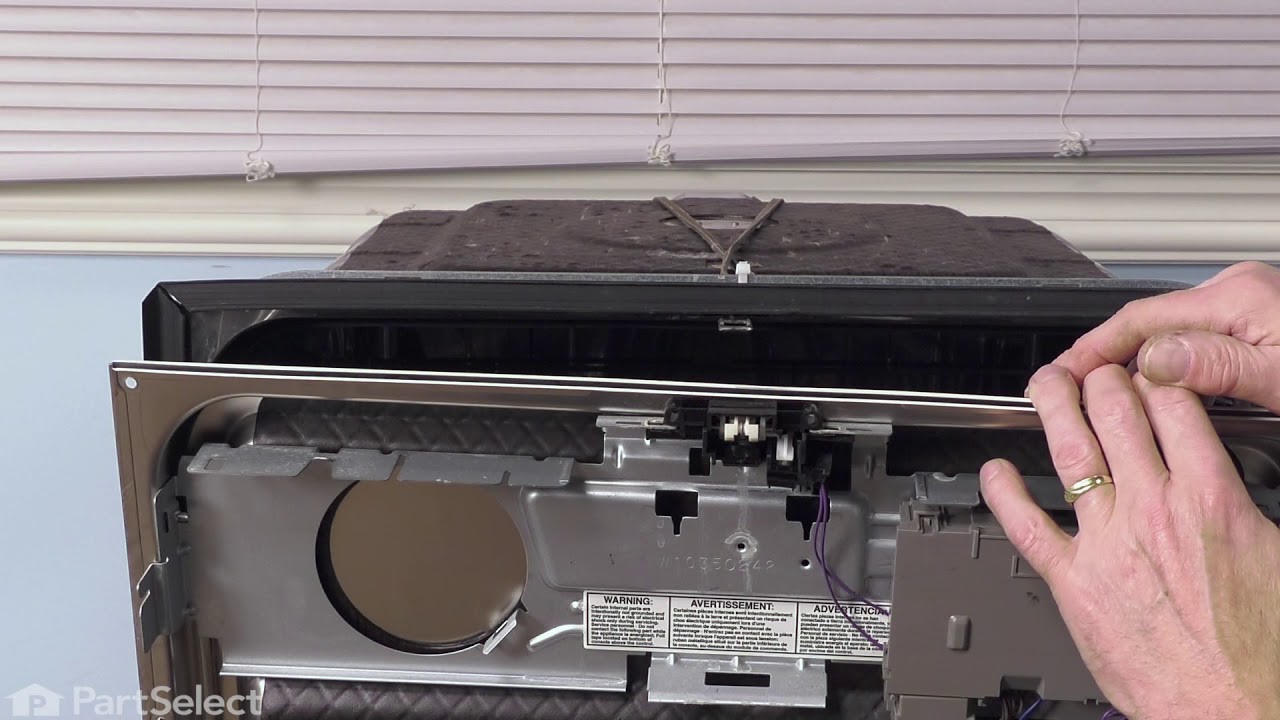
 Diagram and Parts List for Whirlpool Dishwasher")