Enter the code USA15 at checkout to apply your discount. Discount will be applied at checkout when the code is entered & applies to all parts. Cannot be combined with any other coupon or special offer & cannot be applied to a previously placed order. Not valid toward tax or shipping & handling. Discount has no cash value. Discount expires on July 1 at 11:59pm EST.
You've Got 10% Off Your First Order!Save 10% with code at checkout *click to copy coupon code
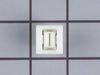
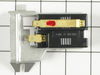
This dryer door switch is a simple on/off switch mechanism that prohibits the dryer from operating when the door is open, and operates the drum light. White in color and 6.5 inches long, this OEM swit...
$34.76
In Stock
Order within the next 6 hrs and your part ships today!
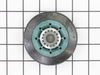
This drum support roller is sold individually. Most dryers require two. The tri-rings are included. This is a drum support roller for a dryer. It is a genuine replacement part. The part includes the d...
$22.73
In Stock
Order within the next 6 hrs and your part ships today!
If your dryer will not heat, takes too long to dry, or does not provide enough heat, you might want to replace your igniter kit. This silicone carbide igniter with ceramic holder kit includes the 3-in...
$40.62
In Stock
Order within the next 6 hrs and your part ships today!
If you notice that your dryer is noisy or will not tumble, you may need to replace the tri ring. This part is triangular, and is less than an inch in size. Tri rings can be found both on the idler pul...
$13.45
In Stock
Order within the next 6 hrs and your part ships today!
If your gas dryer is not heating up or igniting, then replacing the flame sensor, located in the burner assembly, could solve it. This part senses heat from the igniter to monitor if it is hot enough ...
$48.00
In Stock
Order within the next 6 hrs and your part ships today!
If your washer shakes or vibrates loudly when it reaches its max speed, check that the leveling legs are even. To ensure that the washer is firmly on the ground using all four legs, adjust the legs so...
$11.40
In Stock
Order within the next 6 hrs and your part ships today!
This manufacturer-certified dryer lint filter is used to collect lint during the dryer cycle, to prevent damage to the machine and to prevent lint from sticking to clothes. This model comes in white a...
$43.14
In Stock
Order within the next 6 hrs and your part ships today!
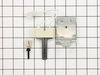
This OEM high-limit thermostat kit includes the thermal cut-off fuse and the high-limit thermostat. The purpose of this part is to cut-off power to the dryer when it overheats. Common indications that...
$17.55
In Stock
Order within the next 6 hrs and your part ships today!
Order within the next 6 hrs and your part ships today!
Questions And Answers for MGDC300XW1
We're sorry, but our Q&A experts are temporarily unavailable.
Please check back later if you still haven't found the answer you need.
1 question answered by our experts.
Sort by:
< Prev
1
Next >
Search filter:
Clear Filter
Your search term must have 3 or more characters.
Keep searches simple. Use keywords, e.g. "leaking", "pump", "broken" or "fit".
Sorry, we couldn't find any existing answers that matched.Try using some different or simpler keywords, or submit your new question by using the "Ask a Question" button above!
Cathi
March 3, 2020
How do i reattach a dryer fun on this model?
For model number MGDC300XW1
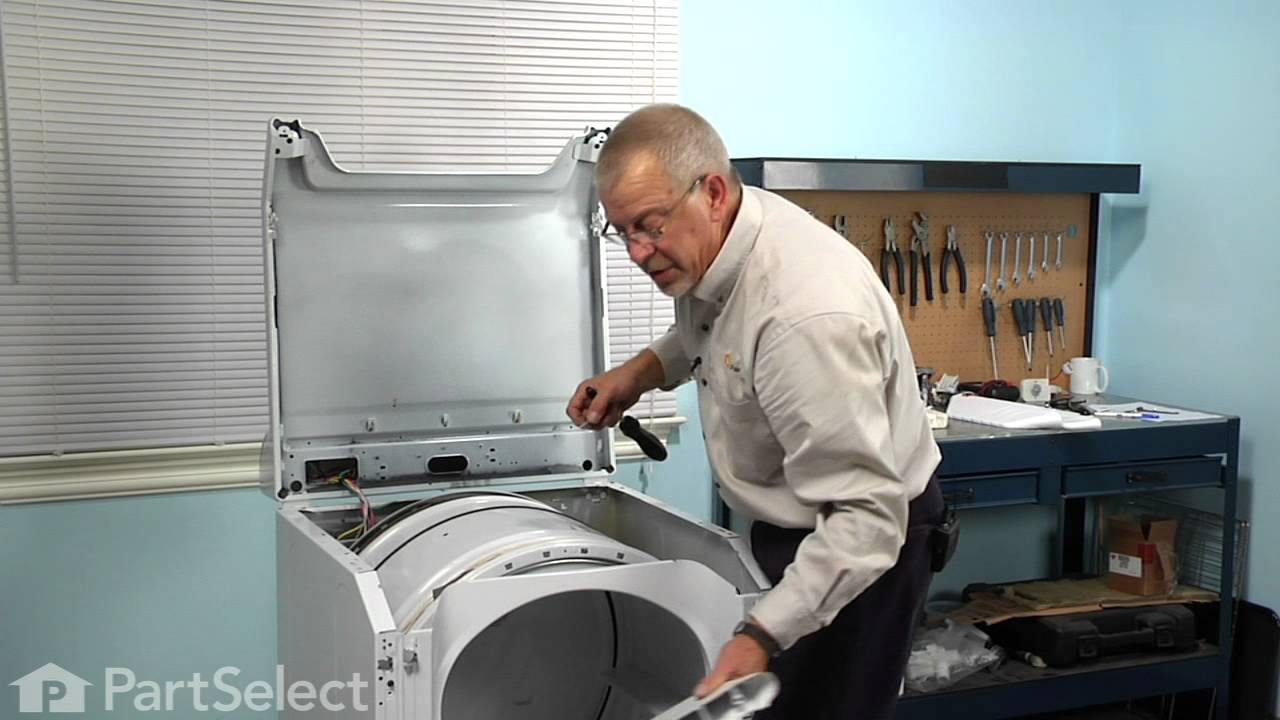
Hello Cathi, thank you for your question. Hello John, Thank you for your inquiry. Remove the door and front by taking out the screws with a Philips head screwdriver. Some of these may also attach the door to the hinges, so once you have those screws out, you can lift off the door. Then using the Philips screw driver, remove the screws that hold the bulkhead to the front of the dryer. Now you should be able to remove the screws that hold the top on-you may need a nut driver or socket wrench for that, then lift up on the main top. Rotate the drum until you can access the screws that hold the baffle on and you should be able to tighten them. I have included a link to a repair video for a similar part to assist you. Hope this helps! https://www.youtube.com/watch?v=wHjMrZ2UrF8&t=0s&list=PL812EFA28A01FA86A&index=2
Pryed dryer top open and opened front door. . Unscrewed the 2 retaining screws. Pulled old switch from the wiring harness. Put new switch in place and replaced the retaining screws. Put new switch wire plug into the wiring harness. Before closing top, checked door switch function with dryer on. Dryer cut off when door open an
... Read mored when closed dryer started normally. . . Maint. Note instruction book should warn that letting door slam, which I did on occaision, broke the switch arm. Might save future problems.
It was simple once I figured out what to do:). I removed the 2 screws on the top of the dryer... they were a bit hard to find. Even with the other descriptions on this site. I was removing things I didn't need to. The 2 screws you need to remove are under the LINT COLLECTOR LID. Remove those 2 screws & lift the lid... it will be tigh
... Read moret at first. the front of the lid has 2 "catches" in the corners.
The hardest part was getting the door switch assembly to "unplug". We pried it off -- eventually -- & then simply plugged in the new one.
Saved me LOTS of money & was worth the 30 minutes - 1 hour of work.
As I said previously, once you realize how to get the lid up & manage to pry off the plug, that's all there is to it -- easy!


 Diagram and Parts List for Maytag Dryer")