Make sure you haven't got the discount earlier.
Parts That Fix Maytag Dryer MGDC215EW2 Too hot
Too hot is a commonly reported symptom for the MGDC215EW2 Maytag Dryer, and we have put together a full guide on how to fix this. This advice is based on feedback from people who own this exact appliance. We have listed the most common parts for your MGDC215EW2 Maytag Dryer that will fix Too hot. We have included repair instructions, and helpful step-by-step video tutorials. If you are experiencing this issue, not to worry, DIYers just like you have fixed this, and shared their experience to help you!
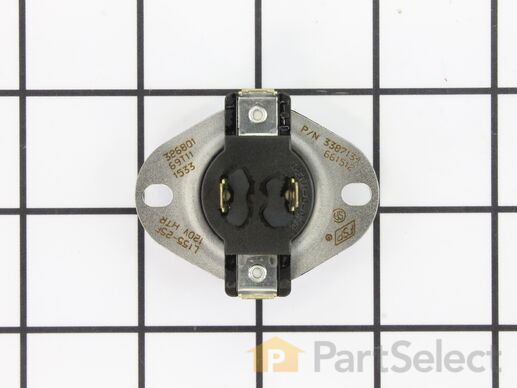
This thermostat (Dryer Operating Thermostat, Dryer Cycling Thermostat, Cycling Thermostat, Dryer Thermostat) is used to maintain a temperature of 155 degrees in the dryer drum. The internal bias heater also allows this thermostat to provide a low heat temperature of approximately 140 degrees when the low temperature setting is selected. The part measures 2 by 1.5 inches, comes in black/silver and is constructed of plastic and metal. The thermostat attaches to the blower wheel housing.
Replacing your Whirlpool Dryer Dryer Cycling Thermostat

Customer Repair Stories
Dryer would leave clothes damp
-
Luke from Elmira, NY
-
Difficulty Level:Easy
-
Total Repair Time:Less than 15 mins
-
Tools:Nutdriver
Dryer would not shut off on auto dry settings
-
Wiliam from Belleville, MI
-
Difficulty Level:Really Easy
-
Total Repair Time:15 - 30 mins
-
Tools:Nutdriver
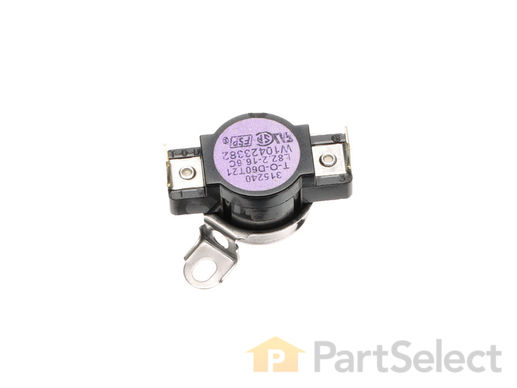
This OEM high-limit thermostat kit includes the thermal cut-off fuse and the high-limit thermostat. The purpose of this part is to cut-off power to the dryer when it overheats. Common indications that this part requires replacement are if your dryer will not start, it is overheating, or no heat is coming from the dryer at all. Please note that the manufacturer has made updates to this part so it may look different from the original.
Customer Repair Stories
No heat or lost the heating cycle
-
ANTHONY from NEW EGYPT, NJ
-
Difficulty Level:Really Easy
-
Total Repair Time:15 - 30 mins
-
Tools:Nutdriver
was not heating
-
Geri from COUNTRYSIDE, IL
-
Difficulty Level:Really Easy
-
Total Repair Time:15 - 30 mins
-
Tools:Screw drivers, Socket set
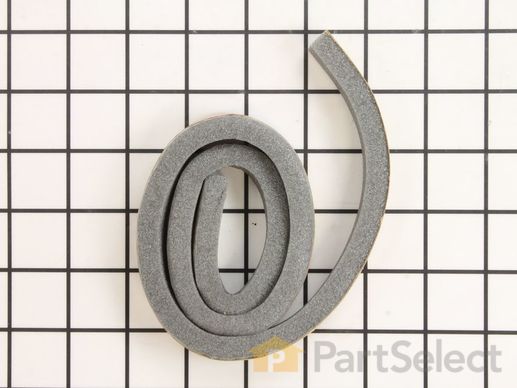
This is foam seal for your dryer. It forms a seal to prevent air from escaping the rear of the dryer drum and the lint duct. This model comes with adhesive backing and is located in between the lint chute and the bulkhead of your appliance. This foam seal is just over 28 inches long and under 1 inch wide. You may need to replace this part if your clothing is taking too long to dry, or if your dryer is not generating enough heat or no heat at all.
Replacing your Kenmore Dryer Lint Trap Housing Seal


