Make sure you haven't got the discount earlier.
Parts That Fix Whirlpool Washer Dryer Combo LTE5243DQB Noisy
Noisy is a commonly reported symptom for the LTE5243DQB Whirlpool Washer Dryer Combo, and we have put together a full guide on how to fix this. This advice is based on feedback from people who own this exact appliance. We have listed the most common parts for your LTE5243DQB Whirlpool Washer Dryer Combo that will fix Noisy. We have included repair instructions, and helpful step-by-step video tutorials. If you are experiencing this issue, not to worry, DIYers just like you have fixed this, and shared their experience to help you!
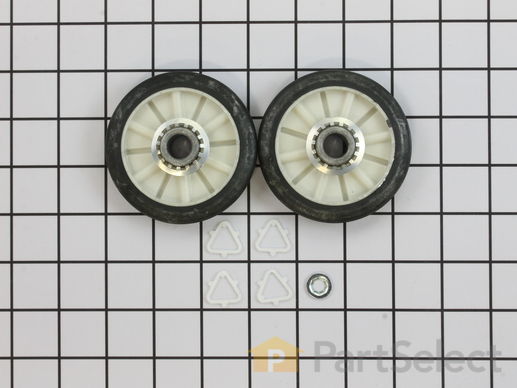
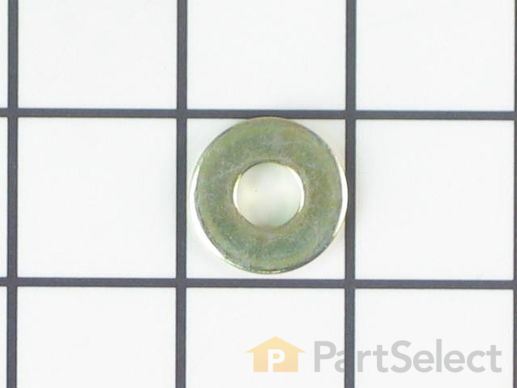
The drum support roller kit allows the dryer to tumble properly by supporting the drum cylinder. The kit includes two drum rollers, four tri-rings, and one palnut (or retaining washer). The kit does not include a belt or idler pulley and rollers are not sold individually. The drum support roller kit may need to be replaced if the dryer is noisy or will not tumble. The tools needed to complete this repair are a putty knife, Phillips screw driver, and a 5/16 nut driver. This is an OEM part sourced directly from the manufacturer.
Replacing your Kenmore Dryer Rear Drum Support Roller Kit

Customer Repair Stories
Loud rumble noise while drum was turning
-
Marcia from CAmden, NY
-
Difficulty Level:Easy
-
Total Repair Time:30 - 60 mins
-
Tools:Pliers, Screw drivers, Wrench set
Replacing worn drum support rollers and shafts.
1 Remove power.
2 Open the lint filter cover and remove the 2 Phillip screws.
3 Pry the front of the top cover up to separate the cover from the plastic clips that secure to the top front panel.
4 Remove the 2 nut screws securing the top of the ... Read more front panel to each side cover.
5 Pull front panel out slightly to detach wiring from the cover switch.
6 Pull front panel straight up and set aside.
7 Remove drum belt from tensioner and motor pulley under the drum.
8 Remove drum by pulling it toward the front between the 2 sides.
9 Locate the 2 support rollers and their mounting shafts. Change the shafts at this point if they are worn. (Mine were OK)
10 Remove the support bracket from the shaft if present.
11 Remove the plastic triangular retainer from the shaft and slide the old wheel off of the shaft.
12 Clean the shaft from any bearing debris.
13 Replace the rollers and retainers.
14 Insert drum through the front side panels making sure the seal on the rear of the drum is centered around the opening and not folded inside the opening.
15 Place the belt on the drum and thread the belt through the tensioner and around the motor pulley.
16 Position the front cover on the lower clips on each of the sides.
17 Re-attach the 2 wires for the cover switch.
18 Pull the drum up so the opening on the drum and front cover align.
19 Screw together the side panels to the front panel using the 2 hex headed screws.
20 Check for binds by rotating the drum several times by hand.
21 Press the front of the top panel down toward the front panel to engage the plastic clips attaching the top to the front. Watch for the lint filter housing alignment as you push the top panel down.
22 Replace the 2 screws to attach the lint filter to the top cover.
23 Plug in machine and test.
Good luck, It s not as bad as it sounds.
-
Gary from Canton, CT
-
Difficulty Level:Easy
-
Total Repair Time:15 - 30 mins
-
Tools:Nutdriver, Pliers, Screw drivers
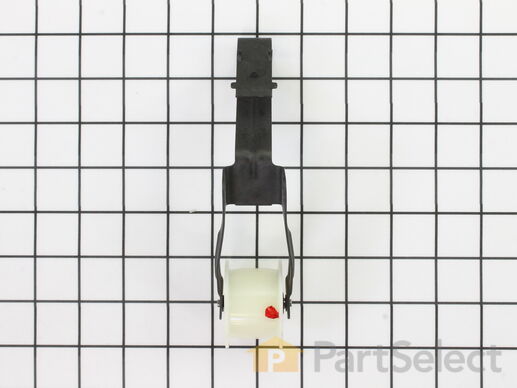
This part provides the tension required for a multi-ribbed belt. It also helps the belt rotate the drum and attaches to the idler pulley wheel. If your dryer will not start or tumble, takes too long to dry, or is noisy during operation, you may need to replace the idler pulley assembly. Make sure to disconnect power before installing this part, and wear work gloves to protect your hands. While the dryer is disassembled for this repair, consider replacing the drive belt as well. You will need a putty knife, a Phillips screwdriver, and a 5/16 nut driver for this repair.
Replacing your Kenmore Dryer Idler Pulley Assembly

Customer Repair Stories
Dryer made a terrible squealing noise
Lubricated motor and guide wheels but squealing still there. Then noticed the "idler pulley assembly" (the part that keeps the belt tight against ... Read more the drum) looked a bit old and worn. Ordered a replacement part on this site because it was much much cheaper than a service call, installed it.... and NO SQUEAL!!!
-
Will from Charlotte, NC
-
Difficulty Level:A Bit Difficult
-
Total Repair Time:15 - 30 mins
-
Tools:Screw drivers, Socket set
Busted Dryer Belt
-
Oscar from Dallas, TX
-
Difficulty Level:Really Easy
-
Total Repair Time:30 - 60 mins
-
Tools:Screw drivers
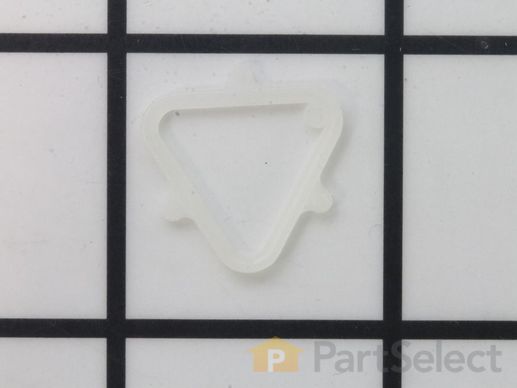
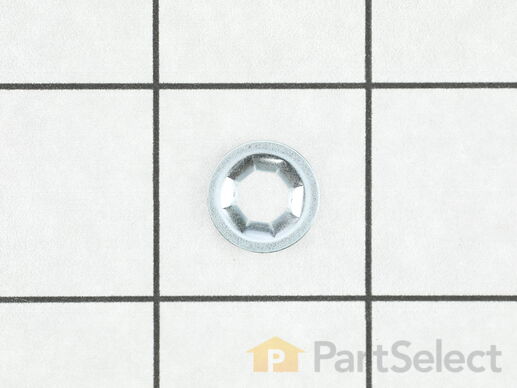
If you notice that your dryer is noisy or will not tumble, you may need to replace the tri ring. This part is triangular, and is less than an inch in size. Tri rings can be found both on the idler pulley shaft, or on the rear drum roller shaft. In either case, you will need to remove the front panel of the dryer and the drum to access the part for repair. Once you have accessed the damaged tri ring, you will simply need to slip it off and replace it with the new one. This part is sold individually. Be sure to disconnect the power source from the dryer before you begin this repair.
Replacing your Kenmore Dryer Roller Support Tri-Ring

Customer Repair Stories
My daughter threw a heavy wet comforter into the dryer and the tri-ring sheared off.
-
Joe from St. Louis, MO
-
Difficulty Level:Easy
-
Total Repair Time:30 - 60 mins
-
Tools:Nutdriver, Pliers
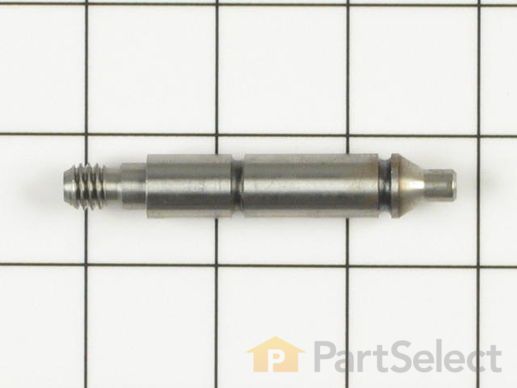
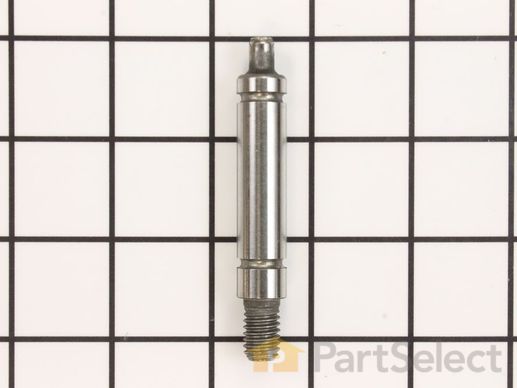
Replace the shaft of your left side drum support roller with this part from Whirlpool/Kenmore. This replacement shaft is 2-7/8 inches long. It is meant for use with many of Whirlpool/Kenmore's gas and electric clothes dryers that have been manufactured since 1965. Also known as Drum Roller Shaft.
Replacing your Kenmore Dryer Drum Roller Shaft - Left Side

Replace the shaft of your right side drum support roller with this part. This replacement shaft is 3-3/16 inches long, but does not require a washer or a nut.
Replacing your Kenmore Dryer Drum Support Roller Shaft - Right Side

Sold Individually.
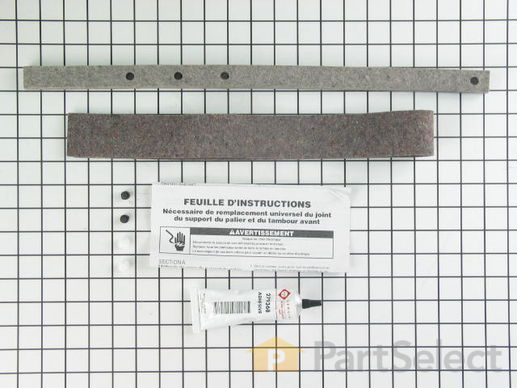
This front bearing and seal kit comes with the adhesive.
Replacing your Kenmore Dryer Bearing and Seal Kit

Customer Repair Stories
Rust marks on clothing
Any ... Read more one with a socket stet and screw driver can get it all apart.
On our machine, start by removing the 2 screws that hold the lint filter neck to the top of the machine (under the flap).
Then pry the top of the machine up in the front. It will pop up and you can fold it back.
Then you will need to remove 2 bolts and undo the plug.
From there you can pull the front off and get to the drum.Make sure you note how the belt tensioner comes out (under the drum) and how the belt is routed. It's quite basic.
After you get the drum off, peel the old seal(s) off and put the new seal(s) on as directed.
Pretty easy and our clean clothes stay clean now.
-
Patrick from Manor, TX
-
Difficulty Level:Easy
-
Total Repair Time:1- 2 hours
-
Tools:Screw drivers, Socket set
Drum was binding because of worn bearing supporting front of dryer drum
-
Leslie from Townsend, GA
-
Difficulty Level:Easy
-
Total Repair Time:1- 2 hours
-
Tools:Nutdriver, Pliers, Screw drivers
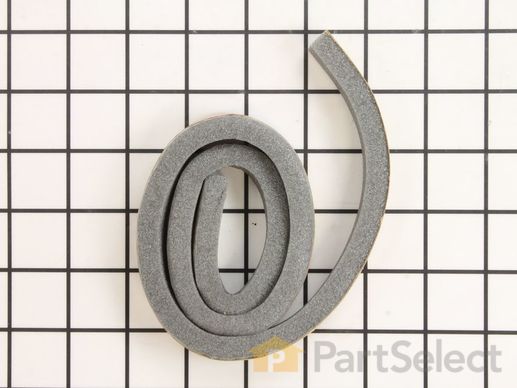
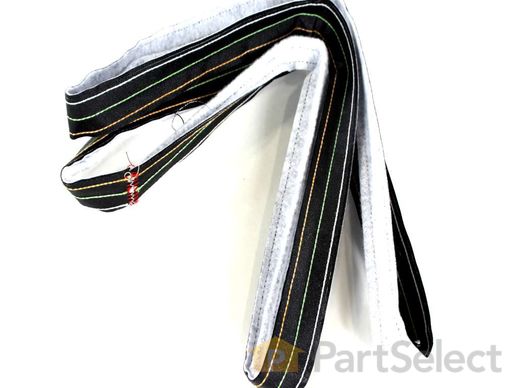
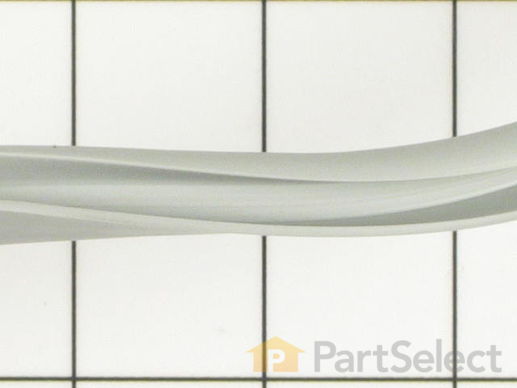
This is foam seal for your dryer. It forms a seal to prevent air from escaping the rear of the dryer drum and the lint duct. This model comes with adhesive backing and is located in between the lint chute and the bulkhead of your appliance. This foam seal is just over 28 inches long and under 1 inch wide. You may need to replace this part if your clothing is taking too long to dry, or if your dryer is not generating enough heat or no heat at all.
Replacing your Kenmore Dryer Lint Trap Housing Seal

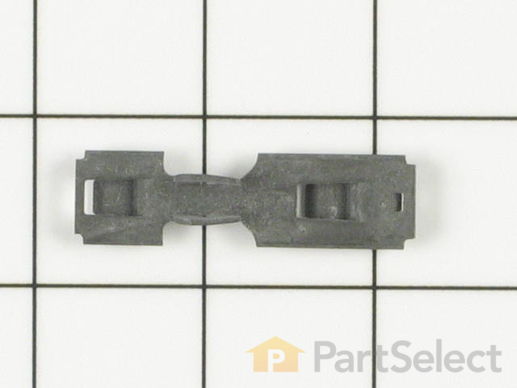
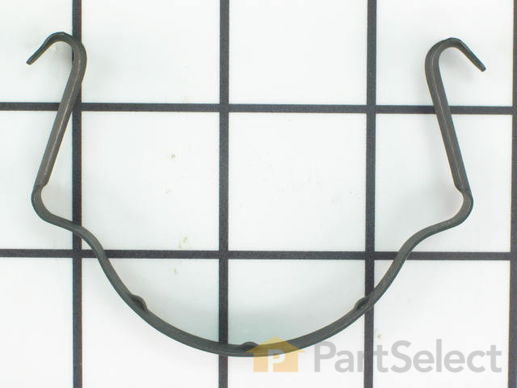
This part is the replacement single front panel clip for your dryer. It is made of metal and is approximately 2 inches long and ¾ inch wide. The front panel retainer clip is what holds the front panel on to the dryer. If the clip is damaged or missing, or if the front panel appears loose, you may need to replace the clip. This part is sold individually and is an authentic OEM part.
Customer Repair Stories
Broken clips
-
Roger from Twinsburg, AL
-
Difficulty Level:Easy
-
Total Repair Time:30 - 60 mins
-
Tools:Nutdriver, Screw drivers
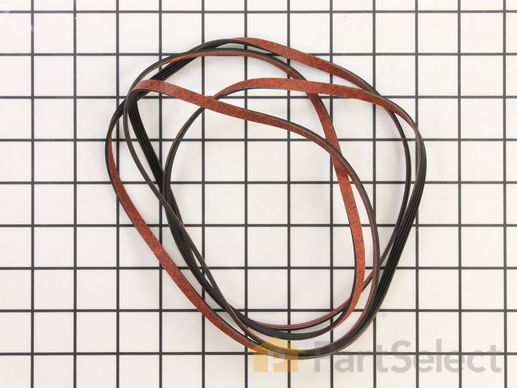
Specifications: Length 79-1/8 inch, width 1/4 inch, 4 ribs, Flat.
Customer Repair Stories
Dryer was rumbling and clanking
First I pulled it away from the wall and disconnected the power cord. I loosened the four nut/screws across the top of the rear of the dryer with my adjustable wrench then removed them with the flathead screwdriver. Then from the front ... Read more of the machine, pulled the top of the dryer towards me, freeing the top and removed it. I could see one belt towards the front of the machine that appeared to be intact. I plugged the dryer back in and ran it... It spun but continued to clank and rumble. I noticed a "groove" near the rear of the drum and didn't see a belt there so I assumed that I needed the rear belt and ordered a replacement. I WAS WRONG. It turned out that there is actually only ONE BELT on this machine, that in fact I needed replacement DRUM WHEELS.
Next, I unplugged the power cord again and then I removed all twenty some-odd screws from the rear of the machine... which was POINTLESS as it only gave me access to the heating element, so I replaced this and all the screws.
I then removed the inside top nut/screw from the front panel on both the right and left inner lip. The panel then lifted up and off of the machine...only connected at this point to the rest of the dryer by the wires.
I made a schematic of the wires and which color was connected where, and then only removed those that were necessary to detatch the front panel completely from the dryer (so I could easily replace them properly later).
I noticed at this point that the belt was still functioning (although was cracked and needed replacing soon anyways)...but that the bottom drum wheel had worn itself down on the inside (where it rests on the axle)...the rubber around the outside was still good... but the whole wheel needed replacing. The side drum wheel (same part number as bottom) appeared to be fine.
I ordered replacement DRUM WHEELS (they sell them in packages of two only).
When the wheels arrived, I got down on my hands and knees and noticed how the belt was connected to the drive spindle of the motor... by a spring levered plastic wheel... very simple. Push the spring lever towards the drive spindle of the motor...loosening the belt. Then removed the belt from the motor, relaxing the spring and the belt came off, hanging only around the drum of the dryer.
Without tension on the spring levered plastic wheel, it came off of the bottom of the dryer completely. (If your belt has broken, you most likely will find this sitting on the bottom of your dryer...I will tell you how to attach it later on in this story.).
I carefully pulled the sides of the dryer case apart and slid one side of the drum forward out of the case...then slowly slid the other side of the drum out of the case...gently lifting up and out...completely removing the drum from the machine....setting it aside.
The dryer (inside the case) was FILTHY. I got out the handheld vacuum and cleaned it all out (finding a religous medallion, an earring, and over $2.00 in change). I vacuumed the inner bottom, sides, motor, and took advantage of vacuuming the inside of the lint collector as well... cleaning it up nicely.
The bottom drum wheel was attached by a triangular plastic clip (on both sides of the wheel)...I removed the plastic clip carefully by gently prying it off with the flat edged screwdriver... being careful not to break it. There was a LOT of hair wrapped around the axle near the triangular clip and used the pliers to pull the hair off...then removed the bad wheel..then the plastic clip behind where the wheel was sitting...and the hair there as well. I cleaned off the axle thoroughly, then did the same with the other drum wheel (even though it looked fine, I replaced them both.).
I set the old side wheel aside with the old (still useable) triangular plastic clips. In the future if one of the wheels goes bad... I'll have a replacement that will get me by.
Then I slid one of the NEW triangular p
-
William from Burlington, WA
-
Difficulty Level:A Bit Difficult
-
Total Repair Time:More than 2 hours
-
Tools:Pliers, Screw drivers, Wrench (Adjustable)
drum stopped turning
-
Kenneth from Gerber, CA
-
Difficulty Level:Really Easy
-
Total Repair Time:Less than 15 mins
-
Tools:Nutdriver, Screw drivers
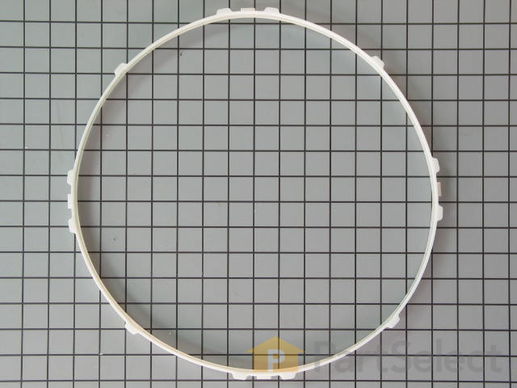
Fits around the front of the drum.
1 1/2 diameter.
Creates a seal between the rear panel and the rear of the drum.
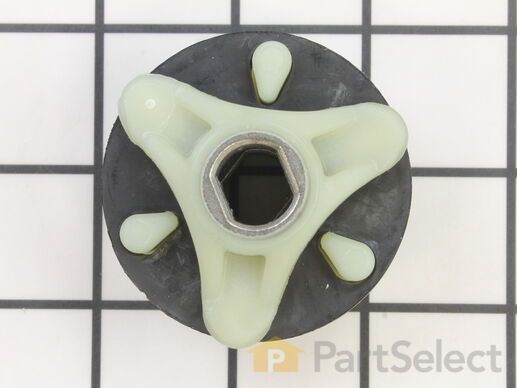
This direct drive motor coupling (Direct Drive Washer Motor Coupling, Motor Coupling, Washer Motor Coupling, Coupling Kit) provides a cushioned connection between the transmission and the motor shaft. It attaches to the direct-drive transmission and the motor shaft. If this part is defective it will affect the agitator in your washer because of its direct connection with the motor. Your washer may not agitate, spin slowly, or not spin at all. The coupling must be replaced when there is no longer a consistent connection between the transmission and the motor shaft. The coupling can wear over time because of its location between two major parts of the dryer. It is subject to material fatigue over time from normal use, or breakage caused by frequent overloading. The part measures approximately 2 inches in diameter, and is constructed of plastic and metal. This model comes in black/white.
Replacing your Whirlpool Washer Direct Drive Motor Coupling

Customer Repair Stories
Broken Coupling
1. Removed hoses from the pump
2. Removed Wiring harness from the motor
3. Unscrewed saftey screws from both clamps which hold the motor against the motor bracket.
4. Using a screw driver I easily removed/pryed the clamps from the motor.
5. I then removed the broken plastic coupler from the motor sha ... Read more ft and installed the new one coupler.
6. I did the same thing on the clutch side.
7. I set the Rubber coupler in clutch side.
8. Put motor back on until couplers joined together.
9. Placed Brackets back on Motor (patience here).
10. screwed back saftey screws on clamps.
11. connected hoses back.
Thats it... 45 minutes at most .. Save me from having to buy a new easher. I was convinced I was going to have too until I peeked underneatch the washer and saw the rubber coupler on the ground...
-
Hugo from Frisco, TX
-
Difficulty Level:Really Easy
-
Total Repair Time:30 - 60 mins
-
Tools:Pliers, Screw drivers, Socket set
No movement from Basket & agitator
First take off the water pump by removing the two clips that hold it in place. Place a shallow pan under the pump to catch the water that is in the pump and hoses. Open the hose clamps with a pair of pliers or channel locks (better) and slide the hoses off of the water pum ... Read more p.
The motor comes off next. Unplug the electrical connector from the motor and two wires from the capacitor. Remove the two screws holding the clamps in place and then pop off the two clamps. You will need to hold up the motor with one hand while you remove the clamps or it will fall to the floor once the clamps are removed.
One piece of the coupling assemble will be attached to the motor and the other will be attached to the gearcase drive shaft. If you want to clean up the mess created by the shredded rubber center piece of the coupling assembly you will have to take off the motor mounting plate. It is held on by two bolts and removing it makes installing the coupling easier but probably not necessary.
Push the back half of the coupling on to the gearcase drive shaft until the shaft is flush with the face of the coupling. Install the new rubber center piece on to the coupling then re-install the motor mounting plate. Install the other half of the coupling on to the motor shaft and lift the motor up to the coupling. You have to rotate the motor shaft by spinning the fan blades until the coupling lines up so you can slide it into the other half of the coupling. Then just reattach the motor, connectors and water pump in the reverse order of disassembly.
-
Jeff from Wayne, NJ
-
Difficulty Level:Easy
-
Total Repair Time:30 - 60 mins
-
Tools:Pliers, Screw drivers, Socket set
This clamp is used to secure the drive motor.
Customer Repair Stories
Dryer drum wouldn't turn and motor would shut off
-
Cynthia M from Westfield, MA
-
Difficulty Level:Easy
-
Total Repair Time:More than 2 hours
-
Tools:Screw drivers
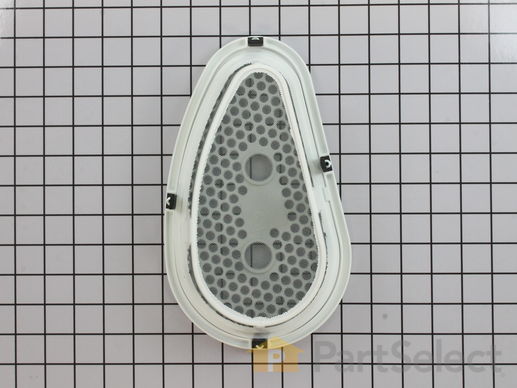
Cover and filter as an assembly. It is used in dryer, If the lint filter cover is damaged or cracked, it should be replaced.
Replacing your Kenmore Dryer Dryer Lint Filter and Cover

Customer Repair Stories
lint coming out duct outside
-
john from hamlet, NC
-
Difficulty Level:Really Easy
-
Total Repair Time:Less than 15 mins
lint filter screen was broken
-
Kevin from Seattle, WA
-
Difficulty Level:Really Easy
-
Total Repair Time:Less than 15 mins
Adhesive sold separately.
Customer Repair Stories
Seal snapped, which lead to longer dry cycles.
-
Christian from Sunapee, NH
-
Difficulty Level:Really Easy
-
Total Repair Time:Less than 15 mins
Gasket was falling off, needed replacement
-
Anthony from N. Ferrisburg, VT
-
Difficulty Level:Really Easy
-
Total Repair Time:Less than 15 mins


