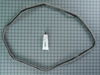
The Dryer Thermal Fuse (Thermal Cutoff, Temperature Fuse) is a 2 by ½ inch, white, plastic safety mechanism that stops the flow of electricity to the motor circuit when a dryer overheats. If the fuse ...
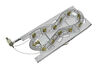
This dryer door switch is a simple on/off switch mechanism that prohibits the dryer from operating when the door is open, and operates the drum light. White in color and 6.5 inches long, this OEM swit...
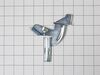
This part replaces your appliances latch (Door Latch Kit, Door Catch, Dryer Door Latch Kit). On your appliance you will find both a strike and a catch. The strike is mounted on the body of the dryer, ...
When connected to electricity the dryer heating element glows red hot and generates heat. When air is blown over it, it heats the air which is used to dry the clothes. The heating element fits inside ...
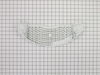
The filter collects lint during the drying cycle. This filter is 12 1/2 inches wide and 10 1/2 inches deep. Replacing the lint filter is an easy repair which requires no tools. When replacing the lint...
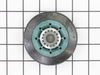
This Idler Pulley includes the tri-ring and gasket and everything included here is manufacturer-certified. This part maintains correct tension on the drive belt in order to spin the drum properly. If ...
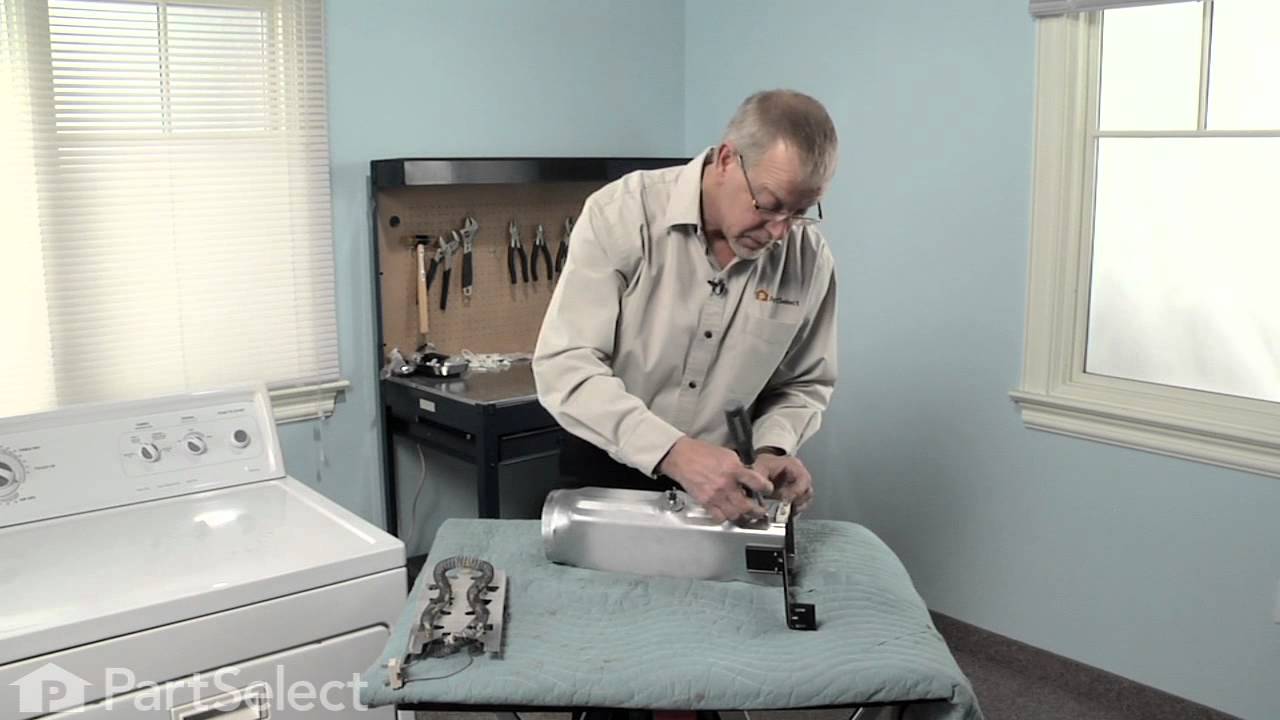
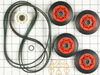
This dryer repair kit consists of five commonly replaced dryer parts: one multi-rib belt (part #661570V and measures 93 1/2 inches long), four drum support rollers, one idler assembly, nine tri-rings,...
This drum support roller is sold individually. Most dryers require two. The tri-rings are included. This is a drum support roller for a dryer. It is a genuine replacement part. The part includes the d...
The Drive Belt is a 93 1/2" belt which wraps around the dryer drum to allow tension and movement. If broken the dryer will not turn properly, or there may be loud noises. The part is rated as "medium"...
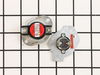
This kit includes one high limit thermostat with a limit of 250 degrees Fahrenheit, and one thermal cut-off fuse with a limit of 360 degrees Fahrenheit. The thermostat and fuse help prevent the dryer from overheating.
If you notice that your dryer is noisy or will not tumble, you may need to replace the tri ring. This part is triangular, and is less than an inch in size. Tri rings can be found both on the idler pul...
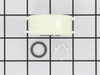
This genuine OEM washer has a 3/4 inch outside diameter. This thrust washer can be used on most makes and models of dryers. A complete list of compatible dryers is available below. The washer is found...
$7.95
In Stock
Questions And Answers for LEQ8611LW1
We're sorry, but our Q&A experts are temporarily unavailable.
Please check back later if you still haven't found the answer you need.
2 questions answered by our experts.
Sort by:
< Prev
1
Next >
Search filter:
Clear Filter
Your search term must have 3 or more characters.
Keep searches simple. Use keywords, e.g. "leaking", "pump", "broken" or "fit".
Sorry, we couldn't find any existing answers that matched.Try using some different or simpler keywords, or submit your new question by using the "Ask a Question" button above!
Joe
January 29, 2020
What is the wiring for the heater coil? I have a red/white wire coming from the back with a black jumper taped to it. I have a red/white jumper. I have a red wire coming from the front of the dryer, the blower motor area.
For model number LEQ8611LW1
Hi Joe,
Thank you for your question. There is a video listed with the heating element on our website that you may reference on how to install it. Here is a link to the video, https://www.partselect.com/PS11741416-Whirlpool-WP3387747-Dryer-Heating-Element.htm?SourceCode=4&SearchTerm=LEQ8611LW1&ModelNum=LEQ8611LW1. We hope this helps. Thank you and have a great day.
Ofter replacing heater element can fine the place for yellow wire in that area
For model number LEQ8611LW1
Hello Ludrick, Thank you for your inquiry. We do have a video on reinstalling the element. The yellow wire goes to the moisture sensor towards the front of the dryer. We hope this helps.
First I unplugged the dryer, then removed the back panel, this exposed most all of the wiring and I could see the heater coils. Not knowing what the problem was I started looking at the coils and could not see any broken parts. So then checked the thermal fuse for continuity I removed the two wires from it with a small pair of
... Read moreneedle nose pliers, it was held in place by two screws, once they were removed the fuse came out easily, I checked continuity with a volt meter placing the meter on X1 Ohms and could not get a reading. I replaced with a new one and put it all back together the way I took it apart. Then I plugged it in and it worked first time, I now have warm dry clothes.
Cleaning the lint out of the whole machine took quite a bit of time--it was everywhere. Underneath the lint trap was a collection that ultimately ruined the thermal fuse where it restricted the air flow considerably.
Ascertaining the problem was the most time consuming part.
The actual repair was quite simple and did
... Read moren't take but 15-20 minutes.