Make sure you haven't got the discount earlier.
Parts That Fix Frigidaire Range FFEF3011LWD Will Not Start
Will Not Start is a commonly reported symptom for the FFEF3011LWD Frigidaire Range, and we have put together a full guide on how to fix this. This advice is based on feedback from people who own this exact appliance. We have listed the most common parts for your FFEF3011LWD Frigidaire Range that will fix Will Not Start. We have included repair instructions, and helpful step-by-step video tutorials. If you are experiencing this issue, not to worry, DIYers just like you have fixed this, and shared their experience to help you!
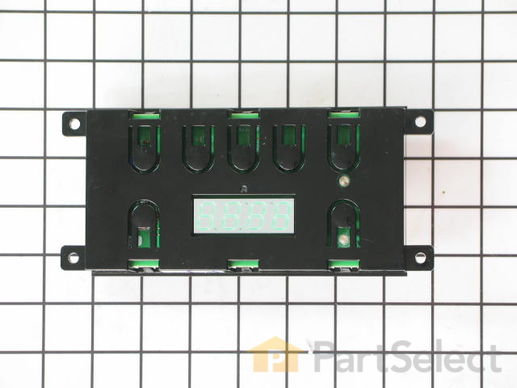
This is the electronic clock timer mechanism only. The overlay or touch pad is NOT included. To get the overlay, please use the model# of your appliance to search.
Replacing your Frigidaire Range Electronic Clock Assembly

Customer Repair Stories
Oven and broiler don't work, but everything else does.
I ordered the new clock assembly and it got to my house in 2 ... Read more or 3 days.
Once I got the new clock assembly, it was pretty easy to put in. Just take the back panel off (6 screws), unplug 5 or 6 wires, and 2 more screws and the old clock assembly is out. I peeled off the face sticker from my old clock and stuck it on the new one.
Putting it back in was just the reverse of taking the old one out. 2 screws, plugging in the wires, and then putting the back panel on.
Its been working as good as new for over a month.
-
Joshua from Normal, IL
-
Difficulty Level:Easy
-
Total Repair Time:30 - 60 mins
-
Tools:Nutdriver, Screw drivers
Oven elements would not heat
-
earl from seattle, WA
-
Difficulty Level:Really Easy
-
Total Repair Time:Less than 15 mins
-
Tools:Nutdriver, Pliers, Screw drivers
Note: Connector could be different than original. If so cut & splice wires together with porcelain wire nuts.
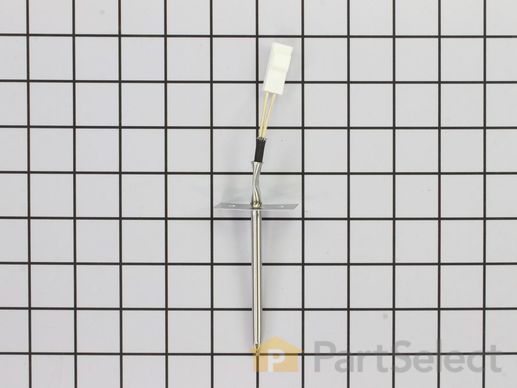
Replacing your Frigidaire Range PROBE

Customer Repair Stories
Error message on display ff30
-
Roger from CHICAGO, IL
-
Difficulty Level:Really Easy
-
Total Repair Time:Less than 15 mins
-
Tools:Pliers
Range would not come on
I had to splice wires since new probe ends did not match up.
the instructions were to splice the wires. I had the breaker off for about 3 hours. this is not in the instructions, but being a widow, I had to ask a few people why it would not come on after I connected the wir ... Read more es.
After waiting, I turned the breaker on and my range came back on.
-
MaryLou from Monroe, NC
-
Difficulty Level:Easy
-
Total Repair Time:30 - 60 mins
-
Tools:Pliers, Screw drivers
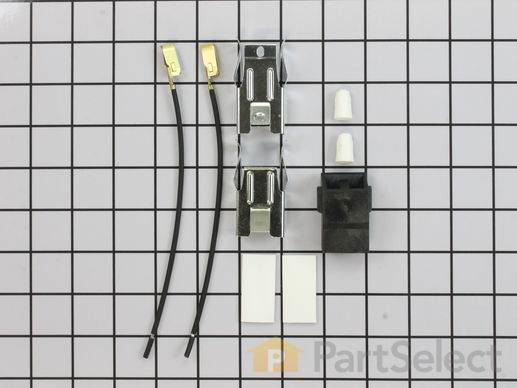
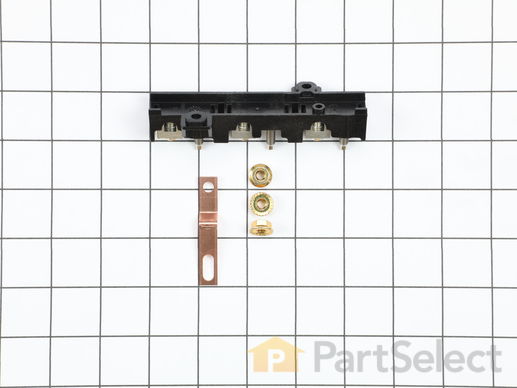
This part connects the wire harness to the surface element and is used for ranges. The kit includes interchangeable mounting brackets, ceramic wire nuts, heat shrink protective tubing, and wires. If your range/oven is having symptoms such as burner not heating, heating elements not working, burning smell, or if the oven is making a buzzing noise then this could be the solution. The tools needed to replace the kit are wire strippers, a heat gun or hair dryer, and #1 square heard screw driver. Refer to the installation/instructional video for further guidance to accurately replace the element.
Replacing your Frigidaire Range Terminal Block Kit

Customer Repair Stories
Block terminal burnt out, hot plate not working, needed to replace the terminal block
-
Shaun from Whitehall, MD
-
Difficulty Level:Difficult
-
Total Repair Time:More than 2 hours
-
Tools:Pliers, Screw drivers
corroded terminals
to put over the wires for insulation. used a hair
dryer. must buy more of that amazing stuff
-
Gary from hollywood, FL
-
Difficulty Level:Easy
-
Total Repair Time:15 - 30 mins
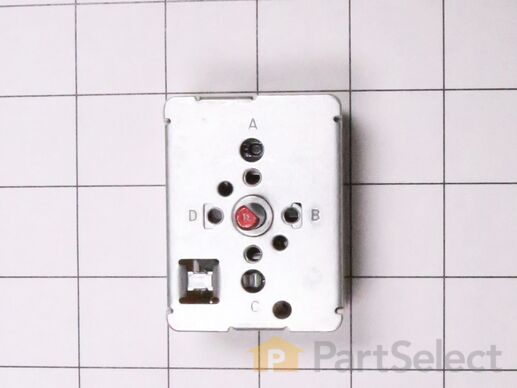
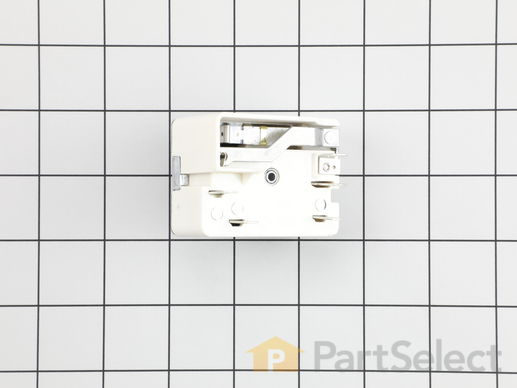
The infinite burner switch controls the stove top eight-inch surface burner, which is the large surface element. If your surface element is not warming up, the element can be tested to determine whether or not it is defective. If your element is not defective, then it is more than likely that the infinite burner switch is the issue. Before you install the infinite burner switch you will need to unplug your range from the power supply, or shut off the home circuit breaker. The tools you will need to do this repair include a number one square head screwdriver and a pair of needle nose pliers.
Replacing your Frigidaire Range Infinite Burner Switch

Customer Repair Stories
If burner was placed on HIGH, it wouldnt lower heat once LOW setting chosen
-
Juilo from Lake City, FL
-
Difficulty Level:Really Easy
-
Total Repair Time:15 - 30 mins
-
Tools:Pliers, Screw drivers
Back Burner didn't function
I didn't want to call a repair man because I didn't want to be charged a $150 to have him come out and they to pay extra for parts (and of course a 2nd visit). So I went to www.Partselect.com and typed in the model of my range. Found the diagrams for my range and saw that from the switch ran a pair of wires to a Universal Receptacle (aka Terminal Block Kit). I figured since the Red light turns on when I turn the switch on it has to be the Terminal Block.
I ordered the part from www.Partselect.com ($14.00 including shipping) and replaced the part. The burner still would not get hot. I decided to test the switch. I removed the Control Panel cover (which is secure by 2 screws just below the digital clock). Once the cover was off, I saw the Blue wires going from the switch to the Terminal Block. To test the switch, I disconnected the two Blue Wires from connectors H1 and H2 and temporarily connected them to H1 and H2 of another switch. Sure enough, when I turned the other switch the element got hot.
So I placed another order from www.Partselect.com for a replacement switch ($50 including shipping). When that part came, I flipped the electrical circuit going to the range. I then removed the Control Panel cover again. With the new switch in hand (holding it near the old switch still attached to the Control Panel, I used the pliers to pull out each wire from it's connector and place it to it's corresponding connector on the new switch. Once all the wires were connected to the new switch, I pulled the knob of the switch off then used a phillips screwdriver to remove the two screws holding the switch to the control panel. I replaced the old switch with the new one put the screws back in, replaced the knob. Turned the circuit back on and tested to make sure that the element got hot. When it did, then I replaced the Control Panel cover and enjoyed a nice dinner that was cooked in less time than we're accustomed to because of the new burner. So I spent a total of $64.00 to fix our range. Less than half the amount I would've spent if I called for a technican. And far less then buying a new range.
Partselect is a great resource for information. They have diagrams and schematics available to view and/or download. And when ordering it's a snap because there's an "Add to Cart" button next to each part it lists. So there's no confusion. I've already recommended Partselect.com to about 5 people. And will continue to do so!!
-
William from Burke, VA
-
Difficulty Level:Easy
-
Total Repair Time:15 - 30 mins
-
Tools:Screw drivers
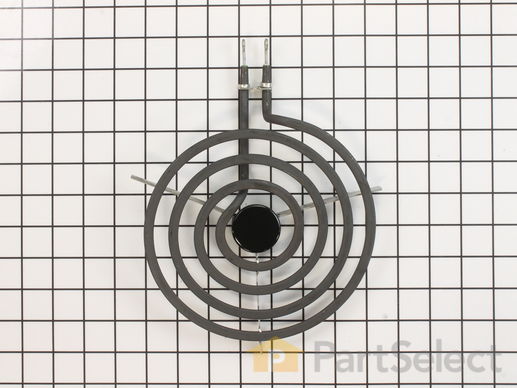
If the burner element on your range will not heat up, or is damaged, it may need to be replaced. This part is 8 inches in diameter, and should not be confused with the smaller 6-inch model. The part is 220 Volts and 4 Turn. The burner element connects to the terminal block inside the range. To do this repair, simply remove the old surface element and replace it with the new part. This product is sold individually. As the surface element is hot when it is on, be sure to unplug the range from the power source before completing this repair.
Replacing your Frigidaire Range Surface Element - 8 Inch - 220V

Customer Repair Stories
replacement burner
-
Donna from Westfield, MA
-
Difficulty Level:Really Easy
-
Total Repair Time:Less than 15 mins
Burner wouldn't stay hot.
-
Billy from Lovelady, TX
-
Difficulty Level:Really Easy
-
Total Repair Time:Less than 15 mins
This is a part for your range. This switch controls the stovetop surface burner. If you notice that your stove top is not turning on or is not adjusting to the corresponding desired heat, it is mostly likely due to the burner switch needing to be replaced. You will need a #1 square-head screwdriver and needle-nose pliers. Disconnect the power from the range. You will need to move the range out from the wall to remove the upper back panel to access to this part. This is an OEM genuine part.
Replacing your Frigidaire Range Infinite Burner Switch - Small Element - 240V

Customer Repair Stories
new switch was not wired like old one
-
PERRY from LECANTO, FL
-
Difficulty Level:A Bit Difficult
-
Total Repair Time:30 - 60 mins
-
Tools:Screw drivers
Switch Was Making A Arcing Sound When Burner Was On
-
Gerald from Paris, TN
-
Difficulty Level:Easy
-
Total Repair Time:15 - 30 mins
-
Tools:Screw drivers
Customer Repair Stories
left terminal broke off from the base of the block causing circuit breaker to trip and not able to be re-set
-
Fred from North Babylon, NY
-
Difficulty Level:Easy
-
Total Repair Time:15 - 30 mins
-
Tools:Nutdriver, Pliers, Screw drivers
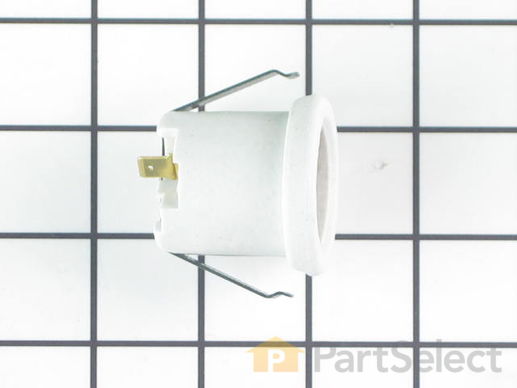
The oven light socket allows you to screw in a light bulb so that you can see the inside of your oven. The light socket is located in the back of your oven, so you will need to remove the back panel to access the socket for the repair. You will also need to remove the current light bulb and the light lens cover so that the old socket can be removed. As you will be working around electrical circuits for this repair, be sure to disconnect the power source from the oven before you begin work on the oven.
Replacing your Frigidaire Range Oven Light Socket

Customer Repair Stories
Oven light receptacle broken - bulb base broke off
-
Paul from Spokane Valley, WA
-
Difficulty Level:Easy
-
Total Repair Time:30 - 60 mins
-
Tools:Screw drivers


