Parts That Fix KitchenAid Dishwasher KUDS01FLSS6 Leaking
Leaking is a commonly reported symptom for the KUDS01FLSS6 KitchenAid Dishwasher, and we have put together a full guide on how to fix this. This advice is based on feedback from people who own this exact appliance. We have listed the most common parts for your KUDS01FLSS6 KitchenAid Dishwasher that will fix Leaking. We have included repair instructions, and helpful step-by-step video tutorials. If you are experiencing this issue, not to worry, DIYers just like you have fixed this, and shared their experience to help you!
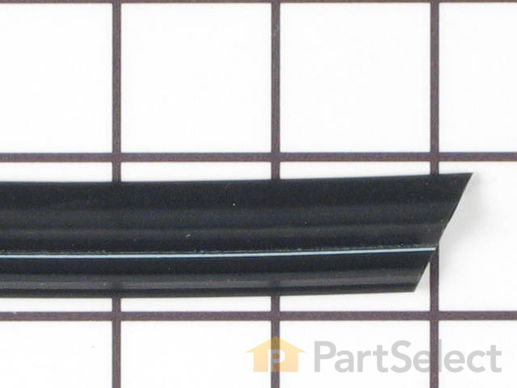
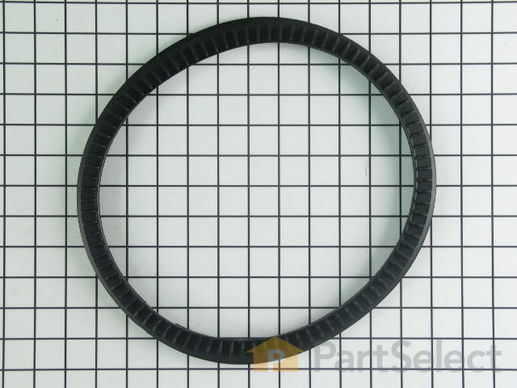
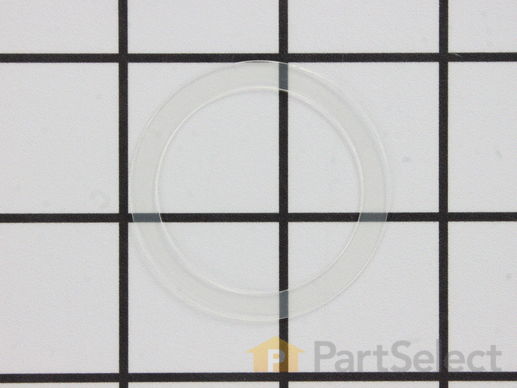
This is a door seal, but you may also know it as a door gasket and it is a part for your dishwasher. It provides a leak proof seal between the tub and the door of your appliance. You will need to replace the door seal if you are experiencing leaking from the front of your dishwasher. Once you have removed your old seal, we recommend inspecting the groove to make sure there are no food particles or debris caught inside that will impede the installation process.
Replacing your KitchenAid Dishwasher Door Gasket

Customer Repair Stories
Seal on dishwasher worn out and coming loose.
-
william from Wethersfield, CT
-
Difficulty Level:Really Easy
-
Total Repair Time:30 - 60 mins
Door seal on dishwasher frame was brittle and deteriorated
-
Tracy from Jupiter, FL
-
Difficulty Level:Easy
-
Total Repair Time:Less than 15 mins
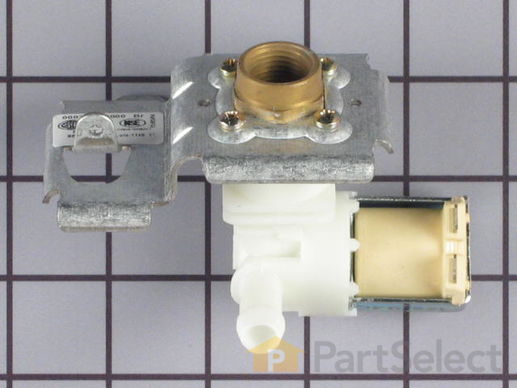
This water inlet valve should be located behind the lower kickplate panel in either the right or left corner. The attaching solenoid on the valve will open and close according to the desired amount of water needed.
Replacing your Kenmore Dishwasher Water Inlet Valve

Customer Repair Stories
Water leak / minor hard to find
Two: remove the Door face panel for easier access to the inlet-Valve.
Three: remove screw that holds Inlet-valve bracket.
Four: slide Inlet valve bracket left and back to get out of slots.
Five: Holding the Inlet-valve ... Read more forward loosen and remove water line (copper tube nut / pressure fitting).
Six: Remove two wire clips
Seven: Remove platics hose (Spring Clamp)
Replace Inlet-Valve and reverse process///
-
Gus from hayward, CA
-
Difficulty Level:Easy
-
Total Repair Time:1- 2 hours
-
Tools:Pliers, Wrench set
After removing our dishwasher from storage and installing it, the inlet valve was leaking.
I rolled the dishwasher from under the counter and removed the water supply line from the e ... Read more lbow at the bottom of the dishwasher inlet valve with an adjustable wrench. We then set the dishwasher on its back to gain easy access to the inlet valve.
To remove the inlet valve, Using a philips head screwdriver I removed the one screw holding the bracket and the valve was loose from the dishwasher. Then, two wires were removed from the valve by sliding the clips from the tabs on the valve. The hose that carries the water to the dishwasher was removed by squeezing the clamp with pliers and sliding it onto the hose and pulling the hose from the nipple.
With the valve removed from the dishwasher, the elbow for the supply line can be removed from the bottom of the old valve and installed on the new valve using teflon tape to seal the connection.
The new inlet valve was then installed by reversing the procedure.
Checked to make sure there are no leaks and the dishwasher was good as new.
-
Claudia from Avella, PA
-
Difficulty Level:Easy
-
Total Repair Time:15 - 30 mins
-
Tools:Pliers, Screw drivers, Wrench (Adjustable)
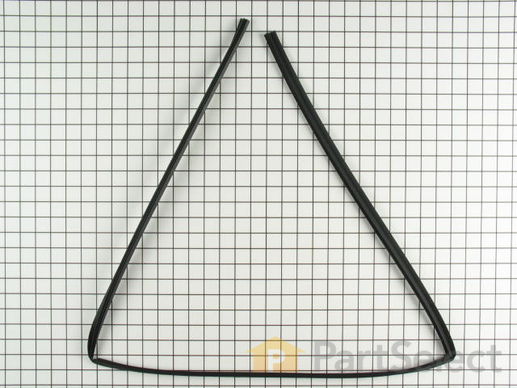
This is a seal, but you may also know it as a door gasket and it is for your dishwasher. The seal forms a watertight barrier between the door and the dishwasher tub, deterring water from escaping during a wash cycle. If your dishwasher is leaking you will need to replace the seal, as it is likely damaged. The first step should be to check the seal for buildup of food particles near the sides and the bottom of your appliance.
Replacing your KitchenAid Dishwasher Seal

Customer Repair Stories
Leak
2. Install new seal
-
Charles from WALLBACK, WV
-
Difficulty Level:Really Easy
-
Total Repair Time:30 - 60 mins
Leaking door seal
-
Charles from ELGIN, IL
-
Difficulty Level:Easy
-
Total Repair Time:30 - 60 mins
-
Tools:Screw drivers
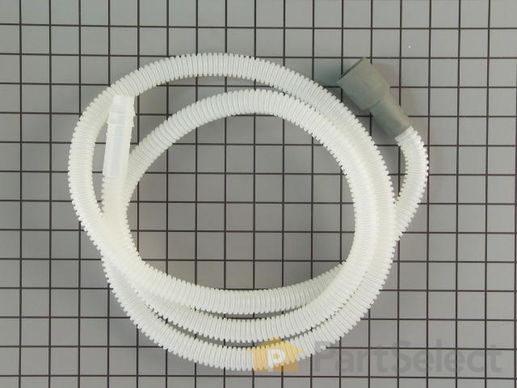
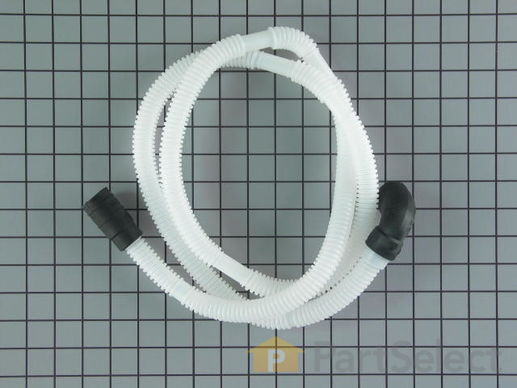
This drain hose is 6 and 1/2 feet.
Replacing your KitchenAid Dishwasher Drain Hose

Customer Repair Stories
Drain hose leaking
-
Robert from Beaufort, SC
-
Difficulty Level:Easy
-
Total Repair Time:15 - 30 mins
-
Tools:Pliers
Unwanted water.
-
David from PITTSBURGH, PA
-
Difficulty Level:Easy
-
Total Repair Time:30 - 60 mins
-
Tools:Pliers, Screw drivers, Wrench (Adjustable)
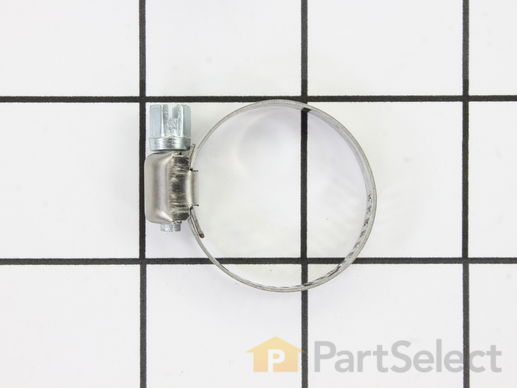
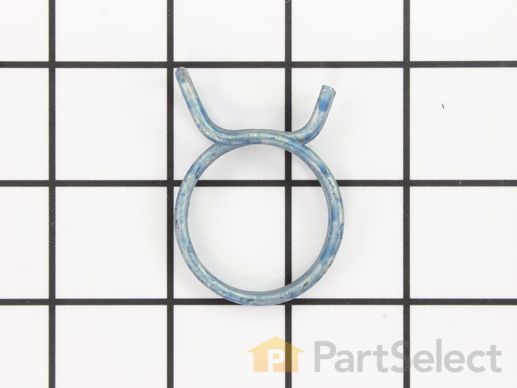
This hose clamp is used in a wide variety of household appliances. Most often it is found in washers, dishwashers, refrigerators, freezers, dehumidifiers, garbage disposals, or air conditioners. This clamp is used to securely attach a hose to another part of your appliance, which helps prevent leaks from those connections. Depending on the appliance, it can attach hoses to drain pumps, water inlet valves, pressure switches, and injector nozzles. We recommend you refer to model-specific diagrams for appropriate uses and exact placement. This hose clamp is made of metal, and is sold individually. To access and replace this part you will need a nut driver, pliers, and screwdrivers. Before you begin any repair work, make sure you have unplugged your appliance, and shut off the water supply if applicable.
Replacing your Kenmore Washer Hose Clamp

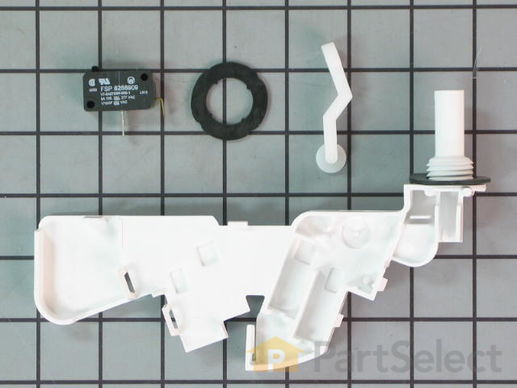
This kit includes the switch, lever, seal and standpipe. Water that fills your dishwasher lifts the float, and when it reaches a certain level, the float acts as a trigger for the float switch. The float triggers the switch to shut off, thereby shutting off the flow of water into the dishwasher.
Replacing your KitchenAid Dishwasher Float Switch Kit

Customer Repair Stories
leaking water bottom rigth side
-
michael from WINCHESTER, MA
-
Difficulty Level:Very Easy
-
Total Repair Time:30 - 60 mins
-
Tools:Screw drivers, Wrench (Adjustable)
Dishwasher leaked under right front corner. Discovered that overflow(float switch) was either sticking allowing fill to overflow or rubber gasket was deteriorated allowing water to leak through mounting hole.
-
Robert from Rochester, NY
-
Difficulty Level:Really Easy
-
Total Repair Time:15 - 30 mins
-
Tools:Wrench (Adjustable)
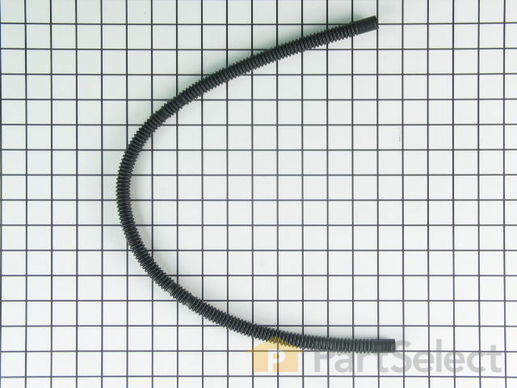
This fill hose is a genuine OEM replacement part for your dishwasher. The hose is made of black plastic, and is accordion-style, for ease of movement within your dishwasher. To replace the fill hose, you will need a 1/4 inch nut driver, Channellock pliers, and a Phillips screwdriver. Replacing this part will require some disassembly, such as removing the water inlet valve from the fill hose, and the clamps which secure the hose in place. Reuse your existing clamps when securing your new fill hose in place.
Replacing your Whirlpool Dishwasher Inlet Fill Hose

Customer Repair Stories
The hose had a slit in it.
-
Larry from Sarasota, FL
-
Difficulty Level:Easy
-
Total Repair Time:15 - 30 mins
-
Tools:Screw drivers, Wrench (Adjustable)
Hole in filler hose
-
Gordon from Davidsonville, MD
-
Difficulty Level:Really Easy
-
Total Repair Time:Less than 15 mins
-
Tools:Pliers
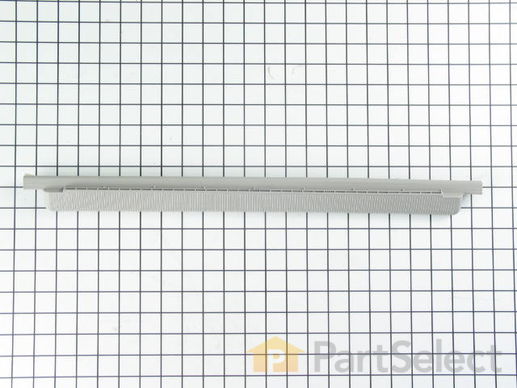
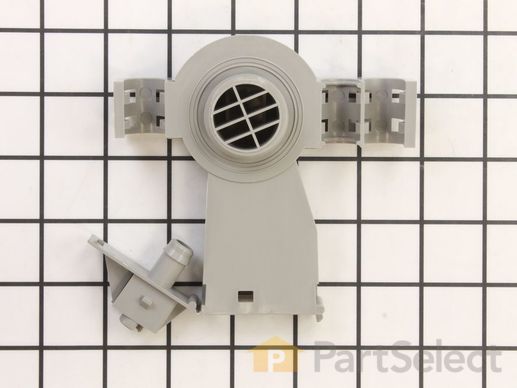
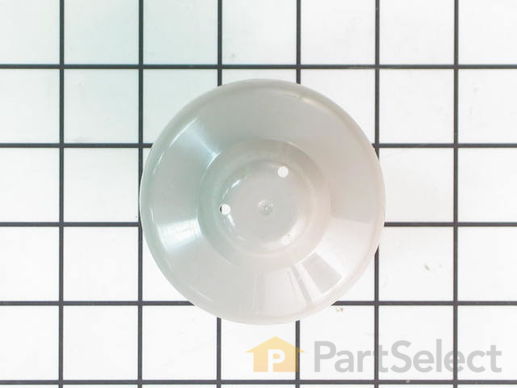
This part is located at the bottom of the door. It helps to circulate air during the drying process.
Replacing your KitchenAid Dishwasher Air Inlet

Replacing your KitchenAid Dishwasher Air Inlet

Customer Repair Stories
large leak on start of wash cycle , water leaked at bottom of door
air inlet and replaced it. the small tabs on the ends of the old inlet had bent
up allowing the water to flow by
-
robert from danvers, MA
-
Difficulty Level:Easy
-
Total Repair Time:15 - 30 mins
-
Tools:Screw drivers, Socket set
Leakage along bottom of door panel during wash/rinse
Here's my recommendation on the lower vent srtip repair. Turn off the power to the unit at you breaker panel. The air inlet strip is fastened to the backside of the inner stainleess steel door panel. To access the screws the outer door panel must be removed. Open the door and remove the six torx head screws that fasten the outer door panel to the stainless steel inner door. Don't remove the two torx screws top dead center as they hold the door latch. After removing the screws, raise the door up to the nearly closed position. Lift up the outer door panel handle and door bottom to disengage the outer panel from the inner stainless door. The next part is a little tricky since the vent strip hex head screws are at he bottom of the stainless door panel, facing out with the door closed. The lip of the bottom stainless pan is high enough to make it a tight fit to access the screws. There is also a steel bracket that is a door stiffener and holds electrical wiring. I found removing the bracket held by a 1/4" hex head screw on each side made access to the vent strip scews easier. Lay flat on the floor. With a 3/16" nutdriver or socket wrench each of the five vent strip screws can be removed. It's a tight fit between the bottom lip and door bottom, but it can be done. Remove the old vent strip and attach the new one. Make sure it fits snugly into the slot. Best to have an extra pair of hands at this point to hold the stip securely in place while screws are reinserted from the opposite side. Reassemble everything in reverse order.
It was when I had the outer door panel off that I noticed my problem was water getting past the upper round louver vent seal and thus running down the inside of the outer panel. Simple fix was to remove and clean the scale residue from the parts and door. Then reassemble the vent and twitst tighten the vent to compress the rubber seal on the inside face of the door.
-
Carl from North Haven, CT
-
Difficulty Level:A Bit Difficult
-
Total Repair Time:30 - 60 mins
-
Tools:Nutdriver
This hose is used to drain the water.
Replacing your Kenmore Dishwasher Drain Hose

Customer Repair Stories
Leaking drain hose
-
Mark from Hopewell Junction, NY
-
Difficulty Level:Easy
-
Total Repair Time:30 - 60 mins
-
Tools:Screw drivers
Rubber sleeve at drain pump rotted out
-
Jim from CENTEREACH, NY
-
Difficulty Level:Very Easy
-
Total Repair Time:Less than 15 mins
-
Tools:Nutdriver, Wrench (Adjustable)
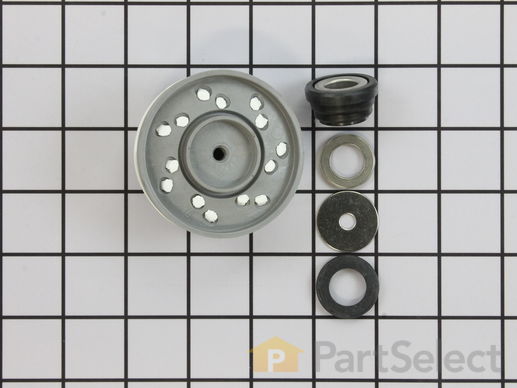
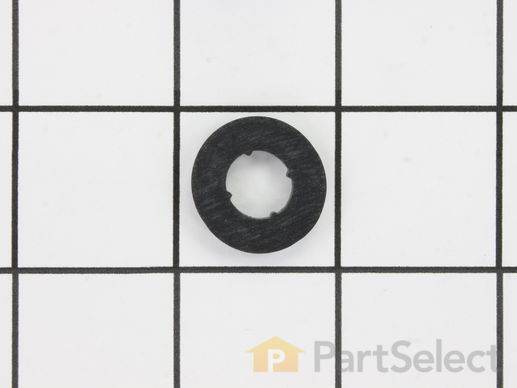
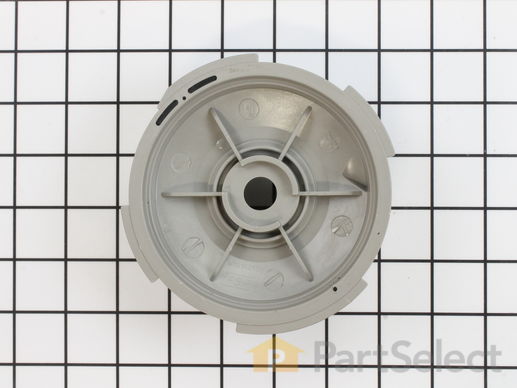
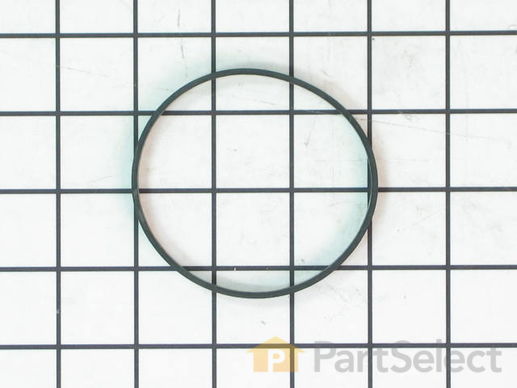
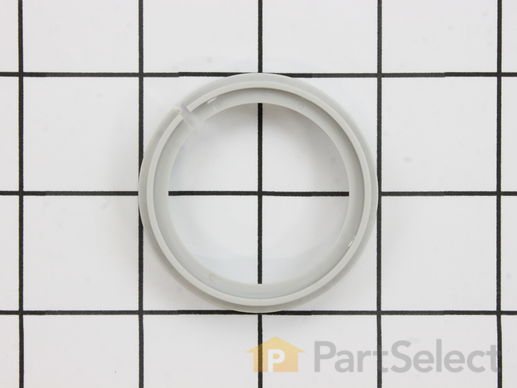
This is the replacement impeller kit for your dishwasher. This impeller kit comes with 4 pieces, including the impeller and seals which you will need for the repair. The impeller and seal kit is mounted on the dishwasher motor. If your dishwasher is not cleaning dishes properly, it may be an indication that your impeller has gone bad, and you are not getting proper water pressure. If the seals have gone bad, your dishwasher may start to leak. If you are having either of these problems, you may need to replace the impeller kit. Be sure to disconnect the water and power source from the dishwasher before you begin this repair. This is an OEM part sourced directly from the manufacturer.
Replacing your KitchenAid Dishwasher Impeller

Customer Repair Stories
The ceramic seal had failed, allowing water to destroy the front motor bearing.
-
Jerome from Greensburg, IN
-
Difficulty Level:A Bit Difficult
-
Total Repair Time:More than 2 hours
-
Tools:Nutdriver, Pliers, Screw drivers, Socket set, Wrench (Adjustable), Wrench set
Dishes would not clean
-
Kathryn from Gordon, NE
-
Difficulty Level:A Bit Difficult
-
Total Repair Time:30 - 60 mins
-
Tools:Screw drivers, Socket set
This is connected to the water valve, is located on the side of your tub and allows water to enter your dishwasher. ***Note: This part does not include the inlet gasket - must order separately.
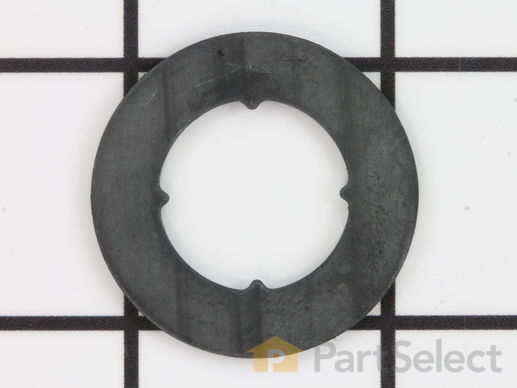
Also known as a washer.
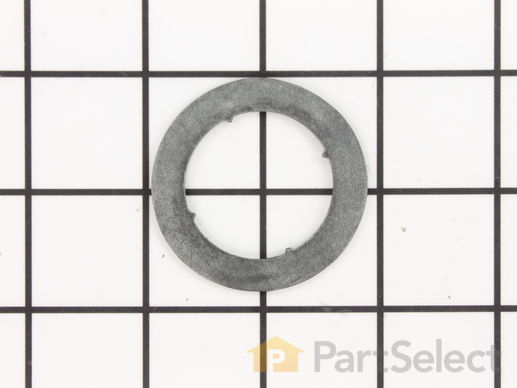
The rubber washer is a part which is specific to dishwashers and should not be substituted by a similar part. It works with the heating element to seal the receptacle opening where the heating element is attached. The rubber washer is used to prevent water leaking from your dishwasher during its cycle. Before making any repairs to your dishwasher make sure that you disconnect the power by finding the breaker for the dishwasher, and turning it off. The tools you will need to complete this repair include an adjustable wrench, and a 1/4 inch nut driver. This specific rubber washer is sold individually.
Replacing your Whirlpool Dishwasher Rubber Washer

Customer Repair Stories
Dishes would'nt come clean or dry from torn boot
Now to find out why it won't dry properly at the heating element is another task. It leaves water droplets on the dishes.
Once I got the rubber screw on attachment installed the dishes are clean & dry now & no water dropplets on the dishes.
The water dispenses up to the top like it suppost to throught the small tube to wash the upper rack dishes.
The wife is happy now she doesn't have to clean & dry them by hand.
Thank's so very much!!
Now on to the next project in hand to submit later on.
-
David from Sallisaw, OK
-
Difficulty Level:Really Easy
-
Total Repair Time:Less than 15 mins
This part forces the water from the pump to the sump area for discharge.
Replacing your KitchenAid Dishwasher VOLUTE

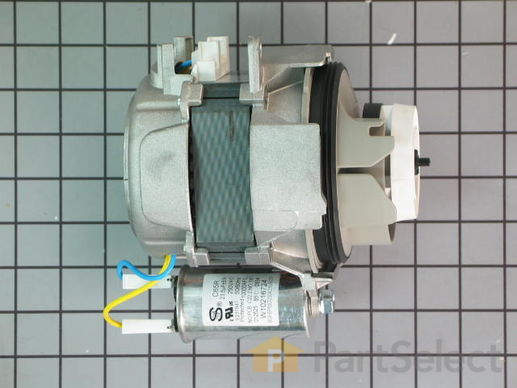
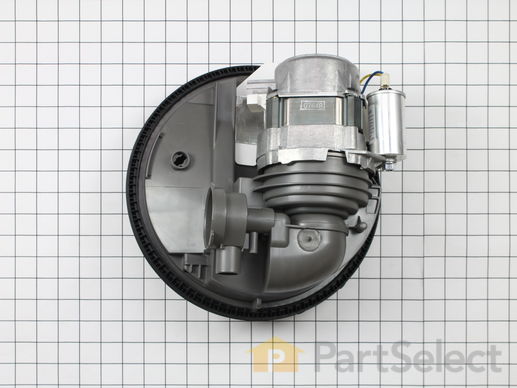
The circulation pump and motor is located near the bottom of the dishwasher. The part functions by spinning the impeller of the circulation pump, which is used to move the water through the spray arms during the wash cycle. Before you begin this repair, it is recommended that you pull your dishwasher out of the cabinet, so you can tip the dishwasher to one side and gain better access to the circulation pump and motor. Be sure to disconnect the power source and the water source to the dishwasher before you begin this repair. To complete this repair you will need a 1/4 inch nut driver and a 3/8 inch nut driver.
Replacing your KitchenAid Dishwasher Circulation Pump and Motor

Customer Repair Stories
Dishwasher motor - making a very loud grinding noise
In hindsight, I could have done this job (replace the motor) in about 30 minutes. 1) Turn off electrical breaker in basement. 2) slide out dishwasher. 3) disconnect water supply. 4) use old towels to soak up any water still in the tub. 5) turn dishwasher on it's side. 6) unhook the wire harness plug from the motor, squeeze with fingers to unhook. 7) unbolt motor, 1 bolt. 8) turn motor counterclockwise, 1/4 turn. 9) pull motor out from sump, requires some force. 10) install new motor, but use some rinse aid to lubricate the rubber seal on it. Instead I did things the hard way and took the whole darn machine apart!!! See my story below.
I was surprised at how simple the design was and how few parts there really were inside the dishwasher. I found the pdf repair manual very useful, and I also found some repair videos on line. One thing they may or may not tell you - clean the parts well and lubricate the gaskets with some 'rinse aid' liquid when you put the machine back together. Also, it might help you to take a few pictures with a digital camera before you take things apart - that might help you remember how things go back together. Take close up pictures and use a treble light to illuminate the area when you're taking a picture.
The new motor was the ticket to fixing the loud noise. I was worried because the part cost $150. Before I ordered a new motor, I hooked up the old motor to electricity on my work bench and was able to recreate the really loud noise - so I was pretty sure that the new motor would eliminate the problem. It was very easy to install the new motor, only one bolt holds it in place. I did need to disassemble several parts to get to it though. Have no fear. One thing I did was mark the electric leads that went to the small pump with red and black sharpie markers so I could easily see which terminals to plug them back onto.
After reassembling the whole dishwasher with a new motor and testing the dishwasher for leaks by pouring a couple pitchers of water into it - I put the beast back under the counter (hooking it back up to the water supply line, the drain pipe to the garbage disposal and finally the electric supply). Then I ran it and water gushed out the bottom.
This whole job should have been easy, but things never go easy for me. Maybe if I would have lubricated the old sump gasket with rinse aid it would have sealed properly when I reinstalled it. Maybe if I would have cleaned the old sump gasket and the bottom of the tub really thoroughly things would have sealed right. But I didn't - so it leaked. I went ahead and bought a new sump gasket ($30 and had a few more days of waiting and self-doubt and having the dishwasher broken down). One the gasket came, I went through the entire uninstall, disassembly, reassembly and reinstall process AGAIN!!! This time with the new clean sump gasket and thoroughly cleaned surfaces. I also lubricated the gasket with rinse aid before installation. NO LEAKS! Job finished. Lessons learned. Doing it the first time was pretty tough though. Good luck! Get a helper for moral support and picture taking!
-
Michael from St. Louis, MO
-
Difficulty Level:A Bit Difficult
-
Total Repair Time:More than 2 hours
-
Tools:Nutdriver, Pliers, Screw drivers
Loud grinding noise from water pump
-
Steve from Inver Grove Heights, MN
-
Difficulty Level:A Bit Difficult
-
Total Repair Time:More than 2 hours
-
Tools:Nutdriver, Pliers, Screw drivers, Wrench (Adjustable)
As water is filling your dishwasher, a float rises along with it. When the float reaches a predetermined level, it shuts off the flow of water, thereby preventing a leak.
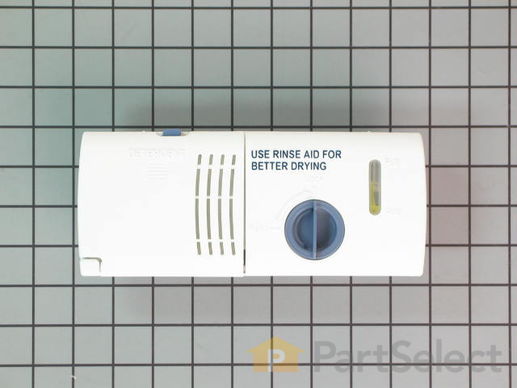
This part releases the detergent and rinse aid into the dishwasher.
Replacing your Kenmore Dishwasher Detergent and Rinse Aid Dispenser

Customer Repair Stories
Dispenser worked intermittently
I cleaned the gasket area with some 409 and a paper towel and slid the new dispenser into place. I used a 3/16" nutdriver to tighten the screws. I tightened the screws in a cross pattern in (3) stages so as not to squeeze the gasket out of position. Screw slowly and the screws will bottom out when the proper gasket tension has been achieved, don’t over tighten.
I closed the door and ran the dishwasher in rinse cycle checking for leaks. After a couple of minutes and no leaks I pushed the cancel and drain button. I folded the plastic cover back down over the dispenser and reinstalled the outer door cover tightening all screws with my electric screwdriver and torx bit. I opened the door and filled the rinse dispenser.
We've used the dishwasher several times since the repair and the dispenser has worked fine.
-
ROY from PHILPOT, KY
-
Difficulty Level:Easy
-
Total Repair Time:15 - 30 mins
-
Tools:Nutdriver, Pliers, Screw drivers
dispenser door was not closing
2. Separate outer door panel from inner door panel.
3. Locate dispenser, and remove 6 hex nuts and 2 wires for solenoid.
4. Insert new dispenser and re-insert hex nuts.
5. Reinsert torx screws.
-
Ed from Fanwood, NJ
-
Difficulty Level:Easy
-
Total Repair Time:30 - 60 mins
-
Tools:Nutdriver
This gasket goes around the perimeter of the main pump sump. This part is also sold in a kit with the sump.
Customer Repair Stories
Black specs on dishes
-
jim from kennett square, PA
-
Difficulty Level:Difficult
-
Total Repair Time:30 - 60 mins
-
Tools:Screw drivers, Socket set
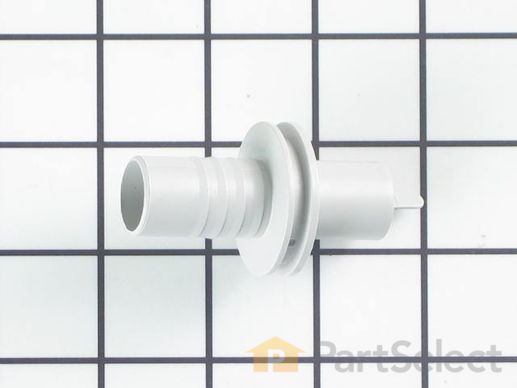
Used with the water inlet valve.
Also known as a wash arm seal.
Replacing your KitchenAid Dishwasher Spray Arm Seal

Customer Repair Stories
PartSelect screwed up.
I ordered #1174536, spray arm seal, but got #wp8268340, bearing.
Waiting for you to make this right.
Please feel free to publish this. Tom Hanna
-
Thomas from BLOOMFIELD, MI
-
Difficulty Level:Very Difficult
-
Total Repair Time:More than 2 hours
Missing order
-
Patsy from PFAFFTOWN, NC
-
Difficulty Level:Very Difficult
-
Total Repair Time:More than 2 hours
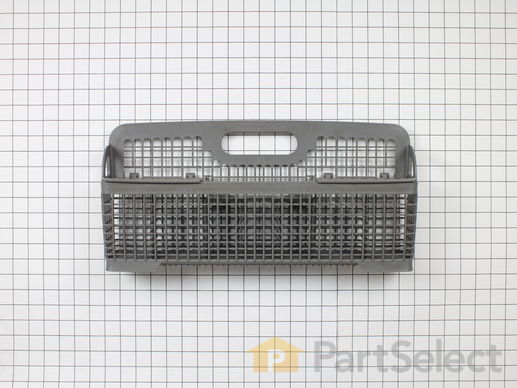
The silverware basket is a holder for washing flatware or silverware in your dishwasher. Note: This part has been updated by the manufacturer, it may appear different but will still function the same. This basket is gray in color. To do this repair, open the dishwasher door and slide the bottom rack out. The new basket hooks onto the back rail of the dish rack. Tip: to prolong the life of your basket, keep the sharp end of your cutlery pointed up to prevent cutting through the bottom, and gently place them instead of dropping.
Replacing your KitchenAid Dishwasher Silverware Basket - Gray

Customer Repair Stories
silverware basket had developed holes
The easy part of this was how fast we received the part without any special delivery request. That was nice. We also have a 46 inch TV down and the repair man has been waiting for parts for 10 days! You should handle tv parts!
-
Tom from Broken Arrow, OK
-
Difficulty Level:Really Easy
-
Total Repair Time:Less than 15 mins
existing silverware basket got holes in the bottom allowing silverware to fall through
-
Mitchell from Lake Forest, IL
-
Difficulty Level:Really Easy
-
Total Repair Time:Less than 15 mins
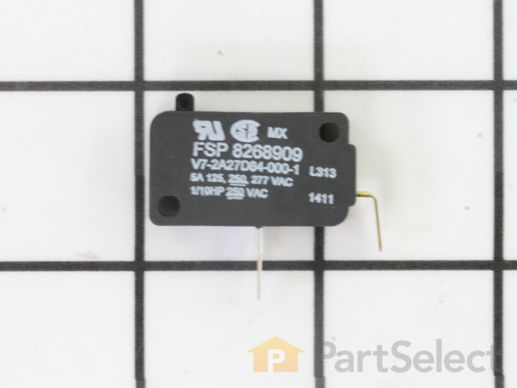
Water that fills your dishwasher lifts the float. When it reaches a certain level, the float triggers this float switch to shut off, thereby shutting off the flow of water into the dishwasher.
Replacing your Kenmore Dishwasher Float Switch

Customer Repair Stories
dish washer not filling with water.
-
Joanne from Orem, UT
-
Difficulty Level:Easy
-
Total Repair Time:30 - 60 mins
-
Tools:Pliers, Screw drivers
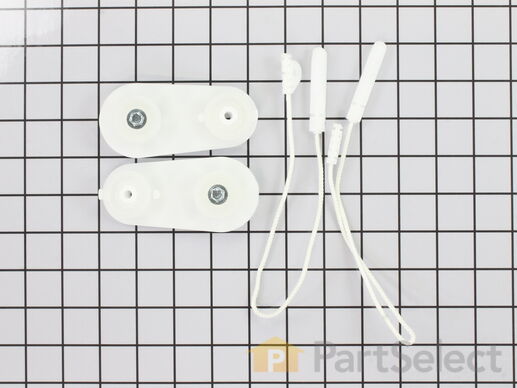
This part is a door balance link kit, also sometimes known as door cable or door spring cable kit, that helps support the door as it opens and closes by connecting to the dishwasher door hinges. The kit includes two door balance links and two door balance mounts with wheels, which will replace both the left and right sides. The only tool needed is a 5/16 nut driver. Before removing the existing kit, take note of how the door balance link kit is assembled for a smooth replacement process. It is recommended to check the door springs in case they need to be replaced as well.
Replacing your KitchenAid Dishwasher Door Balance Link Kit

Customer Repair Stories
Door spring link broken
2. Remove the kick plate under the door. May have to lower unit by turning the feet using the adjustable wrench.
3. Make sure you have enough slack in the water i ... Read more nput line and electrical wiring that you can pull the dishwasher out about 12 inches or more.
4. There is a spring and nylon rope link on both sides of the unit. Probably just one link is broken, but the replacement comes with two, so you can replace both or save one as a spare. Look at the good side and it should be pretty self explanatory how it attaches. I found it easiest to first thread the link around the lower pulley, then attach the link to the spring, then spring to the rear support, then the link to the door.
5. Reverse (2 to 1) to reinstall the dishwasher.
-
Sean from Ramona, CA
-
Difficulty Level:Easy
-
Total Repair Time:15 - 30 mins
-
Tools:Screw drivers, Wrench (Adjustable)
Replaced Hinge Link
-
Scott from Fort Lauderdale, FL
-
Difficulty Level:Easy
-
Total Repair Time:Less than 15 mins
-
Tools:Screw drivers
This seal is located between the spray arm and the water feed tube.
Replacing your KitchenAid Dishwasher Spray Arm Seal

Customer Repair Stories
lack of water flow
removed one screw
removed old seal
installed new seal
installed screw
-
Geoff from Avon, CT
-
Difficulty Level:Really Easy
-
Total Repair Time:30 - 60 mins
-
Tools:Screw drivers
This clamp helps to prevent leaking by holding the end of water hose in place.
*** This part no longer includes the Chopper Assembly as per the Manufacturer *** The part functions by spinning the impeller of the circulation pump, which is used to move the water through the spray arms during the wash cycle.
Replacing your Kenmore Dishwasher Circulation Pump and Motor Assembly

Customer Repair Stories
Pump Motor not working
2.Shut off water supply valve.
3.disconnected water line from inlet valve.
4. disconnect the drainage hose.
5. have plenty of towels to mop up water.
6. Remove racks and disconnect water diverters inside the tub.
7. remove phillips head screws that hold dish washer to counter ... Read more .
8, Pull out DW and lay on its side to expose bottom of dishwasher. disconnect the motor terminal plug. and disconnect the temp prope.
9. disconnect the drainage tube and then proceed to remove the 3 plastic clips that hold the pump housing to the tub.
10. I used some silcone grease around the new pump housing to be safe. then I installed the new pump housing and motor in the reverse order.
It probally took me about an hour start to finish, the hardest part was placing new housing back in. The ring around the bottom of tub is very sharp!
Left some blood there.
-
GLENN from CHEPACHET, RI
-
Difficulty Level:Easy
-
Total Repair Time:30 - 60 mins
-
Tools:Pliers, Screw drivers, Wrench set
Dishwasher was not cleaning dishes.
PREPARE FOR REMOVAL: Unscrew / Remove kickplate. Disconnected water connect just behind the kickplate. Be ready with a couple of dishtowels. Pull the door down and remove any screws that go into the under part of your counter top. Jack the front legs screw down.
REMOVE: Gently p ... Read more ull the Dishwasher from under counter. Push the insulation flat against the side of the dishwasher about every six inches that you pull the dishwasher out to prevent it from snaggin on the cabinet face edges. Remove the baskets and spray arms. Careful not to damage the heating element.
NOTE: Here I noticed that the guy who installed the dishwasher kinked the copper line limiting the water into to my dishwasher. So my circulation pump/motor was probably running dry. I replaced with a flex type "dishwasher" hose that will easily coil up behind / underneath without kinking when I push back in. DO THE REPAIR RIGHT - DO IT YOURSELF!
REPAIR: I gently laid the dishwasher on it's side (cardboard underneath). I disconnected the power - 2 wires. Then, I only disconnect one wire harness, the sump tubing and the I thought I'd better remove the impeller that the sump tubing was connected to (it was only attached with one screw). Remove the 3 plastic clips around the pump/motor. Carefully push the pump into the dishwasher. DO NOT LET THE PUMP FALL AS IT MAY DAMAGE THE HEATING ELEMENT IN THE DISHWASHER! Push the new pump/motor in place until the seal is at least flush with the bottom. I used the back of a wood spoon. Don't pull on any part of the motor from the bottom or you'll break the thin aluminum casting. Just inserting the plastic clips back in place will pull the seal flush with the bottom again.
I was lucky. I simply removed the motor/pump, replaced it with the new motor/pump, and put everything back together in reverse. I put a little bit of silicone grease on the o-ring of the temperature probe. I happened to have some silicone grease because I also have a pool.
Done. It cost me $220 Vs. $550 quoted by Sears. That doesn't count the extra Sears would have charged my for repairing the kinked copper line. And you know they would've kinked it again. That only cost me $20 more and the flexible line couldn't have been easier to install. I could have done the whole thing for less but I opted to replace the pump/ motor together.
Getting it all done right, no leaks, no kinked line, keeping the dishwasher that matches the other appliances (VS. replacing it at $550 repair price), all less than 1/2 the price of a quoted repair - PRICELESS. - THANK YOU PART SELECT. DISCLAIMER: I have no affiliation with Part Select.
-
Geoffrey from Indianapolis, IN
-
Difficulty Level:A Bit Difficult
-
Total Repair Time:1- 2 hours
-
Tools:Pliers, Screw drivers, Wrench (Adjustable), Wrench set
Shield
This part is located between the console and the door.
Customer Repair Stories
The old seal would often travel with the door when opened.
-
Richard from Ann Arbor, MI
-
Difficulty Level:Really Easy
-
Total Repair Time:Less than 15 mins
May differ in appearance, but functions same as original. This valve allows the water to flow in the drain direction only and prevents the dirty water from coming back into the tub.
Replacing your KitchenAid Dishwasher Sump Pump Check Valve

This part supplies water from the pump outlet at the bottom of the tub to the upper spray arm.
Customer Repair Stories
Not Cleaning well especially on upper rack
-
Christopher from Slidell, LA
-
Difficulty Level:Really Easy
-
Total Repair Time:More than 2 hours
-
Tools:Nutdriver, Screw drivers, Socket set, Wrench set
Spray arm was deteriorated and leaking bady. Top shelf dishes were not getting clean
Put basket in dishwasher. Ran a load. Worked perfectly perfectly.
-
Tommy J. from BRENHAM, TX
-
Difficulty Level:Really Easy
-
Total Repair Time:30 - 60 mins
-
Tools:Screw drivers
Supplies water from the main water feed tube to the middle manifold water tube.
Replacing your KitchenAid Dishwasher Water Supply Manifold Probe

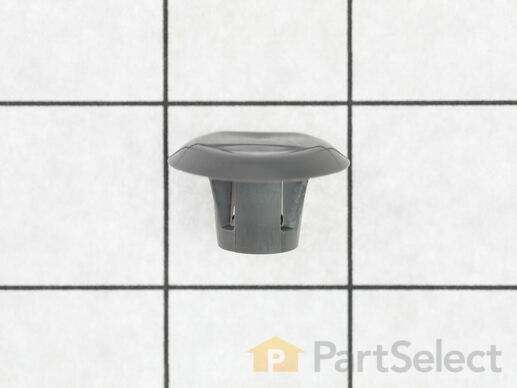
The plastic button covers the sharp ends of screws along the edge of the dishwasher tub. Sold individually.
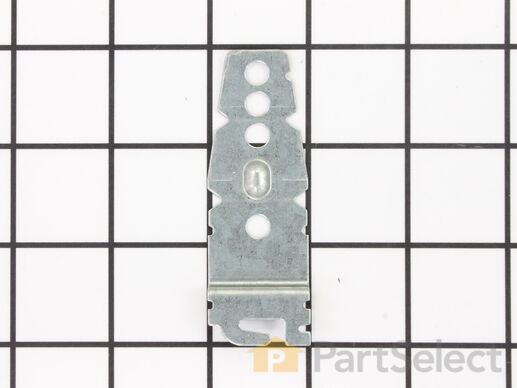
The mounting bracket is sold individually, without screws. This part secures the upper side of the dishwasher to the underside of the counter or cabinet to prevent the dishwasher from moving, shaking, or tilting forward. The bracket is made entirely of metal. It is recommended to check all brackets, if applicable, because they often wear at the same rate and both may need to be replaced. This is an OEM part that is sourced from the authentic manufacturer. Tools needed are a pair of needle nose pliers and a screwdriver.
Replacing your KitchenAid Dishwasher Mounting Bracket

Customer Repair Stories
Broken Mounting bracket
-
Roy from HIGGINSVILLE, MO
-
Difficulty Level:Really Easy
-
Total Repair Time:15 - 30 mins
-
Tools:Screw drivers
Lost dishwasher brackets
-
Judith from Essex, MA
-
Difficulty Level:Easy
-
Total Repair Time:15 - 30 mins
-
Tools:Screw drivers


