Parts That Fix KitchenAid Refrigerator KRSC503ESS00 Leaking
Leaking is a commonly reported symptom for the KRSC503ESS00 KitchenAid Refrigerator, and we have put together a full guide on how to fix this. This advice is based on feedback from people who own this exact appliance. We have listed the most common parts for your KRSC503ESS00 KitchenAid Refrigerator that will fix Leaking. We have included repair instructions, and helpful step-by-step video tutorials. If you are experiencing this issue, not to worry, DIYers just like you have fixed this, and shared their experience to help you!
Sold Individually. - * Part may differ in appearance, but functions same as original.
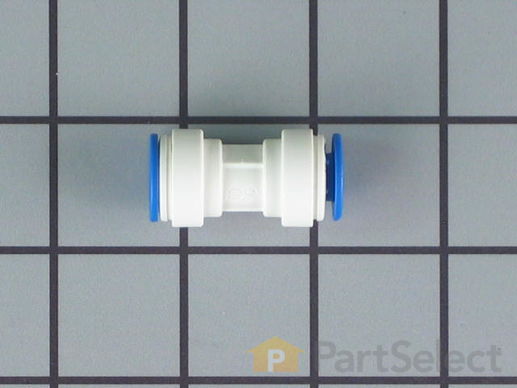
Replacing your Whirlpool Refrigerator Water Tube Connector/Union - 5/16 to 5/16

Customer Repair Stories
Leaking water tube connector/union
-
Roderick from NEWTOWN, PA
-
Difficulty Level:Easy
-
Total Repair Time:15 - 30 mins
-
Tools:Pliers, Screw drivers
Had to replace a hose connector at the base of my refrig/frreezer
When aI received the hose adapter/connector, I inserted the 2 hose ends only to have water drip from the connection.
I used a utility knife to remove an inch from each side, then reinserted the hoses. That made the differnce. Dry as a bone.
LG
-
Leo from Salem, SC
-
Difficulty Level:Really Easy
-
Total Repair Time:Less than 15 mins
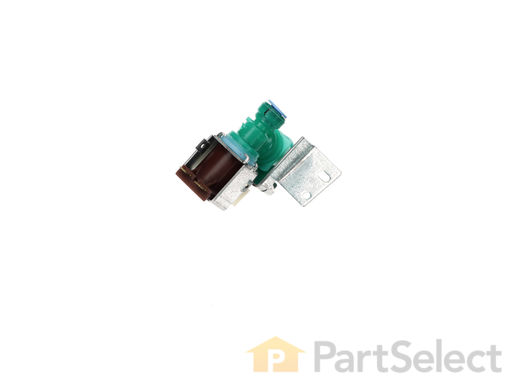
When energized, this part releases water from the supply line into the ice mold.
Customer Repair Stories
Leaking around icemaker hose going in to part
Shut off water to frig at wall shut off, unhooked both hoses and plug, hooked new part up, turned water back on. Watched couple days to make sure it wasn't leaking. Vacuumed out back good, which I was amazed didn't ... Read more really need it, hooked part back in place, replaced back with screws.
-
Cathy from LASCASSAS, TN
-
Difficulty Level:Very Easy
-
Total Repair Time:Less than 15 mins
-
Tools:Screw drivers, Wrench (Adjustable)
Valve leaking water
-
Steven from WEST JORDAN, UT
-
Difficulty Level:Really Easy
-
Total Repair Time:30 - 60 mins
-
Tools:Nutdriver, Pliers, Screw drivers, Socket set
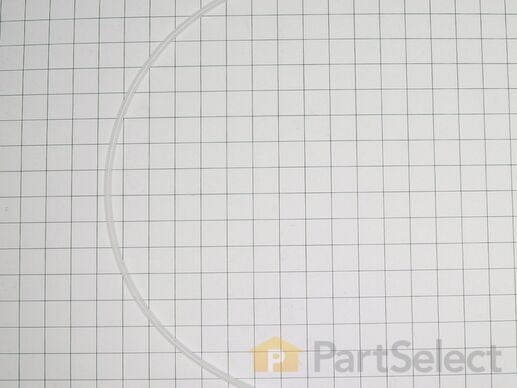
NOTE: As per manufacture the water tube is no longer being made with the elbow. This part connects from the water valve to the ice maker fill tube.
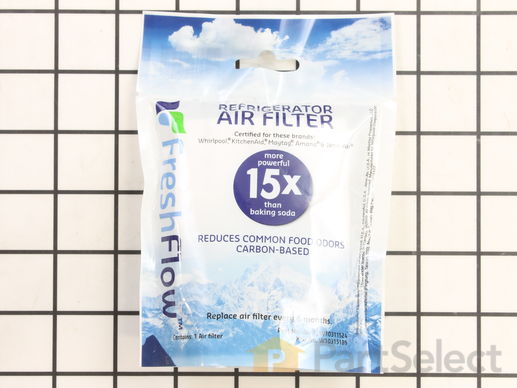
This Refrigerator Air Filter is a white 1.8x3.2" plastic filter which neutralizes odor and bacteria in the air. It should be replaced every six months at a minimum. Refer to your user manual and model number to see if this filter is right for your fridge. Location for storage of the air filter may vary from model to model, but generally, you will find a small cover on the back-middle-top of your fridge, which can be popped off to reveal the air filter, which can be easily changed out from there. This part does not come sold with the indicator; it is the filter only. Sold individually.
Replacing your Whirlpool Refrigerator Refrigerator Air Filter

Customer Repair Stories
Changed air filter
-
Tom from LONGMONT, CO
-
Difficulty Level:Very Easy
-
Total Repair Time:Less than 15 mins
air filter needed replacement
-
David from Dublin, NH
-
Difficulty Level:Very Easy
-
Total Repair Time:Less than 15 mins
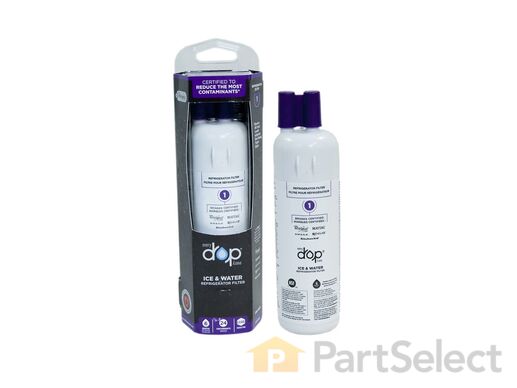
This is an OEM replacement ice and water filter for your refrigerator. In side-by-side refrigerators, it is found in the top right corner or the bottom left grille. In bottom-freezer refrigerators, the filter is in the bottom left grille. In top-freezer units, the filter is located in the middle of the refrigerator. This NSF certified filter reduces 28 contaminants including pharmaceuticals, metals, minerals, pesticides, cysts, industrial chemicals, Class I Particulates and chlorine. It is made up of coconut carbon block and has three layers of filtration. The first layer is particle filtration that helps block larger contaminants. The second layer is micro-filtration, which prevents medium-sized impurities from passing. The third layer is called absorption filtration, which absorbs microscopic-sized pollutants. It measures 2 inches deep, 2 inches wide, 1-1/2 inches high, and weighs 0.5 lbs. To ensure your filter is working its best, it needs to be replaced every six months. This single filter has a simple, quick-turn installation feature that does not require any tools.
Customer Repair Stories
The refrigerator display said I need to replace the filter.
Upon reading the instructions, I removed the old filter.
When I removed the old filter I NOTICED HOW IT CAME
OUT SO THAT I COULD HOLD THE NEW FILTER IN
THE SAME POSITION AND REPLACED IT WITH THE
NEW IN THE SAME POSITION. When I closed the cover
door, I w ... Read more ent to the display panel and reset water filter display.
-
ronald from SEVERNA PARK, MD
-
Difficulty Level:Really Easy
-
Total Repair Time:Less than 15 mins
no problem. the ice and water need to be replaced every 6 months
-
Patricia from ALAMEDA, CA
-
Difficulty Level:Really Easy
-
Total Repair Time:15 - 30 mins


