Models > KRFF305ESS00 > Symptoms > Door won’t open or close

Parts That Fix KitchenAid Refrigerator KRFF305ESS00 Door won’t open or close

Door won’t open or close is a commonly reported symptom for the KRFF305ESS00 KitchenAid Refrigerator, and we have put together a full guide on how to fix this. This advice is based on feedback from people who own this exact appliance. We have listed the most common parts for your KRFF305ESS00 KitchenAid Refrigerator that will fix Door won’t open or close. We have included repair instructions, and helpful step-by-step video tutorials. If you are experiencing this issue, not to worry, DIYers just like you have fixed this, and shared their experience to help you!

Fixes Symptom 44% of time
★★★★★
★★★★★
370 Reviews

Rated by 204 customers 


Really Easy 

15 - 30 mins 

Ratings submitted by customers like you who bought this part.   

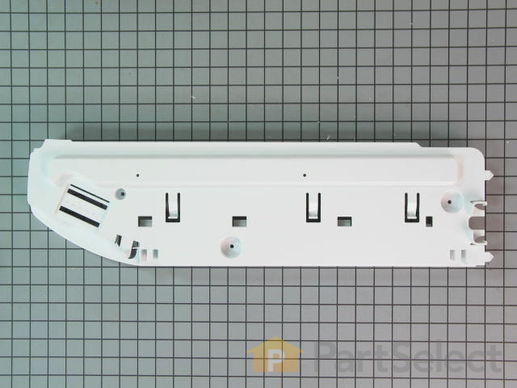
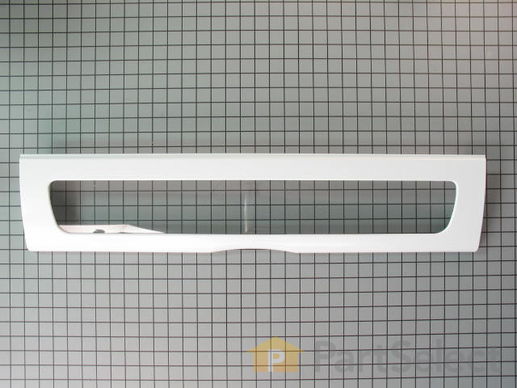
This manufacturer-approved Refrigerator Pantry End Cap Kit, also known as the Refrigerator Drawer Support, is a kit containing all parts of the Pantry End Cap. It snaps into place on the appliance’s pantry drawer to help contain the items inside and to keep your refrigerator door from sliding all the way out. It is rated as "medium" difficulty to install, is constructed of plastic and comes in white. If broken or missing, the pantry drawer will not stay in place and the part should be replaced. Refer to your user manual and model number to ensure this is the correct part for you. This kit includes both the right and left side end caps, as well as the pins that will hold them in place. To replace an end cap, remove the three screws holding it in place. Then, remove the pin and end cap, replacing the old end cap with the new end cap. In the past, the left and right end caps were sold separately, but the part has been updated and now includes both sides. The part is sold as a kit, and unfortunately, as such none of the parts are available individually.

$ 44.19
  In Stock
PartSelect Number PS11738134
Manufacturer Part Number W10874836

Replacing your Kenmore Refrigerator Pantry End Cap Kit, LH and RH

Replacing your Pantry End Cap Kit, LH and RH

Customer Repair Stories

Dropped a jug and broke the lower drawer hinge pin

Remove food off of lower shelf, remove the two produce drawers, remove large lower drawer, remove glass shelf, remove three screws holding end cap in place. Once end cap was removed the drawer track could be removed and placed on new end cap. Installation of new end cap took less than 5 minutes. Most of the time spent was removing/replacing food and cleaning the shelf/bins. PartSelect was awesome BTW!
  • Gordon from Cold Spring, KY
  • Difficulty Level:
    Really Easy
  • Total Repair Time:
    Less than 15 mins
  • Tools:
    Nutdriver
167 of 178 people found this instruction helpful.
Was this instruction helpful to you?
Thank you for voting!

The poorly designed deli drawer lid tab broke off

Removed the fruit & veggie drawers & the deli (pantry) drawer. Took out the 3 screws, removed the attached parts, put them on the replacement part, reattached it and put the drawers back in.

Here's the part I want to share: PartSelect had a expanded diagram showing the correct part and sufficiently detailed to figure out the repair before the part arrived. That's why I ordered from them. Secondly, I ordered the part Thursday morning--and the thing was sitting on my porch when I came back in from my evening out Saturday--2 days later!!!
  • Tim from Littleton, CO
  • Difficulty Level:
    Easy
  • Total Repair Time:
    15 - 30 mins
  • Tools:
    Nutdriver
308 of 340 people found this instruction helpful.
Was this instruction helpful to you?
Thank you for voting!
Fixes Symptom 11% of time
★★★★★
★★★★★
18 Reviews

Rated by 9 customers 


Really Easy 

15 - 30 mins 

Ratings submitted by customers like you who bought this part.   

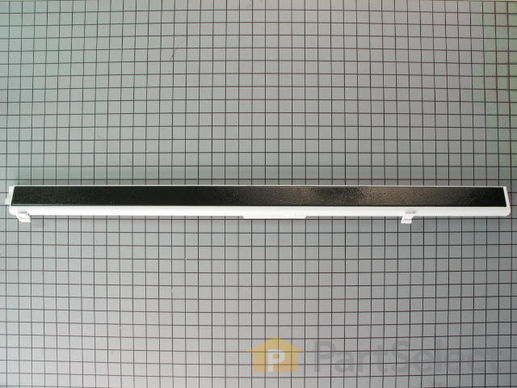
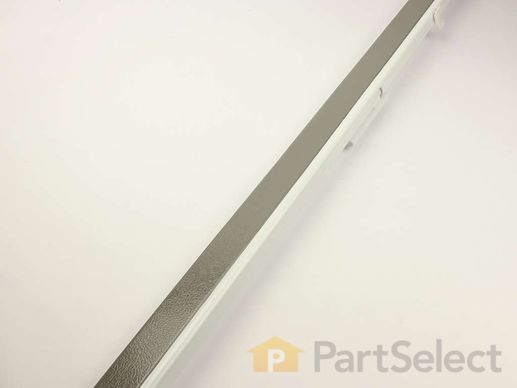
Commonly referred to as the flapper assembly, the door mullion is an important part of a double, or triple door refrigerator.

$ 166.78
  In Stock
PartSelect Number PS11738596
Manufacturer Part Number WP12722803B

Replacing your Whirlpool Refrigerator Refrigerator Vertical Mullion Rail - Black

Replacing your Refrigerator Vertical Mullion Rail - Black

Customer Repair Stories

Part of our Mullion Rail broke and needed to be replaced

The part arrived as expected. I detached the existing mullion rail using a socket wrench and disconnected the wires, which was as easy as pulling two pieces apart. Then I connected the wires to the new rail, slid the part into place and used the socket wrench to secure it. As easy as could be and good as new! In total, it took a matter of minutes.
  • Carolyn from WEST HARTFORD, CT
  • Difficulty Level:
    Very Easy
  • Total Repair Time:
    Less than 15 mins
  • Tools:
    Socket set
4 of 4 people found this instruction helpful.
Was this instruction helpful to you?
Thank you for voting!

Broken Rail-Mullin

The mullin requires only one screw removal, then LIFT the entire mullin upwards. Pop the wire harness loose, and replace with new mullin. Simple job,
  • Don from Alpine, TX
  • Difficulty Level:
    Easy
  • Total Repair Time:
    Less than 15 mins
  • Tools:
    Nutdriver, Screw drivers
38 of 46 people found this instruction helpful.
Was this instruction helpful to you?
Thank you for voting!
Fixes Symptom 9% of time
★★★★★
★★★★★
14 Reviews

Rated by 6 customers 


Really Easy 

Less than 15 mins 

Ratings submitted by customers like you who bought this part.   

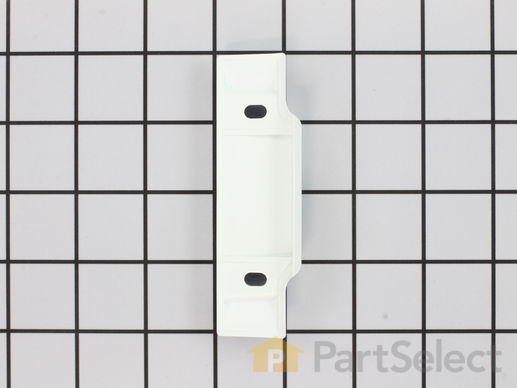
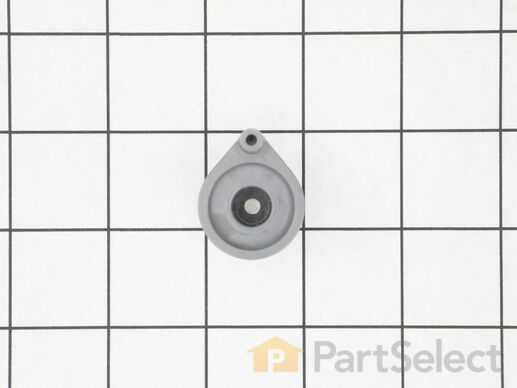
This is a replacement pivot block for your refrigerator. It is made of white plastic and is approximately 4 inches long and 1 inch wide. The pivot block catches and holds the door mullion cover when you close the door. If your refrigerator door will not close properly, you may need to replace the pivot block. This part is sold individually and is an OEM part sourced directly from the manufacturer.

$ 11.10
  In Stock
PartSelect Number PS11743531
Manufacturer Part Number WP67003405

Customer Repair Stories

Needed part to help fridge doors close.

Used a philips screwdriver.
  • Jan from Boca Raton, FL
  • Difficulty Level:
    Really Easy
  • Total Repair Time:
    Less than 15 mins
  • Tools:
    Screw drivers
1 of 2 people found this instruction helpful.
Was this instruction helpful to you?
Thank you for voting!

Needed to replace pivot block (broke) so frig door extension could close

Can not do repair. Ordered part 3/30 due to me on 4/1. Today is 4/15 and still no part. I even paid for quicker delivery. Thanks FedEx!!
  • Daniel from CENTREVILLE, MD
  • Difficulty Level:
    Really Easy
  • Total Repair Time:
    Less than 15 mins
  • Tools:
    Screw drivers
1 person found this instruction helpful.
Was this instruction helpful to you?
Thank you for voting!
Fixes Symptom 8% of time
★★★★★
★★★★★
223 Reviews

Rated by 38 customers 


Really Easy 

Less than 15 mins 

Ratings submitted by customers like you who bought this part.   

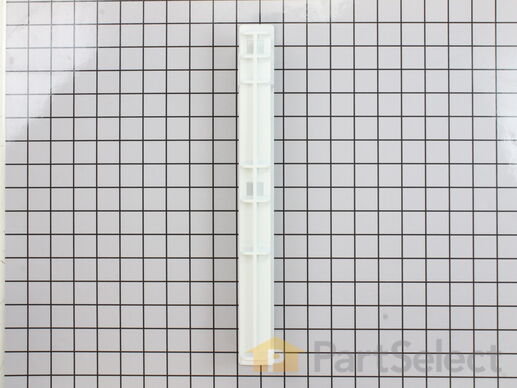
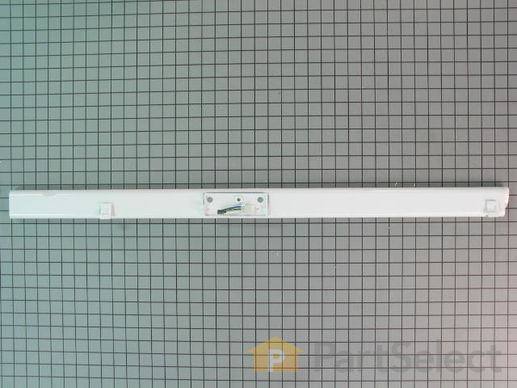
This OEM Center Rail is a white plastic part which supports the crisper frame, which holds the crisper. Fifteen inches long and white in colour, if broken, the support may no longer hold properly. Refer to your model number and user manual to see if this part will be right for your appliance. This part is a very easy repair which only takes a few minutes and does not require any tools. Just slide the crisper drawers out, lift out the glass shelf, slide the new rale into place and replace the glass shelf and crisper drawers. This part is sold individually and not as part of a set.

$ 27.51
  In Stock
PartSelect Number PS11752912
Manufacturer Part Number WPW10326469

Replacing your Whirlpool Refrigerator Center Rail

Replacing your Center Rail

Customer Repair Stories

Tab on end broke off allow crispers to fall off rail.

lift glass, slide new rail in replace glass. 2 min repair.
  • Ed from South Lebanon, OH
  • Difficulty Level:
    Really Easy
  • Total Repair Time:
    Less than 15 mins
12 of 13 people found this instruction helpful.
Was this instruction helpful to you?
Thank you for voting!

Crisper frame center rail failure

Remove Crisper drawers from Bottom Shelf.
Remove glass from the top of Bottom Shelf.
Drop new Crisper frame center rail into slots on the top of the Bottom Shelf shelf.
Replace glass onto the top of the Bottom Shelf.
Slide drawers between left and right guides and the Crisper frame center rail.

Total repair time less than one minute.
No tools required.
  • Robert from Meriden, CT
  • Difficulty Level:
    Really Easy
  • Total Repair Time:
    Less than 15 mins
129 of 141 people found this instruction helpful.
Was this instruction helpful to you?
Thank you for voting!
Fixes Symptom 7% of time
★★★★★
★★★★★
77 Reviews

Rated by 58 customers 


Really Easy 

Less than 15 mins 

Ratings submitted by customers like you who bought this part.   

This pantry drawer lid is also known as a pantry drawer door or pantry drawer cover. This is a genuine OEM part, and is sold individually. This part helps keep everything inside the drawer. It acts as a cover, and also keeps your drawer at the proper temperature by creating a seal. You may need to replace this part if door does not open or close, or if the drawer is too cold. No tools are required for this replacement, simply push the hinge pins aside to remove the old lid. Consider checking the pantry end cap kit for damage before ordering the pantry drawer lid, as they are often purchased together.

$ 116.03
  In Stock
PartSelect Number PS11723190
Manufacturer Part Number W10827015

Replacing your Whirlpool Refrigerator Refrigerator Pantry Drawer Door Cover

Replacing your Refrigerator Pantry Drawer Door Cover

Customer Repair Stories

Cracked plastic on pantry drawer lid

Broken lid popped out, new lid popped in. No tools required. 30 seconds to replace. Great price, part shipped within an hour of placing my order and arrived the next day, although I only paid for standard shipping. Excellent service - will definitely order again if the opportunity arises!
  • Angela from Bay Village, OH
  • Difficulty Level:
    Really Easy
  • Total Repair Time:
    Less than 15 mins
10 of 12 people found this instruction helpful.
Was this instruction helpful to you?
Thank you for voting!

Wife dropped a gallon of milk on the lid and cracked the see through panel

Pushed the hinge pins aside and removed the old lid.. Reversed the process to install the new lid
  • Stanley from Gurley, AL
  • Difficulty Level:
    Really Easy
  • Total Repair Time:
    Less than 15 mins
23 of 23 people found this instruction helpful.
Was this instruction helpful to you?
Thank you for voting!
Fixes Symptom 4% of time
★★★★★
★★★★★
2 Reviews

Rated by 1 customer 


Easy 

1- 2 hours 

Ratings submitted by customers like you who bought this part.   

This part helps with the closing of the door.

$ 11.10
  In Stock
PartSelect Number PS11743547
Manufacturer Part Number WP67003638

Customer Repair Stories

RH door closure broke

Removed the door and replaced the broken door closure bushing. I had courteous help and responce from Parts Select people. Excelent turn around time on parts delivery.
  • Estel from Luling, TX
  • Difficulty Level:
    Easy
  • Total Repair Time:
    1- 2 hours
  • Tools:
    Nutdriver, Screw drivers
9 of 20 people found this instruction helpful.
Was this instruction helpful to you?
Thank you for voting!
Fixes Symptom 3% of time
★★★★★
★★★★★
9 Reviews

Rated by 2 customers 


A Bit Difficult 

1- 2 hours 

Ratings submitted by customers like you who bought this part.   

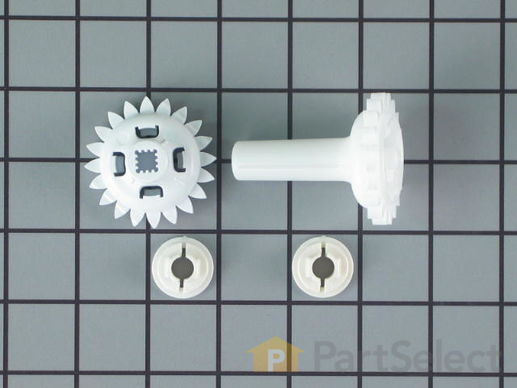
These parts will attach to your drawer rail and are used to help the drawer glide smoothly.

$ 24.64
  In Stock
PartSelect Number PS2003866
Manufacturer Part Number 12002497

Replacing your Whirlpool Refrigerator Drawer Gear Kit

Replacing your Drawer Gear Kit

Customer Repair Stories

Drawer bar gear had a broken plastic piece that would not hold the bar in place

Looked at the appliance's booklet to see how it fit together, then installed it.
  • Shirley from Lawrenceburg, KY
  • Difficulty Level:
    Easy
  • Total Repair Time:
    15 - 30 mins
Was this instruction helpful to you?
Thank you for voting!

Boyfriends freezer door wouldn’t shut completely

I got really tired of taking food out covered in icicles and stabbing a huge block of ice out of the bottom. Turns out all he needed was a little wheel with cogs and I looked up the sticker model number on this site and clicked the part of the fridge. So simple, wish I would’ve done it sooner.
  • Megan from NORFOLK, VA
  • Difficulty Level:
    Really Easy
  • Total Repair Time:
    Less than 15 mins
3 of 4 people found this instruction helpful.
Was this instruction helpful to you?
Thank you for voting!
Fixes Symptom 3% of time
★★★★★
★★★★★
2 Reviews

Rated by 3 customers 


Really Easy 

15 - 30 mins 

Ratings submitted by customers like you who bought this part.   

Sold individually.

$ 54.63
  In Stock
PartSelect Number PS11743548
Manufacturer Part Number WP67003639

Customer Repair Stories

Door bushing

I bought a set of appliances used online and the fridge door did not align to the other door. I quickly noticed I had lost the lower bushing to the right door upon transportation so I did what any man would do...find a way to fix it! after checking out a few websites I ran accross Partselect and after seeing their "dummy proof" diagrams It was certain I couldn't mess this up considering the loads of bushings to choose from. The order was placed Monday morning and to my surprise I had a package the VERY NEXT DAY!! AMAZING delivery time and quality products. PartSelect is definately my appliace parts source from now on! Thank you!
  • Carlos from Streamwood, IL
  • Difficulty Level:
    Really Easy
  • Total Repair Time:
    Less than 15 mins
8 of 11 people found this instruction helpful.
Was this instruction helpful to you?
Thank you for voting!

Right hand door would not auto close.

Removed the top door hinge cover.
Remover the four 12mm hex screws.
Lifted empty door off bottem hinge support.
Removed old door closure.
Put some silicon lub on the new closure and installed.
Reversed the removal steps.

But this did not fix the problem. Will have to remove the door and inspect the inside of the door's lower hinge assembly.
  • Bill from Murphy, NC
  • Difficulty Level:
    Easy
  • Total Repair Time:
    Less than 15 mins
  • Tools:
    Nutdriver
16 of 31 people found this instruction helpful.
Was this instruction helpful to you?
Thank you for voting!
Fixes Symptom 3% of time
★★★★★
★★★★★
34 Reviews

Rated by 16 customers 


Very Easy 

Less than 15 mins 

Ratings submitted by customers like you who bought this part.   

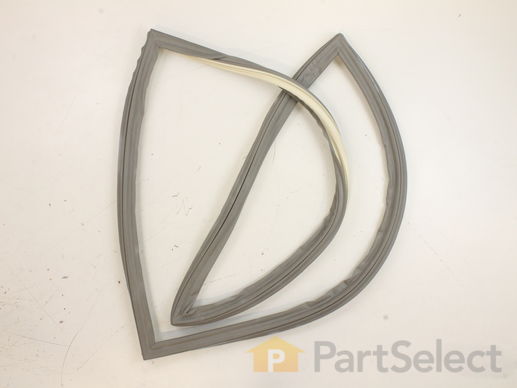
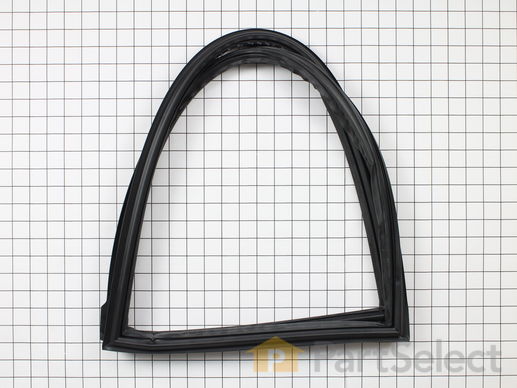
This door gasket is used to seal the refrigerator door when closed to keep the cool air inside and the room air out.

$ 188.26
  In Stock
PartSelect Number PS11759515
Manufacturer Part Number W10830162

Customer Repair Stories

Door seals split and condensation forming

Removed the old gasket and made sure we put the new one in the same way. A wooden mixing spoon was the best tool for pushing the gasket into the track without hurting it. We used the back of the spoon and it went right in with no problem.
  • Chet from TOLEDO, OH
  • Difficulty Level:
    Really Easy
  • Total Repair Time:
    15 - 30 mins
13 of 13 people found this instruction helpful.
Was this instruction helpful to you?
Thank you for voting!

Door gasket wasnt sealing anymore and had some minor cracks

First, I removed the old door gasket by pulling it out of the channel it was mounted in, noting the orientation of the gasket. Then, it was a simple matter of lining the new gasket up with the channel and pressing it into the groove. Very easy repair, and the door seals great!
  • Joel from DELRAY BEACH, FL
  • Difficulty Level:
    Very Easy
  • Total Repair Time:
    Less than 15 mins
26 of 26 people found this instruction helpful.
Was this instruction helpful to you?
Thank you for voting!
Fixes Symptom 3% of time

Rated by 1 customer 


Very Easy 

Less than 15 mins 

Ratings submitted by customers like you who bought this part.   

$ 181.09
  In Stock
PartSelect Number PS11738595
Manufacturer Part Number WP12722803AP

Customer Repair Stories

When right hand door was opened first, and then left hand door, the mullion rail did not move all the way to the "open" position so that if the left hand door was closed after the right hand door the rail would bang against the right hand door and not close all the way until manually pushed into pos

Remove the existing mullion rail:

- Remove the screw from the center hinged cover.
- Remove the mullion rail by pushing upward. The top and bottom hinges slide over tabs attached to the door. I had to bump it gently from underneath.
- Disconnect the three wire connector that's underneath the center hinged cover.

Install the new mullion rail by reversing the above steps:
- Connect the three wire connector and snap it into its holder.
- Slide the new part over the top and bottom hinges. Be sure that all three hinges are correctly lined up before sliding the rail over the tabs.
- Push it down far enough that the hole for the screw in the center cover is lined up with its corresponding receptacle in the door.
- Replace the screw.
  • Michael from FALLBROOK, CA
  • Difficulty Level:
    Very Easy
  • Total Repair Time:
    Less than 15 mins
  • Tools:
    Nutdriver
2 of 3 people found this instruction helpful.
Was this instruction helpful to you?
Thank you for voting!
Fixes Symptom 2% of time
★★★★★
★★★★★
11 Reviews

Rated by 3 customers 


Really Easy 

Less than 15 mins 

Ratings submitted by customers like you who bought this part.   

White in color.

$ 182.95
  In Stock
PartSelect Number PS11738597
Manufacturer Part Number WP12722803W

Replacing your Kenmore Refrigerator Vertical Mullion Rail - White

Replacing your Vertical Mullion Rail - White

Customer Repair Stories

Piece that makes the left side door close

Awesome! Couldn't ask for it any better. I watched the video from Partselect multiple time and was just as easy as they said it would be. It took me longer to watch the video four times than it did for me to install it. I have a habit of 10 minute projects turning into a couple hours and this took about 10 minutes. Thanks.
  • William from PENNSVILLE, NJ
  • Difficulty Level:
    Really Easy
  • Total Repair Time:
    Less than 15 mins
5 of 5 people found this instruction helpful.
Was this instruction helpful to you?
Thank you for voting!

Vertical Mullion Rail was broken and detached partly from door

Removed the middle screw and the whole rail came of. Unplugged wires and removed old rail. Plugged in the new rail and slid top and bottom slides on and put on the middle screw. Job finished
  • Marjon from Norristown, PA
  • Difficulty Level:
    Really Easy
  • Total Repair Time:
    Less than 15 mins
  • Tools:
    Screw drivers
8 of 11 people found this instruction helpful.
Was this instruction helpful to you?
Thank you for voting!
Fixes Symptom 2% of time

This part helps with the closing of the door.

$ 51.04
  In Stock
PartSelect Number PS11738468
Manufacturer Part Number WP12028505AP

Replacing your Whirlpool Refrigerator Door Closer - Apollo Gray

Replacing your Door Closer - Apollo Gray
Fixes Symptom 1% of time
★★★★★
★★★★★
7 Reviews

Rated by 6 customers 


Really Easy 

Less than 15 mins 

Ratings submitted by customers like you who bought this part.   

This door gasket is for refrigerators. The door gasket is on the inner door panel and creates a seal around the door to prevent warm air from entering the refrigerator. Safely store any food that could deteriorate while the door is open for this repair.

$ 173.95
  In Stock
PartSelect Number PS12723959
Manufacturer Part Number W11368721

Replacing your Whirlpool Refrigerator Refrigerator Door Gasket

Replacing your Refrigerator Door Gasket

Customer Repair Stories

Original gasket was ripped at the top on the right hand door.

Removed the old gasket by pulling it out of the groove and installed the new gasket using my fingers to push the gasket into place.
  • Donald from NEWBURYPORT, MA
  • Difficulty Level:
    Very Easy
  • Total Repair Time:
    Less than 15 mins
4 of 4 people found this instruction helpful.
Was this instruction helpful to you?
Thank you for voting!

Door was not closing with any positive feel and would often pop open when left door was shut.

Popped out old gasket and popped in nwe one. This is where things get interersting, the new gasket
Does work as well as the one I replaced. I think the maganet is not strong enough. If anyone has had the same problem please let me know. This model ( Maytag- French door ) has been a lemon.
  • Edwin from Shreveport, LA
  • Difficulty Level:
    Really Easy
  • Total Repair Time:
    Less than 15 mins
24 of 40 people found this instruction helpful.
Was this instruction helpful to you?
Thank you for voting!
Fixes Symptom 1% of time
★★★★★
★★★★★
21 Reviews

Rated by 12 customers 


Very Easy 

15 - 30 mins 

Ratings submitted by customers like you who bought this part.   

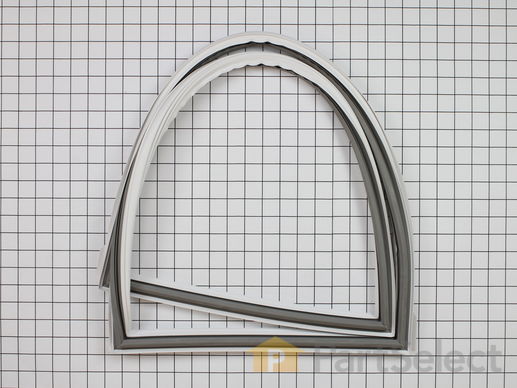
The door gasket is used to make an air-tight seal for the cabinet when the door is closed.

$ 159.09
  In Stock
PartSelect Number PS11759516
Manufacturer Part Number W10830189

Replacing your Whirlpool Refrigerator Refrigerator Door Gasket - White

Replacing your Refrigerator Door Gasket - White

Customer Repair Stories

Right door didn't close all the way

Took the new door seal out of the box, layed it out as straight as possible heated it with hair dryer 4 1hour took the old 1 out by hand and replaced it with new one no tools needed 10 min job
  • Vernon from NORTH BEND, WA
  • Difficulty Level:
    Very Easy
  • Total Repair Time:
    Less than 15 mins
13 of 13 people found this instruction helpful.
Was this instruction helpful to you?
Thank you for voting!

Right door seal lower tab was torn.

Unpacked, inspected, found two minor defects in the form of two tiny slivers along the seal edge which I cut with a small scissor, laid the seal down on the kitchen table, applied heat to the deformed areas and reshaped them with my fingers, heated the entire seal lightly, removed the old seal starting at the right hand upper corner using my fingers, installed the warm seal starting at the top corners by pushing it in its slot making sure the outer lip stayed out of the slot and worked my way around. I believe that the heat from the dryer made it pliable and easier to manage.
  • Frederic from KILLEEN, TX
  • Difficulty Level:
    Very Easy
  • Total Repair Time:
    Less than 15 mins
24 of 24 people found this instruction helpful.
Was this instruction helpful to you?
Thank you for voting!