Parts That Fix Frigidaire Freezer FPUH19D7LF1 Fridge too warm
Fridge too warm is a commonly reported symptom for the FPUH19D7LF1 Frigidaire Freezer, and we have put together a full guide on how to fix this. This advice is based on feedback from people who own this exact appliance. We have listed the most common parts for your FPUH19D7LF1 Frigidaire Freezer that will fix Fridge too warm. We have included repair instructions, and helpful step-by-step video tutorials. If you are experiencing this issue, not to worry, DIYers just like you have fixed this, and shared their experience to help you!
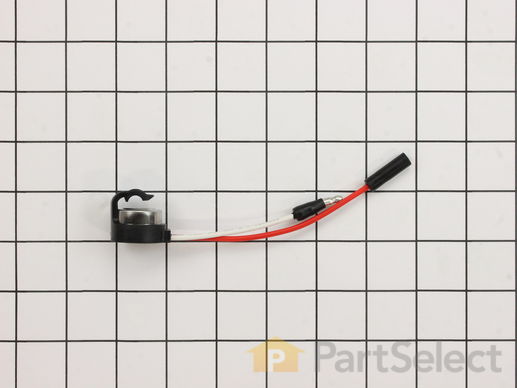
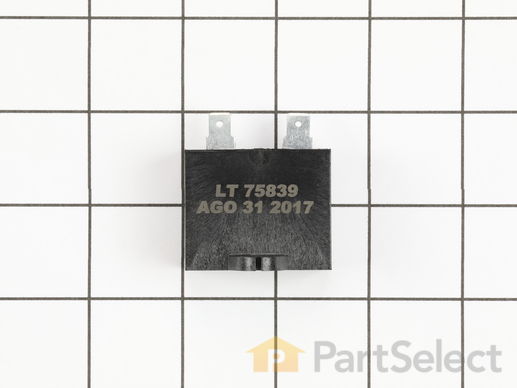
This refrigerator defrost thermostat is a genuine OEM part and is sourced directly from the manufacturer. Located on the back wall of the freezer section in the refrigerator, the defrost thermostat is used to regulate the appliances temperature to keep the refrigerator cold and constant. The part is made of plastic, and has a 4 inch terminal on the white lead and a 6 inch terminal on the red lead. A refrigerator defrost thermostat may need to be replaced if the appliance is experiencing temperature related issues such as: too cold, too warm, frost buildup, not running, or running too long.
Replacing your Frigidaire Refrigerator Defrost Thermostat

Customer Repair Stories
frezer not staying cold enough to freze newly added product
-
Robert H. from Grand Blanc, MI
-
Difficulty Level:Really Easy
-
Total Repair Time:15 - 30 mins
-
Tools:Screw drivers
Defrost function in freezer was not working, while the refrigerating side was warm
2. Removed the lower back panel inside the freezer with a screwdriver.
3. Unplugged the thermostat. (No tool is needed)
4. Ordered a new thermostat from PartSelect and it arrived in 2 business days.
5. Plugged in the new thermostat..
6. Put the lower back panel insid ... Read more e the freezer with screwdriver.
7. Plugged in the Refrigerator and turned the power back on.
8. It is working again!!!
-
Sophia from San Antonio, TX
-
Difficulty Level:Easy
-
Total Repair Time:30 - 60 mins
-
Tools:Screw drivers
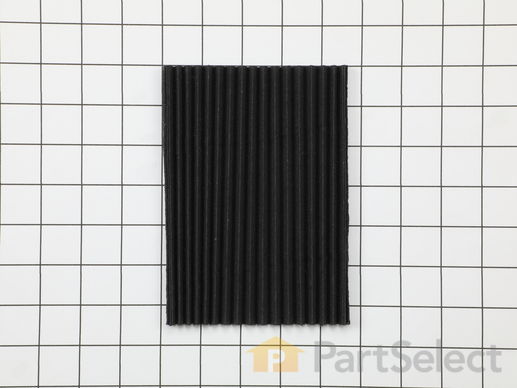
This manufacturer-approved air filter system for refrigerators eliminates odors and any impurities. It does this by neutralizing and removing odor-causing molecules. For best results, it is important to change the filter every 6 months to ensure that food is kept fresh, and the humidity is controlled. This part measures about 7 inches wide and 5 inches deep. Follow installation instructions provided by the manufacturer when installing this part to ensure accurate results and further guidance. Remember to unplug the refrigerator from the power source before starting this project. The air filter may be located in different places depending on your appliance, but is usually on the inner right or left side. See your manual for exact location. Our customers rated this as a very easy repair that takes only a few minutes; just locate and remove the old air filter and insert the new one to complete the repair, which requires no tools.
Customer Repair Stories
routine maintenance
-
fred from Austin, TX
-
Difficulty Level:Really Easy
-
Total Repair Time:Less than 15 mins
you r label (this end in arrow is wrong
-
melvin from BASKING RIDGE, NJ
-
Difficulty Level:Really Easy
-
Total Repair Time:Less than 15 mins
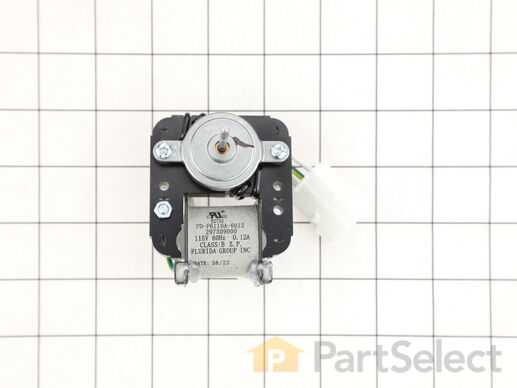
This evaporator fan motor is 115V. If you notice that your freezer is noisy or is too warm, you may need to replace the evaporator fan motor. This package comes with the evaporator fan motor itself, as well as a wire harness. The evaporator fan motor is in the back of the freezer, so you will need to remove your freezer shelves and the back panel before you can access it. The function of the evaporator fan motor is to circulate air over the coils. The coils convert the heat into cool air, which is then circulated. Be sure to remove the power source from the freezer before you begin this repair.
Replacing your Frigidaire Freezer FAN MOTOR EVAP 115V

Customer Repair Stories
Evap fan motor intermitant
-
Mike from Los Banos, CA
-
Difficulty Level:Really Easy
-
Total Repair Time:15 - 30 mins
-
Tools:Nutdriver, Screw drivers
Freezer thawing at about 20 degrees
-
Nathan M. from Bunnell, FL
-
Difficulty Level:Easy
-
Total Repair Time:15 - 30 mins
-
Tools:Screw drivers
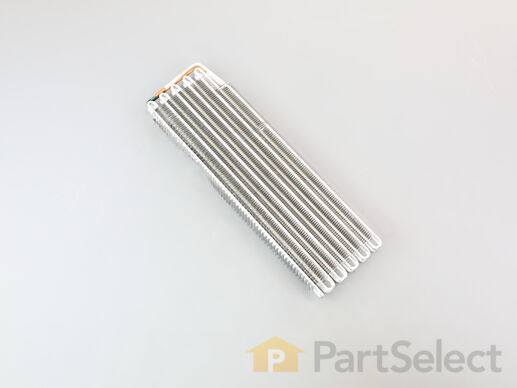
The evaporator is always located on the inside of the refrigerator, usually inside the freezer compartment. It also resembles a radiator.
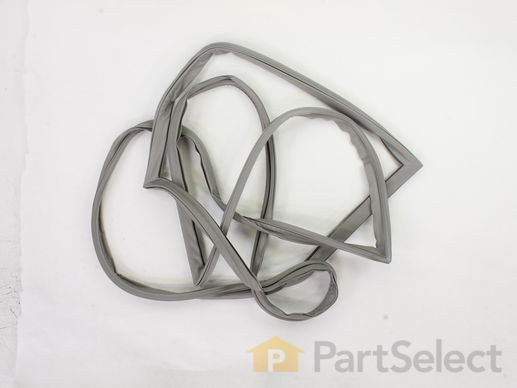
This is a door gasket for the freezer compartment of various refrigerators. Door gaskets are used to seal the cold interior of the freezer compartment, from the warm and ambient temperature of your home. If this door gasket on your freezer door is damaged, moldy, or warped and unable to close and seal properly, it needs to be replaced immediately. This door gasket is gray in color and is easy to remove and install. To replace it, carefully pull and remove the old gasket off, and wrap the new gasket around the perimeter of the door frame. This gasket is sold individually, and does not come with any accessories.
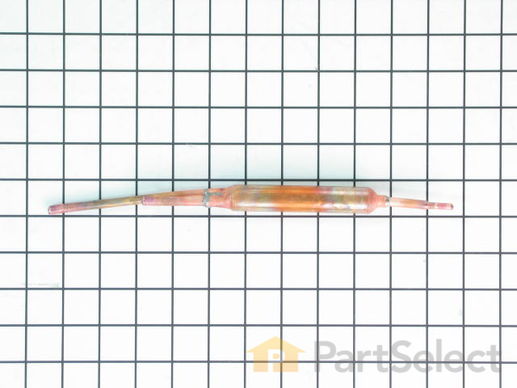
A filter-drier in a refrigerator has two essential functions. The first is to absorb system contaminants, such as water, which can create acids. The second is to provide physical filtration. This means trapping moisture, small metal chips, and dirt found in the refrigerant gas. If your refrigerator motor is constantly running, but the refrigerator is not getting cold, the issue could be due to a damaged or faulty filter-drier. Faulty filter-driers are sometimes the cause for abnormal freezer compartment temperatures and partially frosted evaporators. This filter-drier is approximately 11 inches long. Remember to disconnect the power from your refrigerator before beginning this repair.
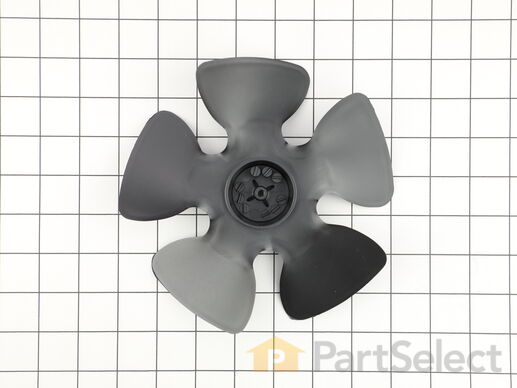
This is a genuine condenser fan blade, which works with refrigerators, freezers and wines and beverage coolers.
Customer Repair Stories
Fridge started making a loud racket. Condenser Fan Blade then disintegrated to dust and pieces. The plastic had degraded significantly.
If your fan is still on the shaft, simply push it off ... Read more and extract it the same way. Then place the new one on the shaft.
In my case, since the part would take a couple days to get, and I had food both in the fridge and the freezer, I removed and unplugged the Condenser Fan Motor and the cowling frame and temporarily spliced a small fan I had into the line for the condenser motor. This kept the fridge working long enough to get the replacement part.
Side note. Direction of airflow is towards the Compressor, and draws air across the Condenser coils.
Hope this helps someone. :)
-
Jack from WALLING, TN
-
Difficulty Level:Really Easy
-
Total Repair Time:15 - 30 mins
-
Tools:Nutdriver, Socket set
One blade broke from condenser fan
I removed the broken fan from the condenser. This was very sipmle.
When i pluged the refridgerator back in to the outlet the fan tried to start up but soon be ... Read more gan to make aloud noise, due to there not being enough clerance.
-
Chris from Lockport, NY
-
Difficulty Level:Really Easy
-
Total Repair Time:Less than 15 mins


