An essential tool for home appliance troubleshooting
Post
Pin It
Share
Subscribe
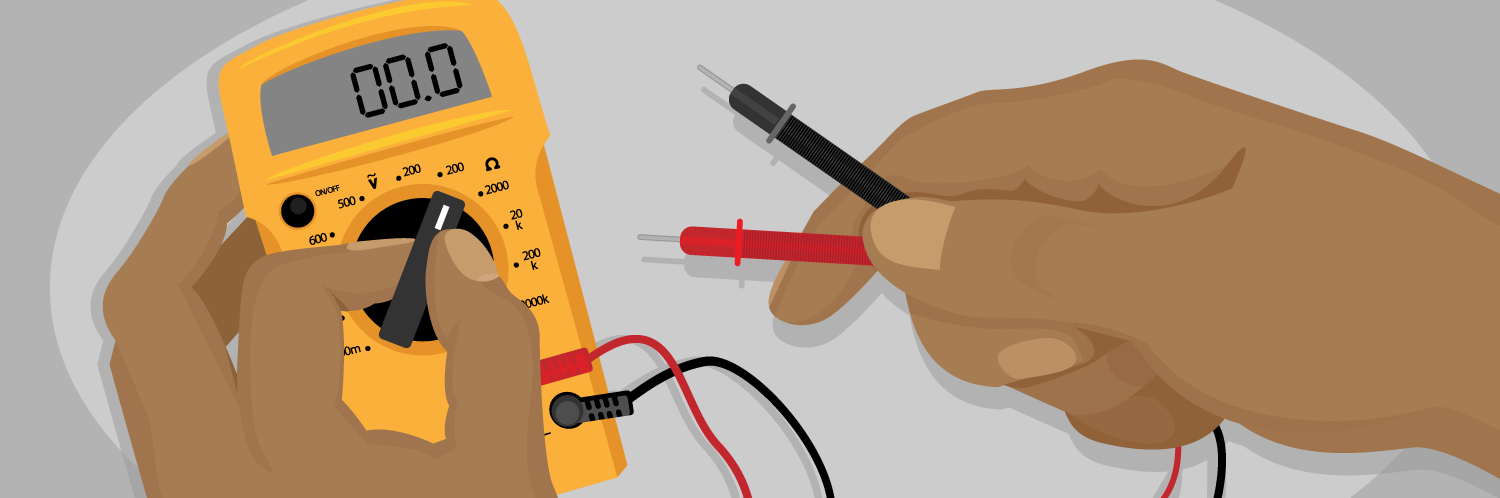
When you start repairing your own home appliances, a multimeter is an extremely useful tool to have on hand. This is a handheld device that is used to measure electrical values like voltage, amperage (current), and resistance. In this article we’ll show you how to test common appliances parts using a multimeter, what type of test to do for different parts, and how to properly set the meter and interpret the readings. Feel free to follow along with the video, and continue reading below.
Basic Styles of Multimeter
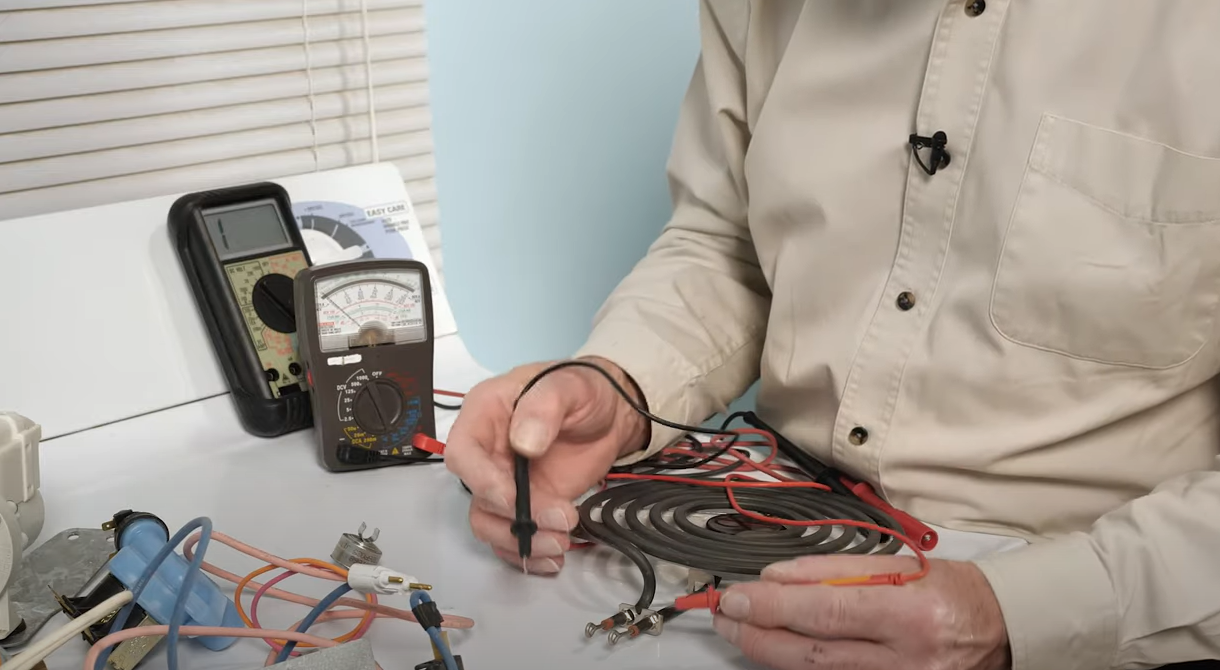
There are two basic styles of multimeters on the market today. Standard analog multimeters, which use a needle-type movement, and digital style multimeters, which use a digital display. Both perform the same functions; however, you may notice a difference in how the scales are marked.
With an analog meter you need to do an initial zero adjustment for continuity tests. There is an ohm scale as indicated by the ohms symbol, and a variety of settings ranging from r times 10k to r times 1, which is our preferred scale for doing continuity tests. There’s also a setting at the very bottom showing a speaker icon, which indicates that it will give an audible tone if there is continuity.
Appliance Part Classifications
Most common appliance parts can be categorized as either conductors, switches, or load devices. The testing we do for those will vary depending on the part. For conductors and switches, we typically only need to perform a continuity test to determine whether the part is defective or not.
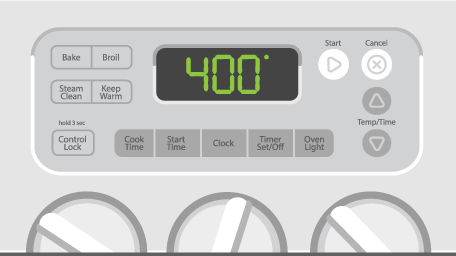
Before testing any components, be sure to turn off, unplug, or flip the breaker to ensure there is no power supply to the appliance.
How to Test a Conductor for Continuity
Some common parts that would be classified as conductors would be things like thermal fuses, wiring conductors, or wiring in general. To properly test a conductor for continuity we first need to isolate it from the rest of the circuit in the appliance. For components such as fuses we typically should remove at least one if not both wire leads that are attached to that. We next need to take our multimeter and set it to an ohms or resistance scale to perform the test. In this example, we used a thermal fuse from a range. To test it, we simply need to attach one meter lead to one of the terminals and our second lead to the opposite terminal. The reading on the meter shows close to zero ohms which indicates that there is continuity through the part.
How to Test Switches for Continuity
Switches are another common part that need to be tested for continuity. There are many different types of switches used in appliances, such as door and lid switches, timer contacts, relays, touchpads, and other devices. The commonality between these devices is that they will typically have a set of electrical contacts enclosed within. The contacts inside these components will either be in a typical open state or a closed state, and either the action of the user or the function of the part will determine how we check the continuity of the component.
To properly check a switch for continuity, it first must be isolated from the circuit. Next, we need to identify which terminals on the component we need to use to perform our test. With some common switches, the designations will be printed on the body of the component. A terminal may be marked with “C” for common, “NC” for normally closed, and “NO” for normally open. The common terminal and normally closed terminal should show continuity until the actuator is pressed. In that situation, the common to normally open should not show continuity until we activate the actuator of the switch.
Different Types of Switches
Not all switches have designations printed on them, so you may have to consult the wiring diagram for the product that you’re working on. In the above video, we show a variety of examples for testing continuity on different types of switches, such as dishwasher door switches and refrigerator lights.
How to Test Load Devices for Continuity
Next, we’ll look at testing for continuity in load devices. Most load-type components in appliances are either constructed with coiled wire or a high resistance metallic compound. These components have a specific resistance to current flow that is measured in a unit called ohms. However, if you suspect one of these devices has failed, a simple continuity test can determine that. For our example, we used an analog meter with an r times one scale to test a burner element. A low ohm reading indicates that the component is working, whereas a high reading means the part is defective. The higher the resistance, the lower the flow of current is.
How to Test a Capacitor
The last device we’re going to test is a capacitor. You will often find capacitors used in motor circuits, such as in a fridge compressor or the drive motor in a washing machine. Capacitors are either a start-type or a run-type, and they build an electric charge and then can hold that charge after an appliance is turned off. Before attaching meter leads to a capacitor, you definitely want to make sure that it has been discharged – some capacitors may have a built-in discharge system. You can also use a high wattage high ohm resistor attached to your capacitor to slowly discharge it before testing.
To test your capacitor, set your multimeter at a high ohm scale and attach the two leads to the capacitor. If using an analog meter, you will see the needle move towards zero and then back to infinity. This indicates that the capacitor is able to take a charge. If the measurement came in at zero ohms or a fixed low ohms resistance, then the capacitor is defective and will need to be replaced.
Knowing how to test and interpret multimeter readings can help you pinpoint the problems with your appliances. This allows you to purchase the proper replacement part and get things back up and running again. If you’ve run tests and determined you need to make some repairs, simply search for your model number on our site to find genuine OEM parts. Be sure to follow our YouTube channel so you don’t miss any repair tips and tutorials.
The PartSelect Content Team has a passion for DIY and we pride ourselves on being a resource for quality, expert content to help you accomplish any DIY project. Alongside our expert repair technicians, our team of experienced technical writers works to provide safe and reliable information on all tasks and jobs around your home. We spend time learning about the problems and projects that our customers are working on, and we make it our job to answer key questions and provide resources for every step along the way. Repairs and DIY projects are what we do, and the PartSelect Content Team wants to help you do them, too.
With the Fix app, you can quickly and easily find information on your appliance, along with videos and articles to help you fix it.
"Like magic. I took a picture of the model number on my refrigerator, and the app identified it right away … Very convenient. I'm impressed." - Clever Jeff ★★★★★
You added 1 item to your cart
✖
$
Qty:
Total item(s) in cart:
Order Subtotal
$
*Taxes and shipping will be applied during checkout