


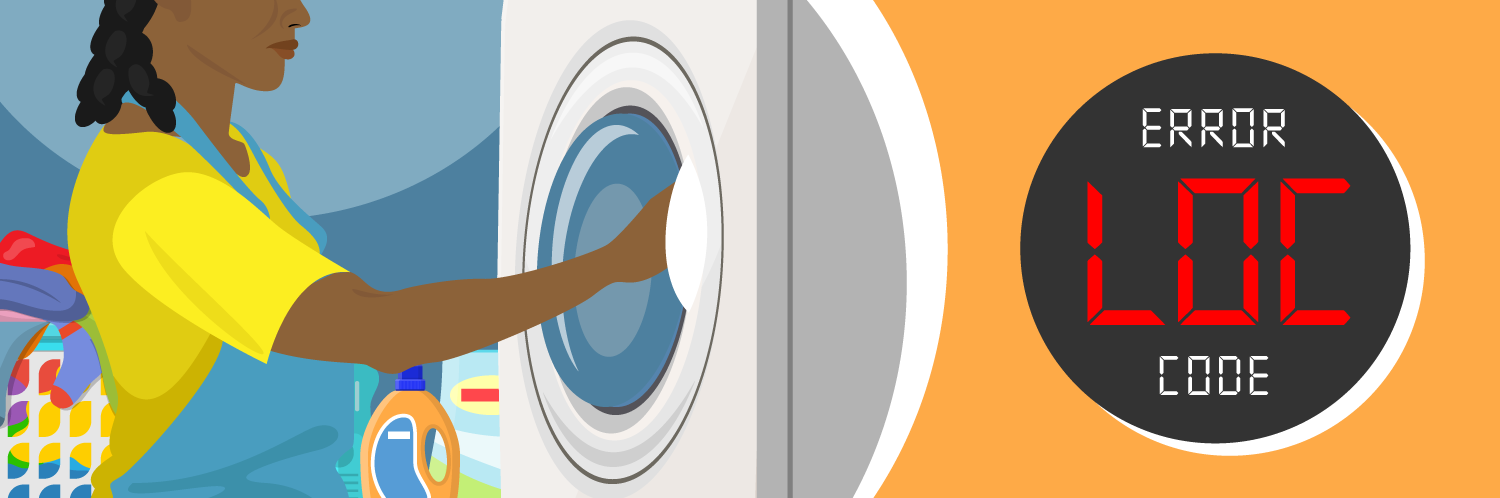
How to Turn Off LoC Code on Whirlpool and Maytag Appliances
Are you seeing an LoC, Loc, or LC error code on your Maytag or Whirlpool appliance? An LoC code on a Maytag or Whirlpool appliance indicates an activation of the control lock, also known as a child lock. This is done as a preventative safety measure so children do not inadvertently activate the appliance. Since Whirlpool owns Maytag, many of their appliances, like washers, dryers, microwaves, ranges, and dishwashers share error codes and parts. The LoC code is interesting in that it is also shared by some other unrelated brands, including GE, Samsung, Amana, and Frigidaire. Depending on your Maytag or Whirlpool appliance and its model, you may also see a key or lock symbol on the display, in addition to the LoC code. We're going to cover how to clear this code and turn the control lock off, and which parts to inspect if you can't easily clear the LoC code.
How to Turn On and Turn Off Control Lock on Maytag and Whirlpool Appliances
A control lock, also known as a child lock, is a safety feature included on many different appliances that, when engaged, stops the appliance from responding to inputs on the touchpad, so children do not accidentally activate the appliance. On Maytag and Whirlpool appliances, such as washers, dryers, dishwashers, ranges, and microwaves, there are two ways to turn it on and off; with a Control Lock button, or a specific button combination.
Activate and Deactivate with Control Lock Button
If your Whirlpool or Maytag appliance's control lock has been accidentally activated, or if you'd like to know how to turn it on in the first place, you first need to look for a button with a 'Control Lock' label on it, but don't panic if you don't see one. Engaging the control lock with this method is easy; simply hold the dedicated button for 3–5 seconds, and you will likely see a key or lock symbol, a small light underneath the button, or an 'Loc', 'LoC', or 'LC' message appear on the display. This is letting you know that the control lock has been activated. To disengage and turn off the control lock, hold the same button for 3–5 seconds until the symbol or message disappears.
Activate and Deactivate with Button Combination
If your Whirlpool or Maytag appliance does not have a dedicated 'Control Lock' button, and you're trying to turn the control lock on or off, you will need to hold a specific button combination. The buttons in question will depend on which model of the appliance you own, however, you can find your model's combination in your user Maytag or Whirlpool manual. An example of this is a support article for Maytag front-load washers, "It could be a dual function key paired with another button like Extra Rinse, Steam, etc."
How to Reset Maytag and Whirlpool Appliances to Clear LoC Code
If your Maytag or Whirlpool appliance has an 'LoC', 'Loc', or 'LC' code that simply will not clear or turn off, no matter how many times you attempt to, a reset is a great place to start. Resetting an appliance, whether it's a dishwasher, washer, dryer, microwave, or range is simple and may only require a few minutes to do. There are two methods you can use to achieve this; a power reset, or control board reset.
Power Reset
This is a universal method of resetting any appliance, no matter the occasion. Resetting an appliance with a power reset involves simply turning off power to it. Whether this is done by pulling out its power cord, or turning off the breaker supplying power, they're identical in their results. Leave the appliance disconnected for up to 5 minutes before reconnecting it. A power reset will completely restart the appliance, so it's normal for the appliance to make noise(s), since it's likely starting up to be usable.
Reset Button
Many models of appliances include a 'Reset' button, which completely resets the control board, and effectively, the entire appliance. If for whatever reason, your appliance is unaffected and continues to not respond after a power reset, or if your appliance is difficult to move and/or its power source is difficult to access, a control board reset will normally do the trick.
How to Replace a Touchpad for Maytag and Whirlpool Appliances
If you've tried deactivating the control lock on your Maytag or Whirlpool appliance and/or tried resetting it, and it still won't respond to any of your inputs, it likely has a faulty touchpad. The touchpad can stop working for a multitude of reasons, however, defects, moisture damage, or ribbon cable tears are very common and will cause you to need to replace it. Note: Before beginning the repair for any appliance, disconnect it from its power source to avoid electrocution or discharging and damaging any circuit boards.
Replace Whirlpool and Maytag Washer Touchpad
Maytag and Whirlpool washers will display ‘LC’ or ‘Loc’ when their control lock is engaged, and if you’ve tried disengaging it and resetting it, a new touchpad is what it needs. The touchpad for a Maytag or Whirlpool washer can be fairly simple to replace and will only require a few tools, such as an OEM Maytag or Whirlpool touchpad panel, a Philips-head, flat-head and/or Torx-head screwdriver, and a set of pliers.
- Disconnect your washer from its wall outlet.
- Use a Philips-head screwdriver to unthread the screws in the rear of the washer holding the top panel. Once they're removed, pull it back and then lift it up to remove the top panel.
- Pull out the dispenser drawer and depress the retaining clip to remove it completely.
- Use a Torx-head screwdriver (or whichever is necessary) to remove any screws on the dispenser drawer side of the panel.
- Unthread any securing screws holding the control panel touchpad inside the dryer cabinet.
- Depending on your model, you may also need to open the door of the washer to expose a screw underneath the control panel that needs to be unthreaded.
- Pull the control panel away from the washer to pop it off, exposing its internal cables.
- Disconnect all securing cables and wire harnesses.
- Remove the touchpad assembly from the washer.
- If there are any parts that are not included on the new panel, they will need to be removed and added to the new assembly before installation.
- Once the new touchpad assembly is ready for installation, connect any necessary cables and wire harnesses.
- Push the control panel touchpad assembly into the washer until it clicks into place, being sure no cables or wires are being pinched.
- Re-thread any screws that were removed from the washer.
- Reassemble the washer by replacing and securing the dispenser drawer and top panel.
- Reconnect your washer to its wall outlet to turn it on.
- Press the different buttons on the touchpad to test the new panel.
Replace Whirlpool and Maytag Dryer Touchpad
If you own a Whirlpool or Maytag dryer, it will display ‘Loc’ when the control lock is activated. If after an attempt to turn it off or reset your dryer, it still does not respond to any inputs, a new touchpad is in order. Removing and installing a new Maytag or Whirlpool dryer touchpad only requires a few tools, such as a Philips-head, Torx-head and/or flat-head screwdriver, a set of pliers, and an OEM Maytag or Whirlpool touchpad control panel.
- Disconnect your dryer from its wall outlet.
- Use your Philips-head screwdriver to unthread and disconnect the top panel screws the back of the dryer.
- Once those screws are unthreaded and removed, pull the top panel towards the back of the dryer and lift it up to remove it.
- Remove the dispenser drawer by pulling it out and depressing its securing clip.
- Unthread and remove the screws near the dispenser drawer.
- Unthread any screws securing the control panel.
- Carefully pull the control panel touchpad away from the dryer to remove it.
- Disconnect any cables or wires connected to the touchpad.
- Remove the touchpad from the dryer, and transfer any parts to the new touch that are only on the old one.
- Install the new touchpad and secure it with the retaining screws and securing wire harnesses, ensuring it clicks into place properly and no wires are being crushed or pinched.
- Reconnect the screws that were previously removed.
- Reinstall the top panel of the dryer and its dispenser drawer.
- Connect your dryer to the wall outlet.
- Turn your dryer on and test it.
Replace Whirlpool and Maytag Dishwasher Touchpad
If you own a dishwasher from Maytag or Whirlpool, you will see an indicator light or padlock that’s lit up when the control lock is turned on. If you try to turn it off, and even resetting the dishwasher itself can’t fix it, you’ll need to replace the touchpad. Replacing the touchpad of a Maytag or Whirlpool dishwasher is simple, and you only need a few tools to get it done, such as a Philips-head screwdriver or drill and drill bit, a set of pliers, and an OEM Maytag or Whirlpool dishwasher touchpad assembly.
- Disconnect your dishwasher from the wall outlet.
- Open the dishwasher door and unthread each of the screws around the perimeter of the door.
- Close the door and slide the outside shell of the door towards the floor.
- Remove the shell of the door to expose its innards.
- Locate the control panel touchpad, and disconnect any securing screws and wires.
- Remove the old touchpad control panel.
- Transfer any parts from the old touchpad to the new touchpad if necessary.
- Install the new touchpad, with its wires and securing screws.
- With the new touchpad installed, reinstall the shell of the dishwasher door by placing it back, and sliding up towards its original resting position.
- Open the dishwasher door again, keeping the shell in place, and rethread the securing screws back into their original position.
- Reconnect the dishwasher to power, and test the new touchpad.
Replace Whirlpool and Maytag Microwave Touchpad
Maytag and Whirlpool microwaves utilize the LoC, L, and a padlock to display a control lock. If you've tried turning off the control lock and resetting your microwave, a replacement touchpad is likely necessary. Replacing the touchpad of your microwave is super simple, and only requires a Philips-head screwdriver, a set of pliers, and an OEM Maytag or Whirlpool microwave touchpad.
- Disconnect your microwave from its wall outlet.
- Use your Philips-head screwdriver to unthread the screw securing the grille.
- Lift the grille to remove it.
- Unthread and remove any screws securing the touchpad assembly.
- Lift the touchpad assembly, and it should pull back and expose the inner wires.
- Take note of each cables position and connection point.
- Disconnect each wire, and then carefully pull the assembly out from the microwave. You may also need to remove a ground wire – do this with caution.
- Disconnect the ribbon cable(s) carefully, and unthread any screws. Then remove the touchpad's inner board.
- Insert that inner board into the new touchpad, and install it with the previously removed screws and ribbon cable.
- Secure the ground wire in the new touchpad assembly.
- Reconnect the remaining wires to the inner board.
- Push the new touchpad into place.
- Thread any necessary securing screws.
- Reconnect the grille to the microwave.
- Reconnect the microwave to power and test it.
Replace Whirlpool and Maytag Range Touchpad
Whirlpool and Maytag ranges utilize the 'Loc' or 'LoC' codes, as well as a lock symbol to display a control lock activation, and if you've already tried clearing it and resetting your range, your touchpad likely needs to be replaced. Replacing a range touchpad is easy and only requires a Philips-head screwdriver and an OEM Whirlpool or Maytag touchpad assembly!
- Disconnect your range from its wall outlet.
- Unthread and remove the securing screws on the back panel of your range.
- Unthread the mounting screws for the main control board.
- Disconnect the cables and wires connecting the touchpad to the main control board.
- Use your screwdriver and unthread the touchpad housing from the range.
- Detach the touchpad from its housing and replace it with the new touchpad.
- Connect the touchpad housing to your range.
- Connect all necessary wires and cables between the main control board and the touchpad.
- Secure both the main control board and touchpad within your range.
- Reconnect the back panel of your range.
- Connect your range to power and test the touchpad.
Maintaining a Maytag or Whirlpool Appliance
If you've made it to this point, hopefully you now have a working touchpad in your Maytag or Whirlpool appliance! Whether it simply took finding out how to activate and deactivate the control lock, or if it required a whole reset or even a touchpad replacement – you're here all the same! And while you're here, you should learn some new tips on how you can take care of your appliance.
- Clean Your Appliance Monthly: A very underrated aspect of caring for your appliance – keeping it clean! Keep it feeling new, with a monthly clean to make it shine!
- Inspect Your Appliance Parts: Whether it's a filter in your microwave, the rack in your dishwasher, or any of their touchpads, give them a good old once over. Just to make sure they're always in tip-top shape!
- Fix It!: If something's wrong in your appliance, whether it's an ice dispenser, a temperature sensor, or something else – fix it, so you can stop stressing out, and so your appliance gets the care it needs, to help you!
For all of our other home improvement and error code-specific how-to guides, check out our PartSelect blog! And for all of the parts you need for the appliances and equipment that help you get things done, PartSelect.com has you covered!


If your Whirlpool dishwasher has an F2 error code, it means there is a leak...

If an F21, F02, or F9E1 error code is showing up on your Whirlpool or Mayta...
Do you know how to diagnose and fix your dishwasher in a pinch? Testing the...
