


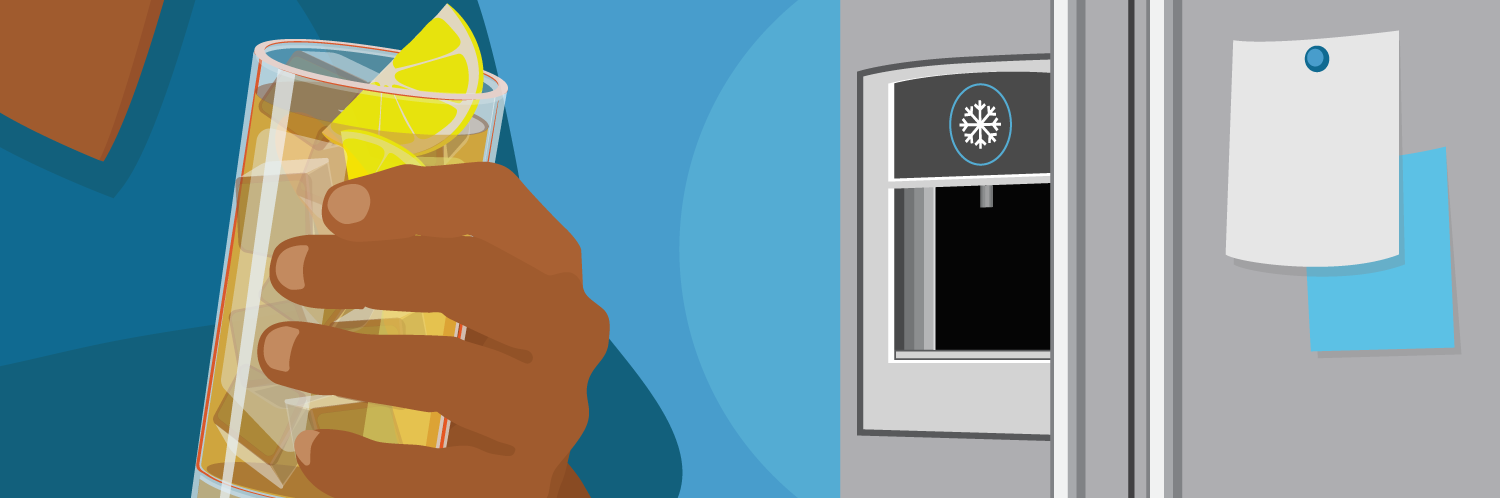
How to Easily Fix a Broken Refrigerator Ice Maker
Trying to dispense some cold ice into your beverage of choice, but your ice maker isn't working? There are a few reasons why your ice maker isn't working properly, some are easy fixes, and others require parts and tools! You can start by lowering the temperature of your freezer to below 0°F/-18°C, ensuring the shutoff switch/arm is not engaged, or emptying the ice maker bin. Then you can check the ejector fingers, water supply and tube, and infrared sensor to ensure those are not the cause. Finally, it's important to troubleshoot key parts like the water filter, door switch, ice dispenser paddles and water inlet valve if basic troubleshooting does not solve the issue. Whether it's a quick and easy fix, or a faulty part, we have the guide to walk you the steps required to get your ice maker up and running again!
Quick Ice Maker Fixes
Ice makers can be finicky, since they rely on consistently cold temperatures and key mechanical functions to turn over continuously day and night, making ice. Unfortunately, these functions can be interrupted by any slight fluctuation or disruption. However, the good news is these issue are often just as easy to fix as they are to occur. The following are the simplest common fixes to an ice maker that isn't functioning:
- Shutoff Arm/Switch is Not Engaged: The shutoff arm/switch in many freezer compartments directly activates and deactivates the ice maker, and can accidentally be lodged into an, 'OFF' position. This switch is normally behind or around the ice bin, however your model may be different. Simply turn this arm/switch to the correct position to turn it on again.
- Ice Maker Bin is Frozen: Referred to as, 'compacting', this is when a lack of movement, production or proper cleaning of the ice bin leads to it clumping together and freezing into a solid block. This results in the ice maker appearing to be broken, when in reality, the old ice just needs to be thrown out.
- Temperature of Freezer is too High: When a freezer compartment's temperature is too warm or too cold, it can result in too small of ice or ice not being produced at all, or it can result in the entire ice bin freezing and being difficult to separate. Using a thermometer, you can test the internal temperature of the freezer compartment to ensure it's 0°F/-18°C or slightly colder. If the internal temperature is too high or too cold, use your fridge controls to adjust the temperature.
- Frozen Water Supply: The water supply tube within an ice maker system is responsible for delivering water to the ice maker to freeze. This tube can freeze when there's a momentary lack of water pressure, a clogged water filter within the fridge, or a lapse within the temperature control of the freezer. However, if you pull out the ice bin, and using a hair dryer or similar tool, you can apply heat to the tube and de-thaw it, allowing the water to flow freely again. Note: Move the hair dryer and apply heat indirectly, since too much direct heat may cause the plastic to melt.
Sometimes fixing your ice maker isn't as easy as the four methods described above. The following issues may require more time to fix, but are just as important to the functionality of your ice maker:
- Ejector Fingers: In some fridge models a mechanism called, ejector 'fingers' – also known as bar, tines, or paddles – is used to eject the frozen ice created by the ice maker into the ice bin. This mechanism can become jammed and will require you to break-up the ice to become unstuck.
- Clogged or Kinked Water Tube: A clogged or kinked water supply tube to your fridge will inevitably and naturally cause the ice maker to stop producing ice. If the temperature in your fridge is suitable and it suddenly stops producing ice, check the water supply tube for any clogs, kinks, or damage.
- Infrared Sensor Out of Position: In some Samsung refrigerator models, infrared sensors are used to detect when more ice needs to be made, and when it needs to stop. If the sensor is dislodged, it will inaccurately detect ice and cause the ice maker to stop. Simply remove any built-up or lodged ice, and the sensor should restore functionality to the ice maker.
Parts to Examine to Fix Your Ice Maker
If you've tried all of the above methods, and your ice maker is still not producing ice or working properly, you likely have the bigger task ahead of you – replacing a part. We understand that this is not good news, but we have the step-by-step guide you need to properly repair your fridge, and get cold ice now!
How to Replace a Clogged or After-Market Water Filter
Water filters are used for the dispensing of water and the creation of ice in the ice maker. If your filter is clogged or is an after-market variant, it will need to be replaced with an OEM filter immediately. Locating the filter in your refrigerator can depend on the model, however, key places to look for are the ceiling of the fridge's interior, as well as the bottom of the appliance or corners. You can find the OEM filter for your fridge model in our PartSelect water filter finder!
Water filters should be changed every 6–9 months for best water taste and appearance. Not changing your water filter will cause sediments and other normally filtered elements and minerals from entering your water and eventually, your body.
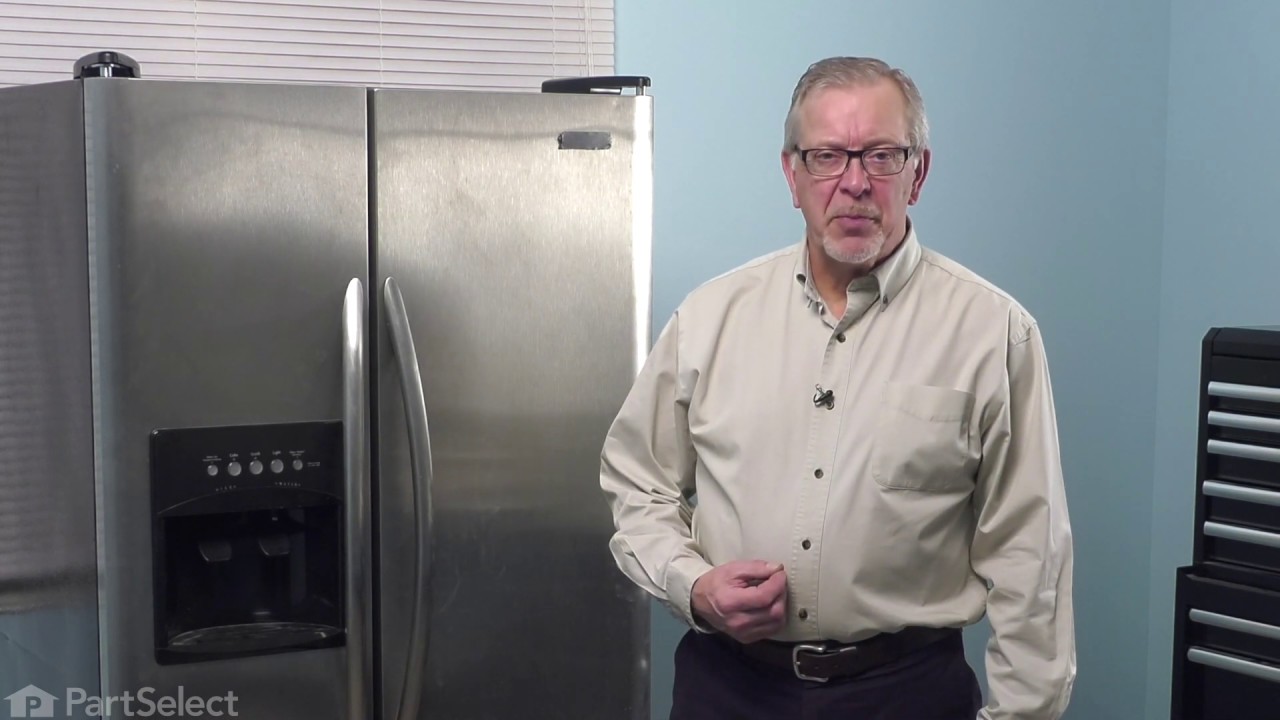
The following video guide has more in-depth instructions for you to follow concerning your fridge's water filter.

How to Replace a Broken Fridge Door Switch
On either side of your refrigerator will be a door switch that either activates or deactivates any cooling or ice/water production when the door is opened. If the switch responsible for that ice and water production is bad or defective, which can be detected by the light properly turning on when the door is opened, it will cause your ice maker to stop working properly. Luckily, we have a wide-range of switches in our PartSelect refrigerator switch inventory, and a general guide to tell you how to replace it:
- Disconnect your refrigerator from its wall outlet to turn it off.
- Use two flat tools, such as a putty-knife and flat-head screwdriver, to pry the switch out from the interior wall of the freezer.
- Using a set of pliers, pull the switch out from its housing and disconnect any connected wire harnesses.
- Discard the switch, or test it with a multimeter for extra assurance.
- Connect the wire harness to the terminals of the new switch.
- Place the switch back into the door and push it firmly within the housing.
- Connect your refrigerator back to its wall outlet and test the door and ice maker after 10–15 minutes. Note: If your refrigerator has not made ice in a significant amount of time, give it up to 24 hours to produce ice.
Below is a general video guide to instruct you on this repair.
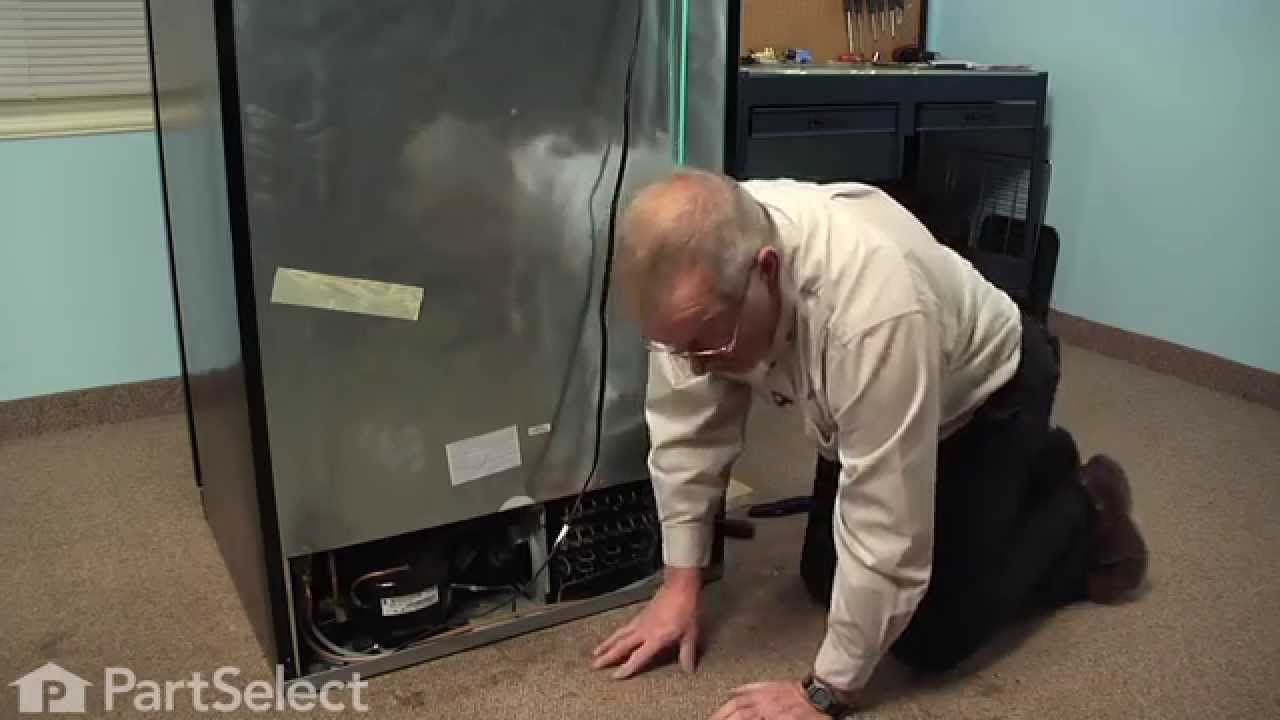
How to Replace a Refrigerator Water Inlet Valve
Solenoid water inlet valves are used within refrigerators and appliances in general to activate to allow water to flow freely and contain filters to keep out any dirt or debris that could be in your water supply. If a water inlet valve is bad or becomes clogged and needs replacement, it will cause the water or ice dispenser in your refrigerator to have a weak level of pressure and not dispense or produce water and ice. However, you can find the OEM water inlet valve for your refrigerator model in our PartSelect inventory, and use the following general guide to remove and replace it:
- Turn off and disconnect your fridge from its water and power supply.
- Locate the inlet valve and remove any panels that may be securing it.
- Unthread any securing screws holding the valve in place, and pull the valve out.
- Remove any wire harnesses connected to the valve, and document their original position for future reinstallation.
- Remove each of the tubes connected to the valve, ensuring you have a towel handy in case water is still within any of the tubes.
- Once the old solenoid water inlet valve is removed and discarded, cut a quarter-inch off each tube before installing the new valve with the tubes and wire harnesses.
- With each tube and wire secured, install the new valve within the refrigerator, ensuring it's properly mounted and secure, and all screws are properly threaded.
- Reassemble any cover panels for the rear of the refrigerator, and connect the water line first, before the power line.
- Turn the refrigerator on and allow the fridge a few hours to calibrate before testing the water or ice maker, monitoring it for any leaks.
The following is a general video guide to instruct you on this repair.
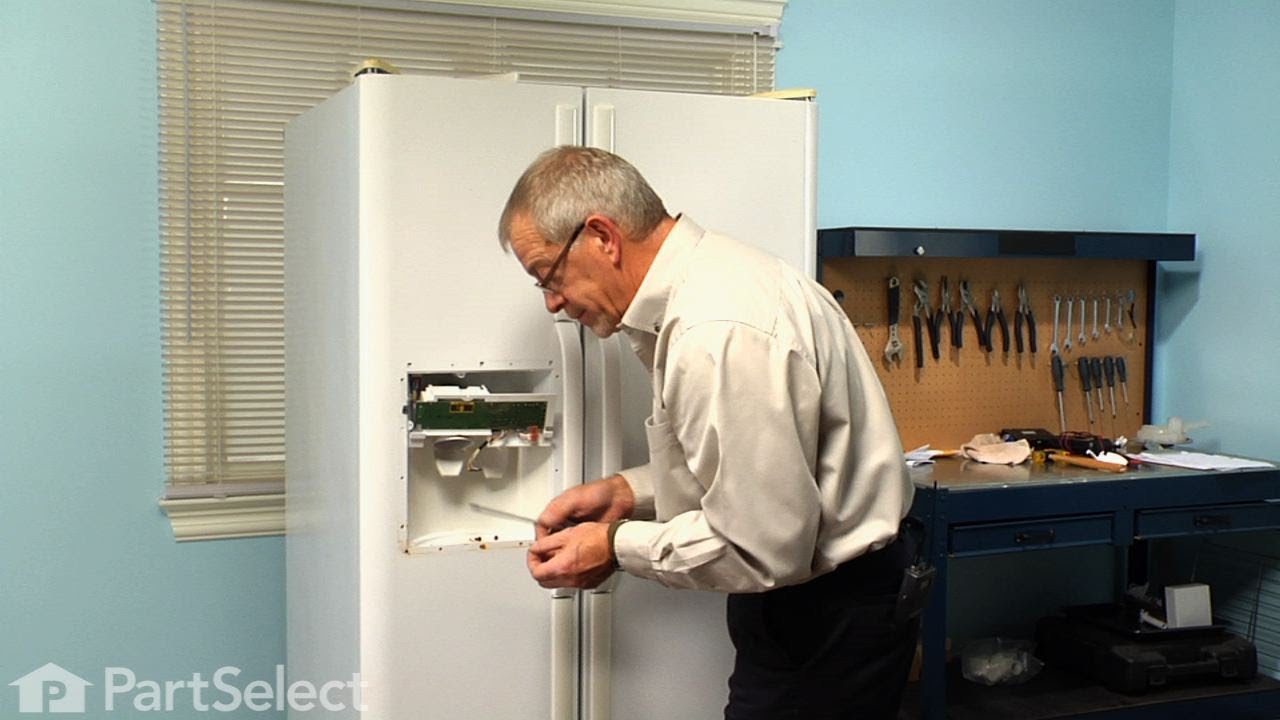
How to Fix a Broken Fridge Ice Dispenser Actuator
If your ice maker is producing ice but the ice is not dispensing, it is certainly an issue with its dispenser actuator, also known as a paddle. This actuator is what you push your cup against to activate the ice maker and dispense ice. If you need to replace yours, we have whatever OEM part you need within our PartSelect fridge dispenser inventory, and a general guide to show you how to replace it:
- Unplug your fridge to disconnect it from power.
- Use a screwdriver to remove any screws securing the user interface cover.
- Disconnect and remove the user interface panel and any wire harnesses.
- Unthread and remove any further screws securing the dispenser assembly.
- Unscrew the dispenser/actuator actuator and remove it, before replacing it with the new actuator.
- Screw the new actuator in and ensure it's properly secured within the dispenser mechanism and any tension springs.
- Place the dispenser into its original position, and connect all necessary wire harnesses.
- Connect the user interface panel and any further wire harnesses, as well as its cover.
- Plug your fridge into the wall outlet to connect it to power.
- Turn on your fridge and test the dispenser.
The following is a video guide to provide general instruction for this repair.
Why is My Ice Maker is Still Not Working?
If after reaching this point, your fridge's ice maker is still not working, you may have an issue with the refrigerator's control board, which may require a more dedicated repair.
For our other fun and informative PartSelect content, check out our home improvement and appliance error code blog articles! And for any and all parts that you may need in or outside of your home, make sure to visit PartSelect.com!


Get your refrigerator icemaker back up and running with these troubleshooti...
Keep your freezer ice-cold and free of frost by checking these most common ...
If your refrigerator is freezing food, then it's not doing its job - there'...
