Make sure you haven't got the discount earlier.
Parts That Fix General Electric Microwave SCA1001KSS02 No heat
No heat is a commonly reported symptom for the SCA1001KSS02 General Electric Microwave, and we have put together a full guide on how to fix this. This advice is based on feedback from people who own this exact appliance. We have listed the most common parts for your SCA1001KSS02 General Electric Microwave that will fix No heat. We have included repair instructions, and helpful step-by-step video tutorials. If you are experiencing this issue, not to worry, DIYers just like you have fixed this, and shared their experience to help you!
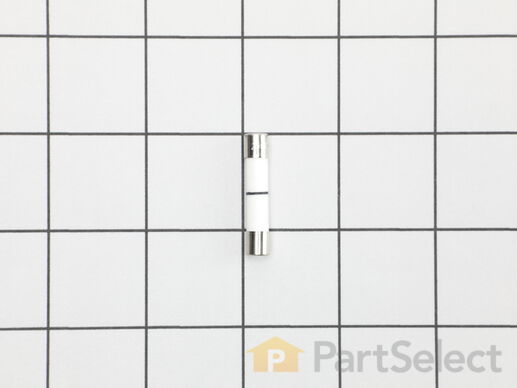
This ceramic microwave fuse is just over an inch in length. It is white in the center, and metal on both ends. This is a 20-amp fuse, and is used to power your microwave. If the touch pad on the microwave becomes unresponsive, the microwave produces little to no heat, or the appliance simply does not turn on, it could mean that your fuse is at fault and needs to be replaced. Because this part contains an electrical charge, remember to disconnect power to the microwave unit before you begin this repair. NOTE: Before you start this repair, ensure that the microwave is unplugged, and the capacitor is discharged. A capacitor stores large amounts of electricity even after your microwave is unplugged.
Customer Repair Stories
I diagnosed the problem incorrectly: based on a previous repair.
-
Ralph from Brandon, FL
-
Difficulty Level:Easy
-
Total Repair Time:Less than 15 mins
-
Tools:Pliers, Screw drivers
Microwave completely stopped working
First off, UNPLUG THE MICROWAVE.
The fuse is located under the plastic grill at the top of the microwave. It's held on by two screws. Once you've removed the screws and taken off the plastic grill, you go to the right side of the mic ... Read more rowave and remove another screw that holds a small metal grill in place. Removing the small metal grill is probably the toughest part of this repair. You kind of have to rock it back and forth a bit to get it to release. Once that's off, you can get to the fuse. I removed the burnt out one with a pair of needle nose pliers. I also put a small piece of cardboard under the fuse when I did this so I didn't accidentally drop it into the innards of the microwave. I did the same thing when I replaced the new fuse. I then plugged the appliance back in and made sure it worked. Once that was confirmed, I replaced both grills.
-
Kim from Cliffside Park, NJ
-
Difficulty Level:Really Easy
-
Total Repair Time:15 - 30 mins
-
Tools:Screw drivers
This interlock switch is located in the door latch.
Customer Repair Stories
Microwave would turn on and count down, but not heating and not rotate turntable. Pressing door up would occasionally start heat.
-
Michael from Ridgefield, CT
-
Difficulty Level:Really Easy
-
Total Repair Time:Less than 15 mins
-
Tools:Screw drivers
Microwave runs with the door open
and test to see if that solved the problem. If so then well done!!
-
Thomas from Andover, NJ
-
Difficulty Level:Really Easy
-
Total Repair Time:15 - 30 mins
-
Tools:Pliers, Screw drivers
Customer Repair Stories
Microwave would not heat food
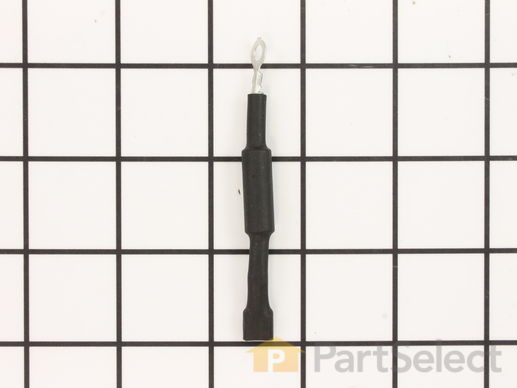
I removed the vent cover above the main door, then I removed the screw which holds the control panel in place, unplugged the main connector on the control panel so I would have enough room to work, removed grounding screw from the DIODE ASSY, pulled connector o ... Read more ff the CAPACITOR with pliers, installed new DIODE ASSY.
After installation of DIODE and the control Panel, I plugged in the AC power and allowed the CAPACITOR to charge - this takes about an hour or so, then test. Works perfect!
-
Robert from Dayton, NV
-
Difficulty Level:Really Easy
-
Total Repair Time:15 - 30 mins
-
Tools:Pliers, Screw drivers
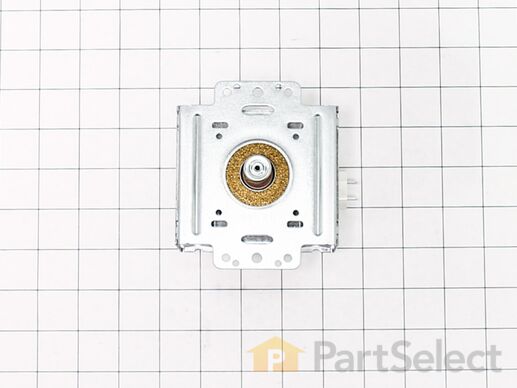
This magnetron in your microwave creates the radiation needed for cooking or warming your food. It is located inside the main cavity, typically near the transformer or waveguide. When the magnetron becomes defective, your food may not heat up properly or heat up at all. Additionally, buzzing or humming sounds may be noticeable while the microwave is in operation. With a malfunctioning magnetron, your microwave loses its primary function. To remove it, you first need to unplug your microwave from its outlet. Before touching any components, discharge the capacitor by placing a screwdriver, with an insulated handle, across the two terminals of the capacitor. Once the capacitor is discharged, replace the current magnetron by disconnecting it from any wires and removing any mounting screws or clips. This magnetron is sold individually and is supplied directly from the original equipment manufacturer.
Customer Repair Stories
Would not heat and made a buzzing or popping sound
-
Thomas from NEWARK, DE
-
Difficulty Level:Easy
-
Total Repair Time:15 - 30 mins
-
Tools:Screw drivers
Magnitron failed
1. Unplug device.
2. Two people to remove from wall/cabinet (remove two, large, top mounting screws and rotate entire microwave down and off the wall mount). Should be some wood spacers between top of device and bottom of cabinet.
3. Remove screws from sheet metal cover ... Read more .
4. Remove one screw holding blowers in place and rotate out of the way, in order to gain access to 2 of 5 screws that hold the magnetron in place.
5. Unplug magnetron and remove the 5 screws.
6. Drop in new magnetron and re-assemble microwave in reverse order (steps 5-3).
7. Two people restore micro to wall/cabinet. Replace wood spacers, re-install two, large mounting screws (finger-tight). Test device. Secure the two large screws.
-
Joseph from WILTON, NH
-
Difficulty Level:A Bit Difficult
-
Total Repair Time:1- 2 hours
-
Tools:Screw drivers
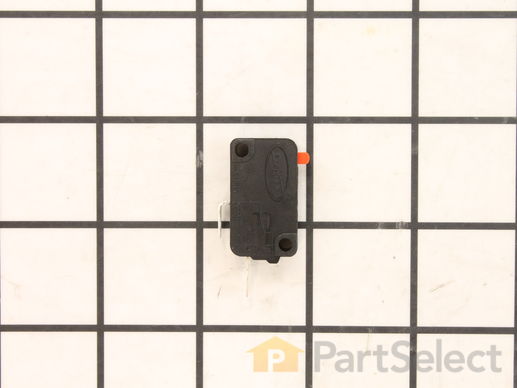
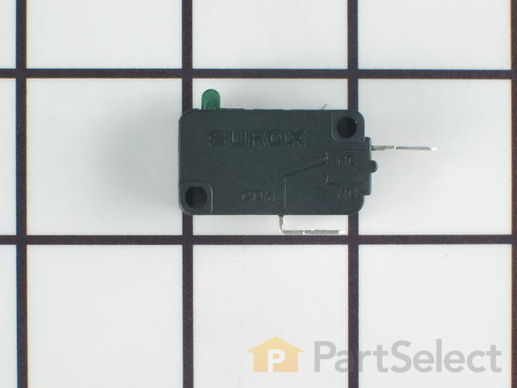
This is the replacement monitor switch for your microwave. It is black in color and measures approximately 1 inch by ¾ of an inch. This switch monitors the door latch position of your microwave and communicates to the electronic control board whether the latch is open or closed. If the switch is damaged, your microwave may not start, even though the door latch is closed. You can check the continuity of the switch by using a multimeter. Be sure to disconnect the microwave from power before you begin this repair.


