Make sure you haven't got the discount earlier.
Parts That Fix Whirlpool Range RF263LXTQ3 Element will not heat
Element will not heat is a commonly reported symptom for the RF263LXTQ3 Whirlpool Range, and we have put together a full guide on how to fix this. This advice is based on feedback from people who own this exact appliance. We have listed the most common parts for your RF263LXTQ3 Whirlpool Range that will fix Element will not heat. We have included repair instructions, and helpful step-by-step video tutorials. If you are experiencing this issue, not to worry, DIYers just like you have fixed this, and shared their experience to help you!
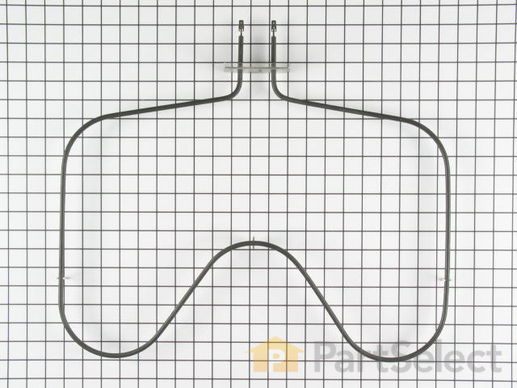
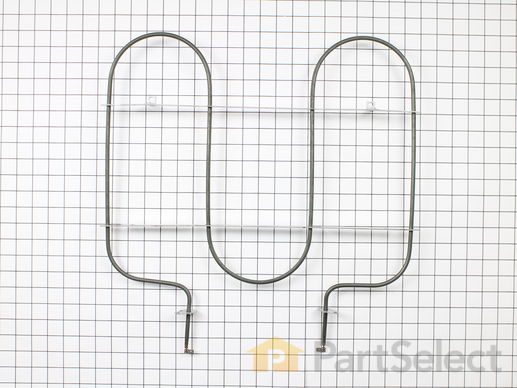
This bake element is located at the bottom of the oven to supply heat and it has push-on terminals. If your baking element is burnt out, the heat is not consistent, or is defective, then replacing the element could be a solution to your appliance problem. The tools needed for this replacement are: a screwdriver and needle-nose pliers. The first step in is to unplug the range or shut off the house circuit breaker before starting. Unscrew the black of the oven cavity to pull out wires from the defective element. Reconnect wires to the new element and screw it back on. Make sure the element is sitting flat.
Replacing your Whirlpool Range Oven Bake Element

Customer Repair Stories
Baking element on stove wouldn't heat
-
Reggie from Piedmont, SC
-
Difficulty Level:Really Easy
-
Total Repair Time:Less than 15 mins
-
Tools:Screw drivers
heating element burnt up
-
Esther from San Antonio, TX
-
Difficulty Level:Really Easy
-
Total Repair Time:15 - 30 mins
-
Tools:Nutdriver, Screw drivers
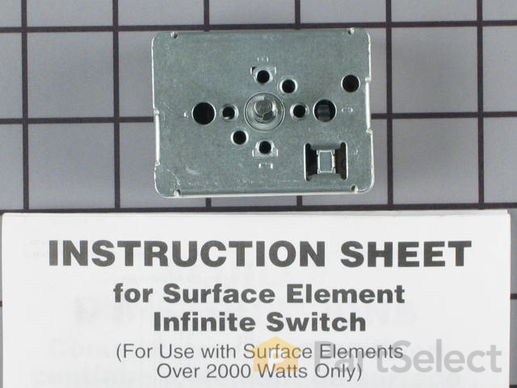
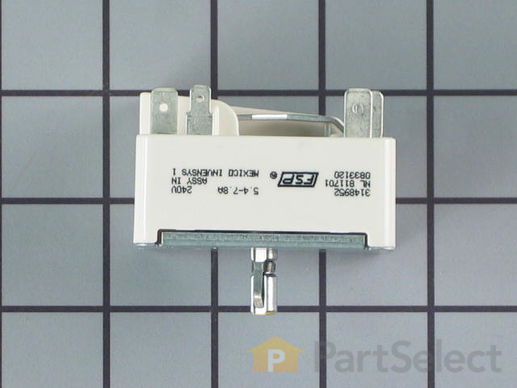
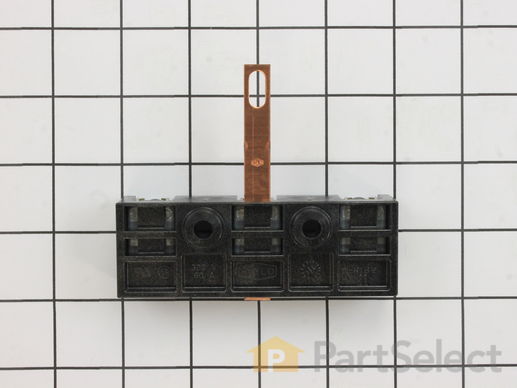
This surface burner element switch is for an 8-inch surface burner on an oven, stove, or range. The element switch controls the heat of the surface burner. Disconnect power to your range before completing this repair because you will be working closely with electrical circuits. Remove the screws from back panel and the console, and remove the console to expose the switch. It is recommended to check for overheating or arcing on the wiring harness in case they need to be replaced as well. The harness that connects to the switch features a slip-on terminal for easy installation.
Replacing your Whirlpool Range Surface Burner Element Switch, Large Burner

Customer Repair Stories
Burner would go high without warning
-
John from Clinton, CT
-
Difficulty Level:Easy
-
Total Repair Time:15 - 30 mins
-
Tools:Pliers, Screw drivers
the element did not turn compleatly off, the on light stayed on.
-
chaz from fairplay, CO
-
Difficulty Level:Easy
-
Total Repair Time:15 - 30 mins
-
Tools:Screw drivers
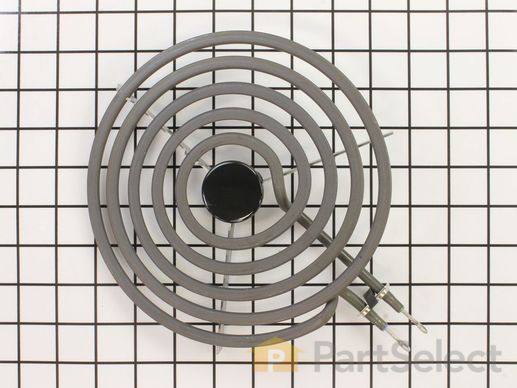
This is a surface element for the stove top on your range. It supplies heat to the top of the range cooking area. This model is 2100 watts and is eight inches in diameter. It has looped terminal ends, and five turns. The most common reason for needing to replace this part is if your current element is not retaining heat. The first step to this repair is to make sure the burner control is set to off, and that the element is cool to the touch.
Replacing your Whirlpool Range Range Surface Element

Customer Repair Stories
surface burner heating element broken
-
Marlene from Charleston, SC
-
Difficulty Level:Really Easy
-
Total Repair Time:Less than 15 mins
The heating element on the left front burner was out
-
Julie from Salt Lake City, UT
-
Difficulty Level:Really Easy
-
Total Repair Time:Less than 15 mins
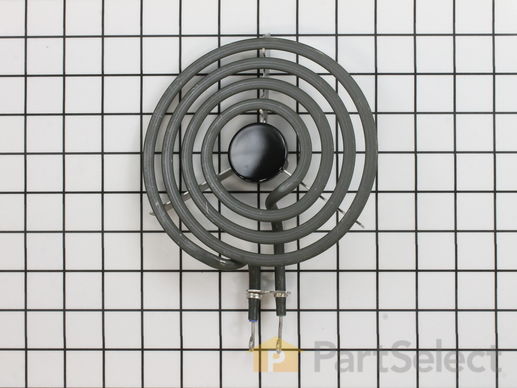
The standard y-frame surface burner provides heat to your range. If you notice that your element will not heat, you may need to replace your surface burner. This product is 6 inches in diameter, and 1500W. The manufacturer suggests replacing the receptacle at the same time that you replace the surface burner. Many of our customers have rated this repair as very easy, and you will not need any tools. To complete the repair, simply lift out the old burner and replace it with the new one. Check that the burners are turned off before you begin this repair.
Replacing your Whirlpool Range Standard Y-Frame Range Surface Burner

Customer Repair Stories
burner fell apart
-
Barbara a from Huntington, NY
-
Difficulty Level:Really Easy
-
Total Repair Time:Less than 15 mins
electric burner burned out
-
Paul from Foley, AL
-
Difficulty Level:Really Easy
-
Total Repair Time:Less than 15 mins
This broil element supplies heat for cooking purposes and is located in the roof of an oven. If you find there is little to no heat when cooking, a burned-out element, or food is taking too long to cook, these symptoms could be solved by replacing this part. Before starting this replacement, make sure you unplug the range from the power source or shut off from the house circuit breaker. All you need to complete this repair is a Phillips screwdriver. For safety reasons, make sure to wear gloves. Refer to the manual provided by the manufacturer for more instruction.
Replacing your Whirlpool Range Broil Element

Customer Repair Stories
Broil element burned out
-
carlton from lakeland, FL
-
Difficulty Level:Really Easy
-
Total Repair Time:15 - 30 mins
-
Tools:Screw drivers
The broiler element started sparking and melting in one spot. I thought it would catch on fire and quickly turned off the oven.
-
Ramona from Mexico, MO
-
Difficulty Level:Really Easy
-
Total Repair Time:15 - 30 mins
-
Tools:Screw drivers
This part carries 5.2-6.6 amps.
Customer Repair Stories
The burner would not shut off.
-
Richard from CONCORD, NH
-
Difficulty Level:Really Easy
-
Total Repair Time:15 - 30 mins
-
Tools:Pliers, Screw drivers
One of the heat elements in my oven would not heat
2. Removed several screws that held the control block
3. Removed two screws that held the switch itself disconnected wires and removed switch
4. Reconnected all wires to new switch (no soldiering gun required)
5. Put control block back
Overall - very easy
-
Mikhail from Iowa City, IA
-
Difficulty Level:Easy
-
Total Repair Time:Less than 15 mins
-
Tools:Nutdriver, Screw drivers
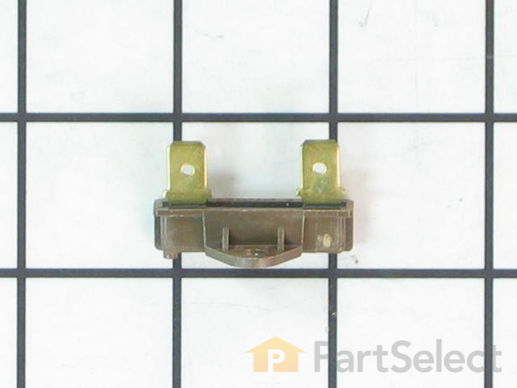
This part is used as a safety feature. If your range overheats this part will shut the range down.
Replacing your Whirlpool Range Safety Thermostat

Customer Repair Stories
The Range took forever to achieve the proper heating temperature with an inability to maintain a steady heat
-
Robert from Mifflinburg, PA
-
Difficulty Level:Really Easy
-
Total Repair Time:15 - 30 mins
-
Tools:Nutdriver
The oven light shorted out causing the safety thermostat to blow.
Works great again...without the light
-
Joseph K from PAHRUMP, NV
-
Difficulty Level:Very Easy
-
Total Repair Time:15 - 30 mins
-
Tools:Pliers, Screw drivers
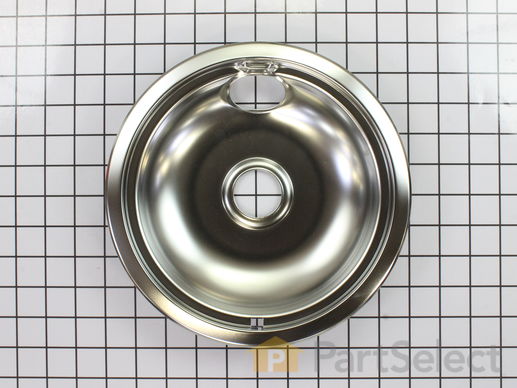
This manufacturer-certified drip bowl is also known as a drip pan, and it is designed for use with cooktops and ranges. It sits below 8-inch burner elements and catches drips and spills from the cookware on the burner. The diameter of the drip bowl is approximately 10 inches. This replacement might appear slightly different, but it will fit your appliance. You will need no tools to complete this repair. Simply remove the burner element, remove the old bowl, line up the hole on the new bowl with the terminal block and drop it into place. Make sure the bowl is flat before reinstalling the element. While you have the element out you should inspect the terminals for corrosion, damage, or discolouration. If you notice any of those things you should also replace the element and terminal block. You will need to replace your drip bowl if it is lost, damaged, or can no longer be cleaned. This replacement part is sold individually. To extend the life of your new drip bowl we recommend you clean it regularly with soap and water. We recommend only using the recommended drip bowl for your appliance; generic versions will not fit properly which could affect the performance of your elements and cause long-term damage.
Replacing your Amana Range Chrome Drip Bowl - 8 inch

Customer Repair Stories
Drip Pans were stained and burned on.
-
Sandra Collignon from SANTA CLAUS, IN
-
Difficulty Level:Really Easy
-
Total Repair Time:30 - 60 mins
Drip pans were old and with burnt on food that I couldn't get off. Disgusting!!
-
Nicki from ELSIE, NE
-
Difficulty Level:Very Easy
-
Total Repair Time:Less than 15 mins
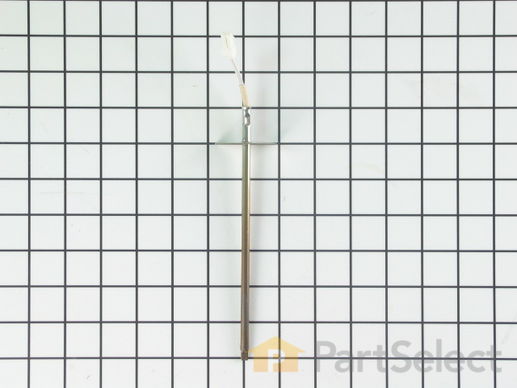
This oven temperature sensor, for ranges, works together with the oven control board to measure and regulate the oven temperature. The sensor detects the temperature in the oven cavity. If the following symptoms occur, replacing the temperature sensor could be the solution: Little or no heat when baking, oven not heating evenly, oven will not start, and/or oven is overheating. Often, if the sensor is defective, the oven temperature will fluctuate and be inaccurate by more than 50 degrees. The tool needed for this replacement is a #2 square head screwdriver or a #2 Philips screwdriver. Remember to unplug the range before installing the part.
Replacing your Whirlpool Range Oven Sensor

Customer Repair Stories
Oven stuck in cleaning mode
-
Hal from Santa Rosa, CA
-
Difficulty Level:Really Easy
-
Total Repair Time:Less than 15 mins
-
Tools:Screw drivers
temperature not accurate after 3 1/2 years of happy usage
The sensor that has been replaced is not what is expected. After reading all of the instructions for adjusting the temperatures, the only temp that stays steady is when we first turn on the oven to 350 degrees. That stays s ... Read more teady but when I turn it to 400 it slowly goes up to 425 degrees.
-
Ruth from Oregon, IL
-
Difficulty Level:Really Easy
-
Total Repair Time:15 - 30 mins
-
Tools:Screw drivers
This is the terminal block for the power cord on an electric range.
Customer Repair Stories
Burned Out Termincal Block
-
Jeffrey from Davie, FL
-
Difficulty Level:Easy
-
Total Repair Time:15 - 30 mins
-
Tools:Pliers, Screw drivers, Socket set
bought floor model with loose cord that melted block terminal
I unplugged stove, disconnected wires keeping in mind the color placement. Unscrewed one ground screw and removed terminal block. Attached new block with ground screw, replaced wires in correct order, re-attached plug. Then reattached safety cover. Pretty simple for d.i.y.
-
larry from alexandria, IN
-
Difficulty Level:Easy
-
Total Repair Time:15 - 30 mins
-
Tools:Nutdriver, Screw drivers, Socket set
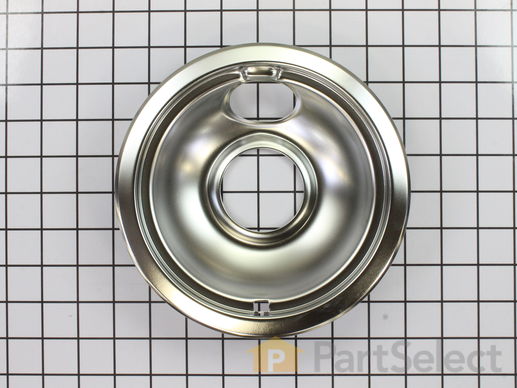
This drip bowl is used for electric cooktops and ranges, it is designed to sit under a 6-inch surface burner. It catches the drips and spills coming from the cookware on the surface burner. This drip bowl is chrome, and it has a diameter of 8 inches. You need to remove the burner element to replace this part. Line the hole up with the element terminal blocks, and ensure the new bowl is flush with the surface of the cooktop before replacing the burner element. Drip bowls need to be replaced when they are lost, damaged, or you are no longer able to clean them adequately. This replacement part is sold individually.
Replacing your Amana Range Drip Bowl - 6 Inch


