Models > KTTS505ESS0 > Symptoms > Drawer is hard to open and or close

Parts That Fix KitchenAid Trash Compactor KTTS505ESS0 Drawer is hard to open and or close

Drawer is hard to open and or close is a commonly reported symptom for the KTTS505ESS0 KitchenAid Trash Compactor, and we have put together a full guide on how to fix this. This advice is based on feedback from people who own this exact appliance. We have listed the most common parts for your KTTS505ESS0 KitchenAid Trash Compactor that will fix Drawer is hard to open and or close. We have included repair instructions, and helpful step-by-step video tutorials. If you are experiencing this issue, not to worry, DIYers just like you have fixed this, and shared their experience to help you!

Fixes Symptom 43% of time
★★★★★
★★★★★
7 Reviews

Rated by 5 customers 


Easy 

1- 2 hours 

Ratings submitted by customers like you who bought this part.   

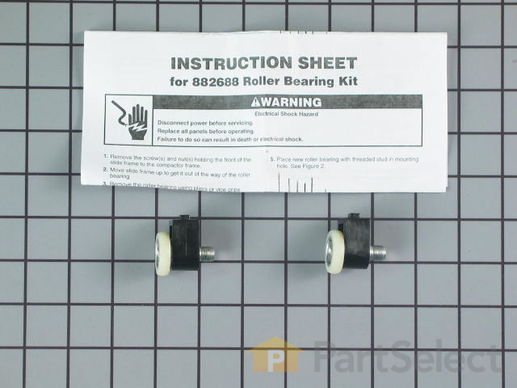
This wheel assembly, or roller assembly, is for a trash compactor. The kit includes two wheels that are approximately 1 inch in diameter each. The wheels allow the trash compactor container to roll in and out of the appliance. You may have to replace the wheel assembly if the container does not roll smoothly. To access the existing wheel kit on your appliance, uninstall appliance from the cabinet, depress foot petal to lift the container off its track, and remove the container from the tracks. This kit is an OEM part sourced from the authentic manufacturer factory.

$ 26.21
  In Stock
PartSelect Number PS398587
Manufacturer Part Number 882688

Customer Repair Stories

Compactor draw was not opening fully as the wheel bearings had seized

I followed the you tube video instructions provided by customer care. This involved pulling the unit free from the cabinet, removing several screws that held the housing in place, this gave access to the wheel assembly, then I removed the nuts that held the wheel assembly in place. Fitting the new wheel assemblies was easy as was replacing the housing screws. After reinserting the draw and pushing the unit back into the cabinet it worked like new
  • Andrew from ASHEVILLE, NC
  • Difficulty Level:
    A Bit Difficult
  • Total Repair Time:
    30 - 60 mins
  • Tools:
    Socket set
2 of 2 people found this instruction helpful.
Was this instruction helpful to you?
Thank you for voting!

Trash bin would not roll out completely

-Removed the forward sliding rail screws...lifted the rails up several inches to access the wheel assembly...bent back the steel tab to access the nuts holding the wheels to the frame...replaced the wheels and bent back the steel tabs to original position. Trash bin now rolls out completely as before
  • Roger from Grantham, NH
  • Difficulty Level:
    Difficult
  • Total Repair Time:
    30 - 60 mins
  • Tools:
    Nutdriver, Pliers, Socket set
3 of 3 people found this instruction helpful.
Was this instruction helpful to you?
Thank you for voting!
Fixes Symptom 31% of time
★★★★★
★★★★★
6 Reviews

Rated by 4 customers 


Really Easy 

1- 2 hours 

Ratings submitted by customers like you who bought this part.   

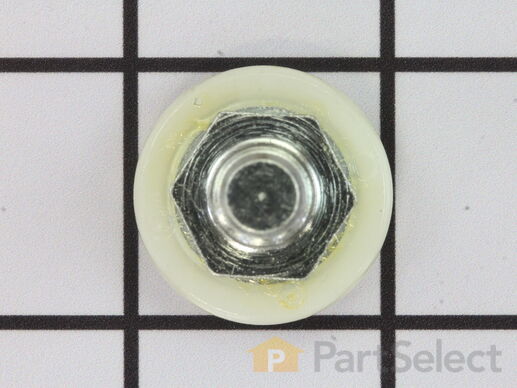
This bearing roller may also be known as the wheel assembly or the container roller bearing, and it is a piece for your trash bin. The function of this bearing is to work in conjunction with your trash bin to allow the canister to roll free. For this repair you will need a nut driver, a pair of pliers, a screwdriver set, and an adjustable wrench. The most obvious symptom that will require you to replace this part is if your drawer is hard to open and/or close. Your appliance comes with two bearing rollers and it is sold individually.

$ 16.43
  In Stock
PartSelect Number PS11747573
Manufacturer Part Number WP9871602

Customer Repair Stories

Rollers wore out

Removed and replaced in less than 15 minutes. Works like new again
  • Charles from NEWBERRY, MI
  • Difficulty Level:
    Very Easy
  • Total Repair Time:
    Less than 15 mins
  • Tools:
    Socket set
1 person found this instruction helpful.
Was this instruction helpful to you?
Thank you for voting!

Roller was flat

Bought wrong roller. The drawer roller is different than the stationary rollers. Note the difference.
  • John from Lancaster, CA
  • Difficulty Level:
    Really Easy
  • Total Repair Time:
    30 - 60 mins
  • Tools:
    Nutdriver, Wrench set
2 of 2 people found this instruction helpful.
Was this instruction helpful to you?
Thank you for voting!
Fixes Symptom 11% of time

Rated by 1 customer 


A Bit Difficult 

30 - 60 mins 

Ratings submitted by customers like you who bought this part.   

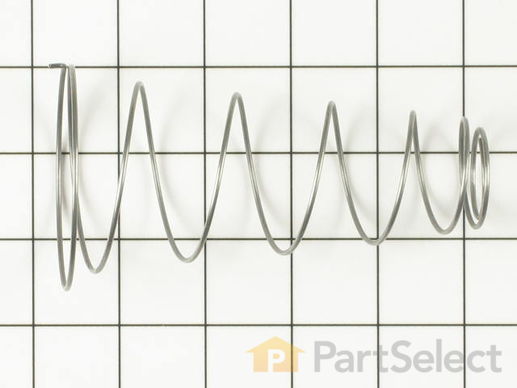
Used with trash compactors.

$ 70.27
  In Stock
PartSelect Number PS11744735
Manufacturer Part Number WP777180
Fixes Symptom 9% of time

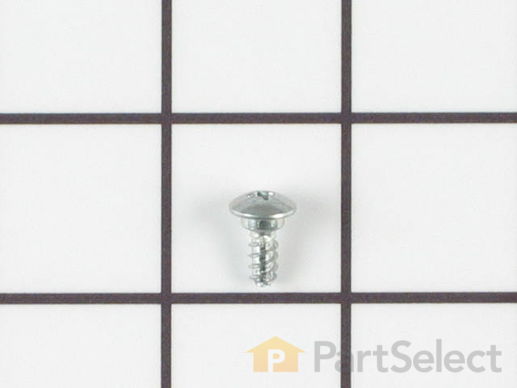
Sold Individually.

$ 7.38
  In Stock
PartSelect Number PS11744747
Manufacturer Part Number WP780263
Fixes Symptom 6% of time
★★★★★
★★★★★
46 Reviews

Rated by 27 customers 


Easy 

30 - 60 mins 

Ratings submitted by customers like you who bought this part.   

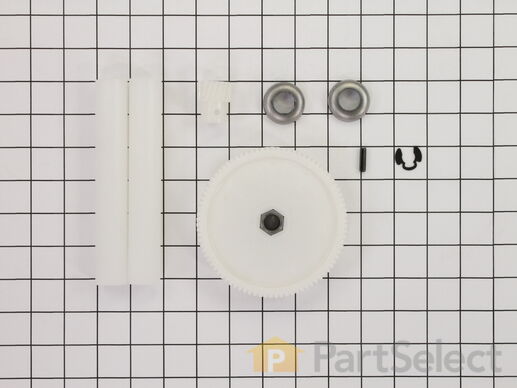
This is the drive gear kit for the ram that compacts the trash inside your compactor. If your compactor ram is getting stuck, there is excess noise during its cycle, or if your compactor does not stop at the end of its cycle, the driving gear may be the issue. The gear is white, plastic and approximately 4.5 inches in diameter. This drive gear kit includes both gears, pin spring, retaining clip (c-ring), ram stop, ram cam, and instructions. Make sure to disconnect the power to your trash compactor before beginning the repair.

$ 58.57
  In Stock
PartSelect Number PS398589
Manufacturer Part Number 882699

Customer Repair Stories

Large Drive Gear Failure (split in half)

Moved the compactor out from under cabinet, laid it on it's side, removed bottom casing (two nuts front, three back), remove compression pin from small drive gear shart, replace new small drive gear and install compression pin, loosen motor mounts to allow large gear replacement, remove circlip holding large drive gear to shaft, remove and repace damaged gear, set gear clearance and tighten motor mounts, grease gears, replace bottom casing. .
  • Mark from Littleton, CO
  • Difficulty Level:
    Easy
  • Total Repair Time:
    30 - 60 mins
  • Tools:
    Nutdriver, Pliers, Socket set
17 of 19 people found this instruction helpful.
Was this instruction helpful to you?
Thank you for voting!

Broken Gear

Trash compactor started making "bumping" sounds when the RAM went through a cycle and tried to come back up. Finally, one day heard a "pop" went the RAM traveled to the bottom. The gear broke in half. Purchased the gear parts "KIT" online and repair took 15 minutes. Easy to do. Unfortunately, this was not only problem. The "cause" of the gear breaking was the Momentary Start/Stop Switch was bad. It's failure led to the main switch not working. The unit could not tell when the RAM had reached the top of it's cycle. The other problem was that I didn't put trash in the compactor. Suggest HIGHLY to never operate the unit's RAM mechanism without the compactor being at least 1/2 full per the instruction manual. Running it empty can cause a major problem, such as the gear breaking/stripping.
  • Matt from Houston, TX
  • Difficulty Level:
    A Bit Difficult
  • Total Repair Time:
    More than 2 hours
  • Tools:
    Screw drivers, Socket set
21 of 21 people found this instruction helpful.
Was this instruction helpful to you?
Thank you for voting!