Models > KDTM404KPS0 > Symptoms > Leaking

Parts That Fix Whirlpool Dishwasher KDTM404KPS0 Leaking

Leaking is a commonly reported symptom for the KDTM404KPS0 Whirlpool Dishwasher, and we have put together a full guide on how to fix this. This advice is based on feedback from people who own this exact appliance. We have listed the most common parts for your KDTM404KPS0 Whirlpool Dishwasher that will fix Leaking. We have included repair instructions, and helpful step-by-step video tutorials. If you are experiencing this issue, not to worry, DIYers just like you have fixed this, and shared their experience to help you!

Fixes Symptom 41% of time
★★★★★
★★★★★
1 Review

Rated by 17 customers 


Easy 

30 - 60 mins 

Ratings submitted by customers like you who bought this part.   

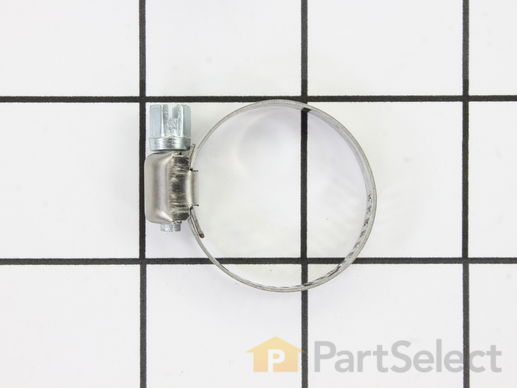
This hose clamp is used in a wide variety of household appliances. Most often it is found in washers, dishwashers, refrigerators, freezers, dehumidifiers, garbage disposals, or air conditioners. This clamp is used to securely attach a hose to another part of your appliance, which helps prevent leaks from those connections. Depending on the appliance, it can attach hoses to drain pumps, water inlet valves, pressure switches, and injector nozzles. We recommend you refer to model-specific diagrams for appropriate uses and exact placement. This hose clamp is made of metal, and is sold individually. To access and replace this part you will need a nut driver, pliers, and screwdrivers. Before you begin any repair work, make sure you have unplugged your appliance, and shut off the water supply if applicable.

$ 11.80
  In Stock
PartSelect Number PS11743008
Manufacturer Part Number WP596669

Replacing your Kenmore Washer Hose Clamp

Replacing your Hose Clamp
Fixes Symptom 26% of time
★★★★★
★★★★★
2 Reviews

Rated by 3 customers 


A Bit Difficult 

1- 2 hours 

Ratings submitted by customers like you who bought this part.   

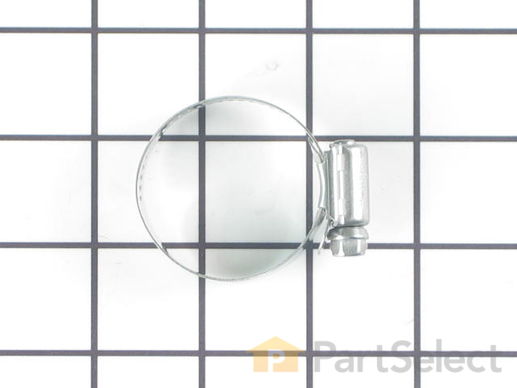
The hose clamp is used to hold the water hose in place which will prevent the hose from leaking water. Sometimes the clamp may lose its ability to latch on, causing a leaking washer. For the installation, you will need a flat head screw driver to replace the clamp and a drill to access the screws to remove the front of the washer. Be careful if you do not have specific clamp pliers as the clamp could fly off. Once the front of the washer has been removed, take a quick look for water damage or any obvious signs of where the leak is coming from. If it is not obvious, run water to test.

$ 11.12
  In Stock
PartSelect Number PS11740613
Manufacturer Part Number WP285655

Replacing your Kenmore Washer Hose Clamp

Replacing your Hose Clamp
3 HEATER
Fixes Symptom 10% of time
★★★★★
★★★★★
2 Reviews

Rated by 1 customer 


Easy 

30 - 60 mins 

Ratings submitted by customers like you who bought this part.   

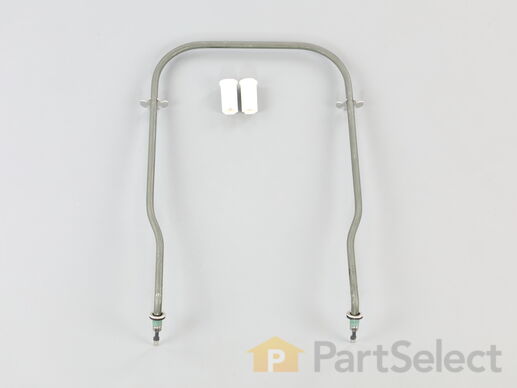
This heating element is a genuine OEM replacement sourced directly from the original manufacturer for use in various models of dishwashers. The element is designed to heat water inside the dishwasher during the wash and rinse cycles to enhance the efficiency of the cleaning process. It is positioned at the bottom of the dishwasher tub, beneath the lower rack. The heating element includes a bushing, which is a protective covering that prevents water from coming into contact with the electric terminals, and two plastic nuts.

$ 64.22
  In Stock
PartSelect Number PS16555270
Manufacturer Part Number W11537778

Customer Repair Stories

Leaking Dishwasher

After pulling the dishwasher out, I was able to determine the leak was occurring around the plastic nuts on the end of the heating element. I removed the heating element and saw that even though there were washers on the ends that protruded through the backside of the machine, they really weren't sealing the holes the element was sticking through. Looking at YouTube videos on the installation procedure, I noticed the element being installed had a sort of metal grommet permanently affixed to each end and the rubber washers were between the grommet and the dishwasher body. I ordered the new part and saw this to be when I received the new part. This grommet allowed the washer to seal the hole, once the plastic nuts were installed on the backside of the dishwasher. This seems to have stopped the leak. I don't know how the original part ever worked correctly, since the washers freely sat on the element with nothing to force them up against the body of the dishwasher and seal the holes. It may have been leaking long before I discovered the problem.
  • Scott from ISLE, MN
  • Difficulty Level:
    Easy
  • Total Repair Time:
    30 - 60 mins
  • Tools:
    Screw drivers, Wrench (Adjustable)
9 of 9 people found this instruction helpful.
Was this instruction helpful to you?
Thank you for voting!
Fixes Symptom 6% of time

Rated by 2 customers 


Really Easy 

30 - 60 mins 

Ratings submitted by customers like you who bought this part.   

$ 51.12
  In Stock
PartSelect Number PS16217908
Manufacturer Part Number W11434044

Customer Repair Stories

Hose threads stripped

I found it best to lay the dishwasher on it's side, this makes it easier to attach a 90 degree hose fitting without cross threading the plastic fitting.
  • Matthew from N KINGSTOWN, RI
  • Difficulty Level:
    Really Easy
  • Total Repair Time:
    30 - 60 mins
2 of 2 people found this instruction helpful.
Was this instruction helpful to you?
Thank you for voting!

Inlet valve leaking at water connection

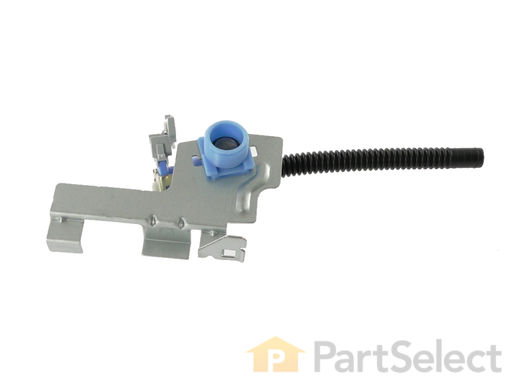
The valve has a plastic fitting to attach the the water line with a hose fitting. Was not carful enough with the original and damaged it attaching the water line. Ordered a replacement fitting. While it is possible to replace the water inlet valve without pulling the dishwasher out from the cabinet found it was easier to get at with the machine out. The video does and good job of showing the removal and replacing the valve. Easy job, don't be like me and be careful attaching the water line.
  • Joseph from BIRMINGHAM, MI
  • Difficulty Level:
    Really Easy
  • Total Repair Time:
    30 - 60 mins
  • Tools:
    Nutdriver
8 of 11 people found this instruction helpful.
Was this instruction helpful to you?
Thank you for voting!
Fixes Symptom 4% of time
★★★★★
★★★★★
3 Reviews

Rated by 1 customer 


Easy 

30 - 60 mins 

Ratings submitted by customers like you who bought this part.   

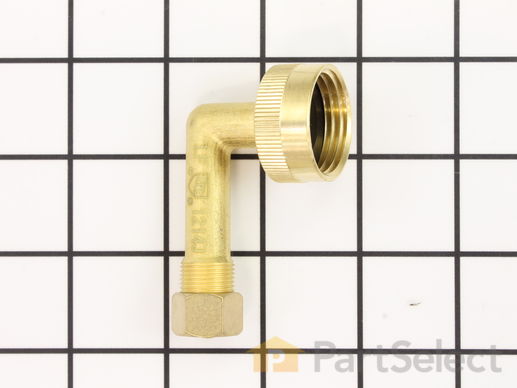
This part has a swivel gooseneck fitting and that allows it to be installed closer to the wall. This part has a 3/4" hose thread on one side and a 3/8" copper tubing on the other side.

$ 23.44
  In Stock
PartSelect Number PS9493732
Manufacturer Part Number W10685193

Customer Repair Stories

fitting leaking

repair by replacement
  • James from Tupelo, MS
  • Difficulty Level:
    Really Easy
  • Total Repair Time:
    Less than 15 mins
  • Tools:
    Pliers
Was this instruction helpful to you?
Thank you for voting!
6 GASKET
Fixes Symptom 4% of time
★★★★★
★★★★★
1 Review

$ 16.40
  In Stock
PartSelect Number PS16221119
Manufacturer Part Number W11483553
Fixes Symptom 3% of time

$ 50.24
  In Stock
PartSelect Number PS16620155
Manufacturer Part Number W11535094
Fixes Symptom 3% of time

$ 44.98
  In Stock
PartSelect Number PS16875972
Manufacturer Part Number W11664713
9 HOSE
Fixes Symptom 2% of time

$ 32.06
  In Stock
PartSelect Number PS12745538
Manufacturer Part Number W11419334
Fixes Symptom 2% of time
★★★★★
★★★★★
13 Reviews

Rated by 5 customers 


Really Easy 

15 - 30 mins 

Ratings submitted by customers like you who bought this part.   

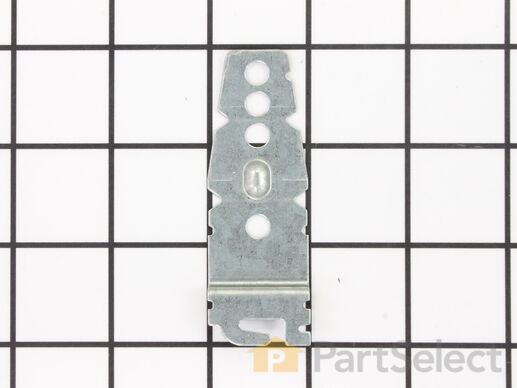
The mounting bracket is sold individually, without screws. This part secures the upper side of the dishwasher to the underside of the counter or cabinet to prevent the dishwasher from moving, shaking, or tilting forward. The bracket is made entirely of metal. It is recommended to check all brackets, if applicable, because they often wear at the same rate and both may need to be replaced. This is an OEM part that is sourced from the authentic manufacturer. Tools needed are a pair of needle nose pliers and a screwdriver.

$ 10.06
  In Stock
PartSelect Number PS11745496
Manufacturer Part Number WP8269145

Replacing your KitchenAid Dishwasher Mounting Bracket

Replacing your Mounting Bracket

Customer Repair Stories

Broken Mounting bracket

Removed old part and replaced with new part
  • Roy from HIGGINSVILLE, MO
  • Difficulty Level:
    Really Easy
  • Total Repair Time:
    15 - 30 mins
  • Tools:
    Screw drivers
8 of 13 people found this instruction helpful.
Was this instruction helpful to you?
Thank you for voting!

Lost dishwasher brackets

I called an experienced plumber, who balanced and installed my new dishwasher properly, using the brackets I ordered from Parts Select, after an INEXPERIENCED plumber had tossed the factory-provided mounting brackets out with the shipping carton. Relief!
  • Judith from Essex, MA
  • Difficulty Level:
    Easy
  • Total Repair Time:
    15 - 30 mins
  • Tools:
    Screw drivers
75 of 107 people found this instruction helpful.
Was this instruction helpful to you?
Thank you for voting!