Make sure you haven't got the discount earlier.
Parts That Fix General Electric Dishwasher GLDT696T00SS Leaking
Leaking is a commonly reported symptom for the GLDT696T00SS General Electric Dishwasher, and we have put together a full guide on how to fix this. This advice is based on feedback from people who own this exact appliance. We have listed the most common parts for your GLDT696T00SS General Electric Dishwasher that will fix Leaking. We have included repair instructions, and helpful step-by-step video tutorials. If you are experiencing this issue, not to worry, DIYers just like you have fixed this, and shared their experience to help you!
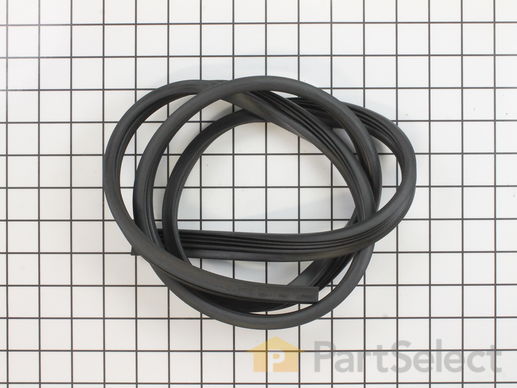
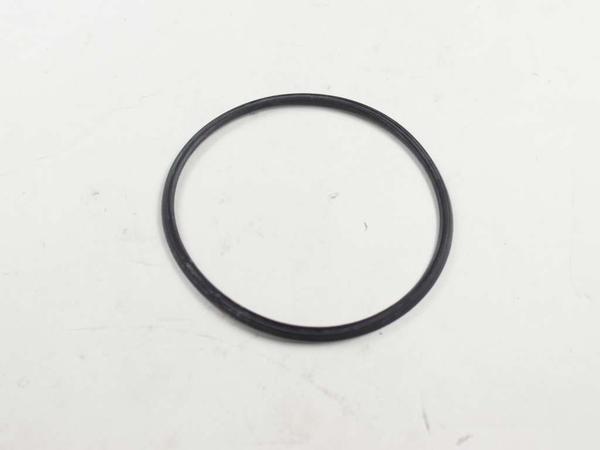
This part is the replacement tub gasket for your dishwasher. It is black in color and is made of rubber. The tub gasket fits around the circumference of your dishwasher tub, and creates a seal that prevents leaks. If your dishwasher is leaking from the tub, there is a good chance that the tub gasket is the issue. The gasket can stretch and become worn over time, and this can affect the seal. To replace the tub gasket, you can use a screwdriver to pry the gasket out of its groove, then carefully pull it away from the tube. Carefully fit the new gasket into place and your repair is complete. This part is sold individually and is an OEM part from the manufacturer.
Customer Repair Stories
leaks out upper left hand corner
-
michael from center valley, PA
-
Difficulty Level:Really Easy
-
Total Repair Time:Less than 15 mins
Customer Repair Stories
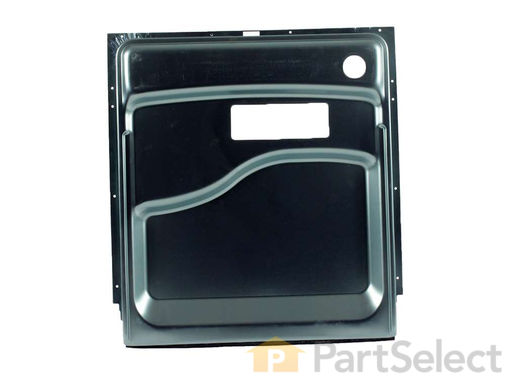
Seal on inner door assembly damaged and causing dishwasher to leak at bottom door.
CAUTION - THIS COMPONENT IS SHARP AND WILL SEVERELY CUT YOU - I DOUBLED UP ON LATEX GLOVES
1. Remove bottom rack from washer
2. Using Phillips screwdriver remove all screws from inner door area - ... Read more place towels under exterior of door because it will drop off when all screws are removed. ALSO - there are 4 screws that hold the hinges to the door frame - be careful because the hinges are spring loaded!!
3. Cut the 2 wires feeding the detergent release compartment ( you will have to strip and reconnect them using wire nuts - orange or blues)
4. Slide outer shell up to remove from inner door assembly
5. Remove vent assembly(adjustable pliers) and detergent compartment (4 phillips screws/2 brackets) BE CAREFUL NOT TO DAMAGE GASKETS (you will reuse when reinstalling them on the new inner door assembly).
REASSEMBLY
1. Remove protective film from entire door assembly
2. Install vent & detergent compartment DO NOT FORGET GASKETS
3. CAREFULLY - pull down door hinges far enough to place new inner door assembly in its designated place when in operation THEN allow hinges to slowly touch the inner door assembly
4. Wire up detergent compartment wires you cut earlier
5. Using some means of adhesive (duct tape, double back tape) place to styrofoam filler back in place
6. Slide the outer door assembly on while slowly opening door - pay attention to the outer door assembly door frame so that it goes over the inner door assembly - this is the difficult part and having a second set of hands will help with overcoming obstacles
7. Place all your screws back in place and put the bottom rack back
8. Run the dishwasher empty first through a full cycle so the water level can heat the gasket and check for leaks after running awhile
-
Joe from OKLAHOMA CITY, OK
-
Difficulty Level:A Bit Difficult
-
Total Repair Time:1- 2 hours
-
Tools:Pliers, Screw drivers
Replaced inner door
Before you take anything apart, shut off the power. There is 110V in the door, and it’s pretty unforgiving.
The inner door assembly is manufactured with razor sharp edges all around. It is fastened w ... Read more ith approximately 11,000 Phillips screws, all of which fall under the dishwasher upon removal. The outer door will fall to the floor to indicate you have removed all the screws. Or, you could support the outer door, if you are smarter than I am.
Putting the new inner door on isn’t too bad. Mine was bent a little in shipping, but I bent it straight again, pretty much. I had my 19 year old son help hold it in place, so I could learn how “lame” this activity was. Once a couple of screws are installed, he can go back to sleeping 15 hours a day. Make sure the lower seal is aligned as you tighten the bottom screws.
Once you’re done, turn on the power and run the dishwasher. You’ll learn that the leak is due to a clogged discharge hose, and you just burned an hour an $104.
-
JOHN from VIERA, FL
-
Difficulty Level:Easy
-
Total Repair Time:30 - 60 mins
-
Tools:Screw drivers


