Models > ADE30RGS171TW01 > Symptoms > Marks left on clothes

Parts That Fix Speed Queen Dryer ADE30RGS171TW01 Marks left on clothes

Marks left on clothes is a commonly reported symptom for the ADE30RGS171TW01 Speed Queen Dryer, and we have put together a full guide on how to fix this. This advice is based on feedback from people who own this exact appliance. We have listed the most common parts for your ADE30RGS171TW01 Speed Queen Dryer that will fix Marks left on clothes. We have included repair instructions, and helpful step-by-step video tutorials. If you are experiencing this issue, not to worry, DIYers just like you have fixed this, and shared their experience to help you!

Fixes Symptom 99% of time
★★★★★
★★★★★
9 Reviews

Rated by 21 customers 


Easy 

1- 2 hours 

Ratings submitted by customers like you who bought this part.   

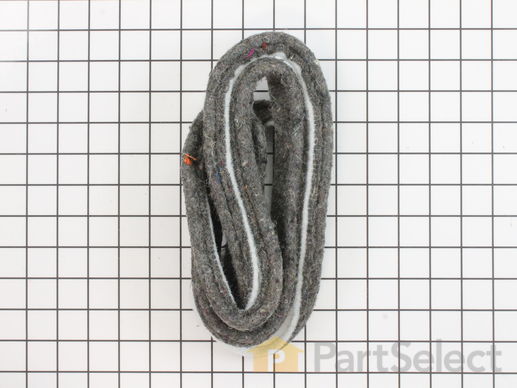
This cylinder felt seal is used in dryers and is located between the back of the drum and the rear dryer panel. If your dryer is experiencing any of these symptoms, replacing the felt seal could solve your problem: squealing or banging noise, clothes are getting stuck between tub and felt pad, takes too long to dry, not heating enough or not heat at all, or does not tumble. The tools needed for this installation are a 5/16 nut driver and a putty knife. Make sure to unplug the dryer from the power source before beginning this project. Refer to the manual provided by the manufacturer for further instructions.

$ 48.64
  In Stock
PartSelect Number PS11741917
Manufacturer Part Number WP37001132

Replacing your Speed Queen Dryer Cylinder Felt Seal

Replacing your Cylinder Felt Seal

Customer Repair Stories

Worn Felt Seal

remove bottom two screws on lower front panel, remove panel. remove two screws on lower portion of door panel, pull bottom panel towards yourself to release pins at the top. Disconnect wiring for light and door switch (make sure to note what wires go where. Complete removal of front door panel. Remove 4 screws holding cylinder frame in place, lift to remove. remove remnants of old felt seal, use rotary tool to remove excess glue, etc. apply glue (used rubberized gorilla super glue), apply felt seal - allow glue to set up. reinstall in reverse direction from removal. Be sure to use glue as there are no clips or other retaining pieces for the new felt and it will not hold in place. overall pretty easy.
  • robert from hillsborough, NC
  • Difficulty Level:
    Easy
  • Total Repair Time:
    15 - 30 mins
  • Tools:
    Nutdriver, Screw drivers
3 of 5 people found this instruction helpful.
Was this instruction helpful to you?
Thank you for voting!

Cylinder Seal came out

Early in the life of my dryer, the Cylinder Seal came out. For the past two years I put off buying the part. When it came in, I p[opped the top of the dryer, removed the two screws holding on the front panel, and pulled the Cylinder of the back wall of the dryer. I then placed the seal in the right spot, glued it down and reassembled. About Fifteen minutes of work and a cheap part, and now my dryer dries a l;oad of clothes in an hour instead of three.
  • Marcia from Hammond, LA
  • Difficulty Level:
    Easy
  • Total Repair Time:
    Less than 15 mins
  • Tools:
    Pliers
4 of 6 people found this instruction helpful.
Was this instruction helpful to you?
Thank you for voting!